I recently finished a quilt for a service project called Calling all Angels. This lovely family unexpectedly lost their first son in 2009. They have been such great examples to me about courage and strength. Follow the link above to head over to their page to get more info.
the Hawthorne and Main blog uses affiliate links, please see the Policy page for more details.
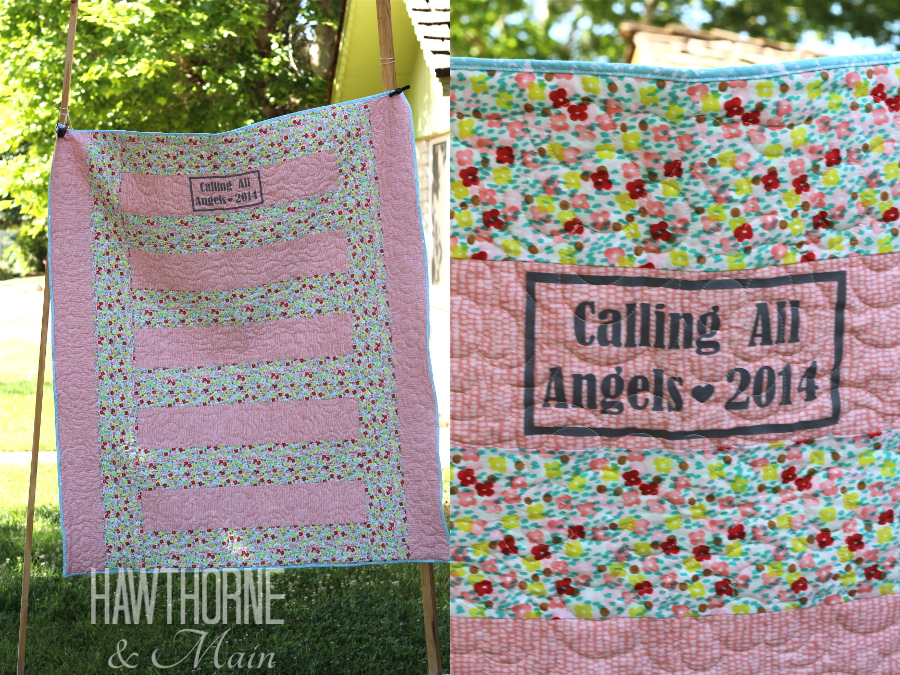
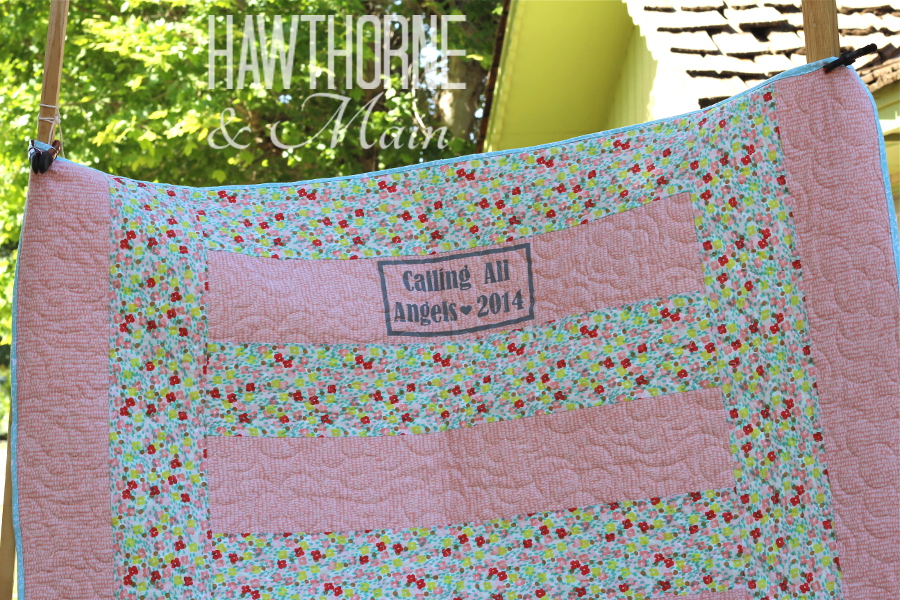
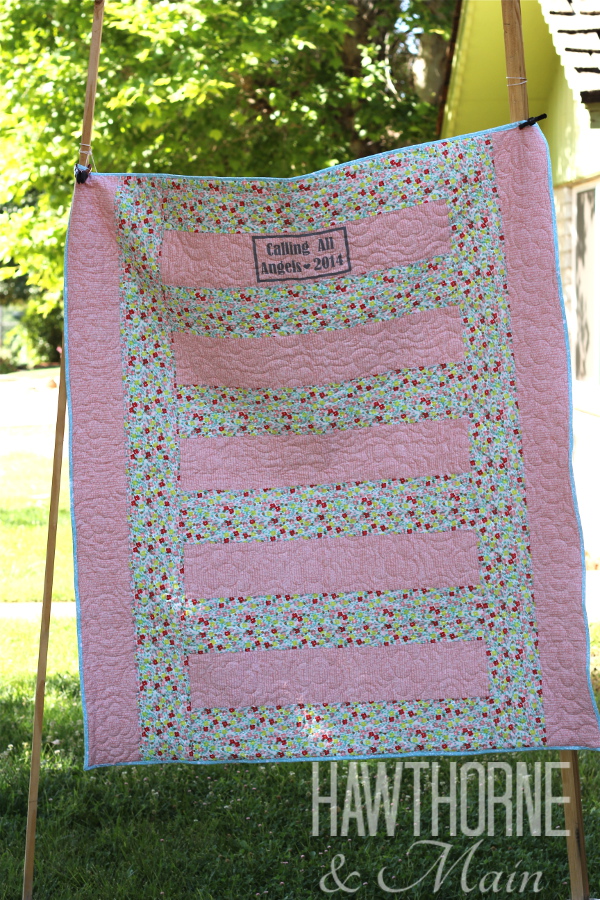
After I finished making this quilt I stepped back and looked at it and realized that it sort of looks like a ladder, so this quilt has been deemed the ladder quilt. This one is super easy to make and would be a great beginner pattern.
Supplies:
3 yards fabric for the top (total)
4 yards for the back- if you decide to have it professionally quilted they need the back to overhang about 5 inches. If you finish it yourself you only need 3 yards.
Rotary Cutter with mat
sewing scissors
cotton thread
sewing machine
How to make this quilt:
This quilt is made using 5 inch strips of fabric. Pretty simple! Since I used 2 different fabric prints for the top I purchased 1.5 yards of each. The first thing I did after getting the fabric is to wash and dry it. This fabric is 100% cotton and will shrink a little. This step can be skipped but I highly recommend washing and drying all of your fabric before you begin to sew. If your fabric comes out of the dryer really wrinkled, I would also recommend ironing it so that it will lay flat while you cut it. I used to hate to have to wash, dry and then iron my new fabrics but I have had some bad experiences with fabric that I did not wash first so I always make sure to get that done in the beginning.
Now it is time to cut! In elementary school did your teachers ever have you fold your paper in hotdog or hamburger style? I remember my teachers did. To cut this fabric I folded the fabric hamburger style, so that when I cut my strips they would all be 1.5 yards long. The 2 outer strips on either side of the quilt are the full 1.5 yards long. The strips in the center are all .75 yards long. In other words, I cut the strips for the middle of the quilt in half. I probably could have gotten a couple more strips out of the left over fabric to add to this quilt to make it bigger but I decided not to. You can save the extra fabric for a different project later.
Sewing this quilt needs to be done in a strategic way. If sewn in the right order, it is very easy. Start off by sewing all of the small .75 yard pieces together, the center of the quilt. I chose to do every other color and ended up with 6 flowers and 5 pink, a total of 11 strips. Stitch those all together. Once those are sewn, you should have the ladder portion of your quilt done, yay!
Now sew 2 long 1.5 yard pieces to each side of the quilt, sewing perpendicular to the ladder. Now you are done with the top!
Now for the back. You will have to decide how you want to finish the quilt, do you want to tie it, quilt it your self or have someone professionally quilt it for you? I opted to have my neighbor quilt it for me since she has a quilting machine. I used a simple solid color for my back on this quilt. Since my quilt top was wider than the fabric I had for the backing I cut the fabric so that I could sew it together and make one big piece of fabric that was large enough to fit behind the entire quilt.
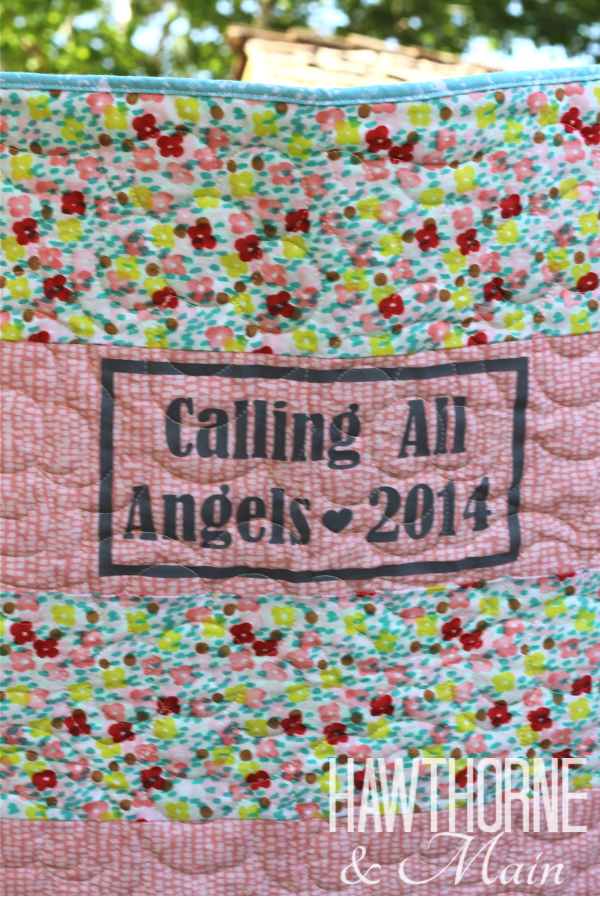
Before my neighbor quilted the top I used my Silhouette Cameo and some grey heat transfer vinyl to add Calling All Angles 2014 to the quilt. I really like how this one turned out.
Once my neighbor was done quilting the top I still needed to finish it by binding the sides. There are a few different ways to do this. I opted for a quick simple binding method. Since I had to make the back 5 inches wider than my quilt, I had some extra material that I was able to fold over on top of the quilt to make the binding. I trimmed the back material so that it was about 1 inch bigger than my quilt top. I folded the extra hang over material in half, twice, making sure that the last fold was touching the quilt top. This is so that when I used my sewing machine to stitch on the binding it would catch all of the layers. Stitch right on the edge of the binding/backing material all around the quilt. DONE!
I really like the finished project!
To find out more about about Calling All Angles head on over here.
Here you can see how I folded the back material over onto the top. I stitched right along the edge of the binding making sure to stitch through all of the layers.




love this, I think I could do it at my beginner level. Off to search the stash! Thanks for sharing!
Crocket Hooks you will definitely be able to make this one!! Good luck. Let me know once you get it finished. Tag me so I can check out your handy work!
Awesome quilt! Love it!
Have a fabulous day!
Hugs from Portugal,
Ana Love Craft
http://www.lovecraft2012.blogspot.com
Hey Ana! Thanks for stopping by. Glad you like the quilt.
This looks wonderful! Stopping by from Lou Lou girls. Would love it if you could come share tonight at the Wonderful Wednesday Blog Hop (Tues 7pm EST)
Blessings,
Shari
http://puregracefarms.com/2014/07/wonderful-wednesday-blog-hop-80/
Shari thanks for stopping by! I will definitely join you at your link party!
Love this quilt pattern! Beautiful! Thanks for sharing with us at Your Designs This Time!
Emily & Erin
Thanks for stopping by Emily! I love this quilt because it is cute and easy, two for one!
This is beautiful! Pinned. Thanks for being a part of our party. We love having you! We hope to see you tonight at 7 pm. and let us see what you have been working on! http://loulougirls.blogspot.com
Happy Monday! Lou Lou Girls
Kimberly thanks for stopping by. Always love your link party!
I loved your Tip Me Tuesday link. {thanks girl!} Would you like Tip Junkie to feature your blog post to over 200,000 creative women? If you upload this blog post into your Tip Junkie craft room using at least 2 images, 2 steps, and blog post URL then I can easily feature it in my RSS feed, home page, and all my social networks instantly. {squealing with delight} ~ Laurie {a.k.a. the Tip Junkie}
http://www.tipjunkie.com/post/how-to-add-a-craft-room-project-on-tip-junkie/
Shonee
Love the quilt and would really like to make one but not sure what you mean by the Hot dog fold vs Hamburger fold, not taught in Australia – at least not in my day.
Do you mean you cut the strips along the length instead of width to get the length of 1.5 yards.
Hey Debee! So sorry about the bad analogy. Yes, you will fold the fabric in half along the length. This way you will have long strips of fabric for the quilt. Hope that helps!
Pinned. This is beautiful!