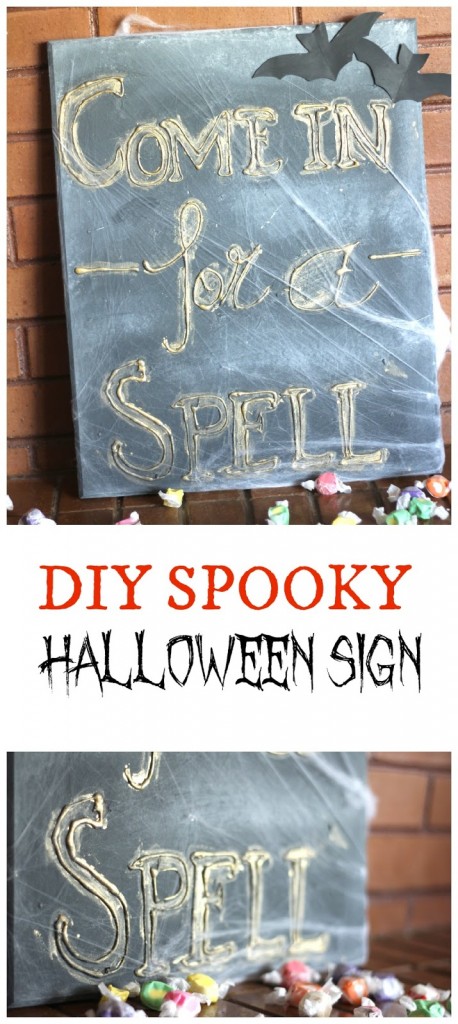
I have had so much fun decorating for Halloween this year! I know that Halloween is fast approaching but I wanted to share one more project with you, a DIY spooky Halloween sign. I have tailored it for Halloween but really this technique can be used for any holiday.
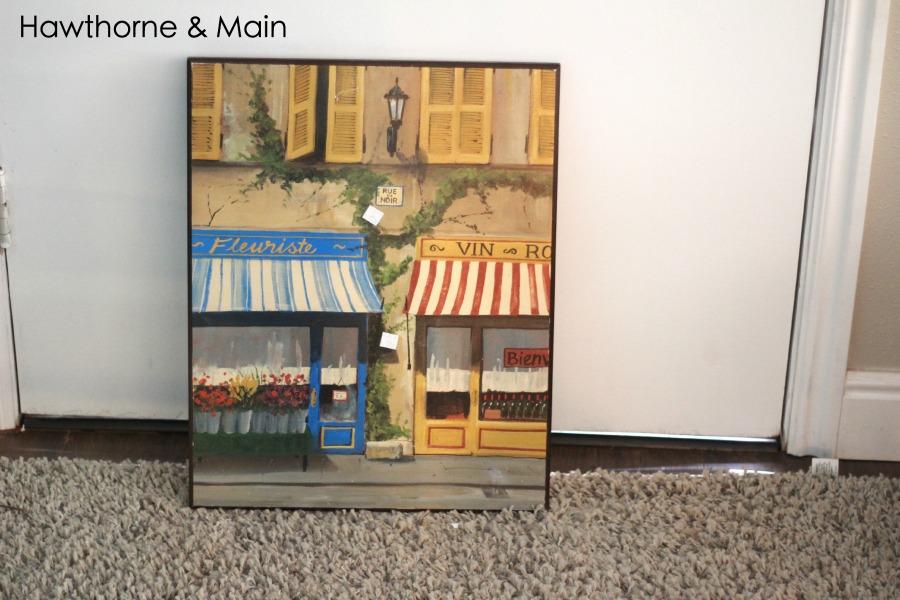
To start you will need to find a piece of board. I found this wood sign at the thrift store that worked perfect. Any flat board that you can find or already have would work too.
I sanded the sign a little bit to make sure that the paint would stick good.
I then drew my letters right onto the board. You could also use transfer paper to get an exact design but I just free handed mine. You can see that I had a hard time getting the “C” right 🙂
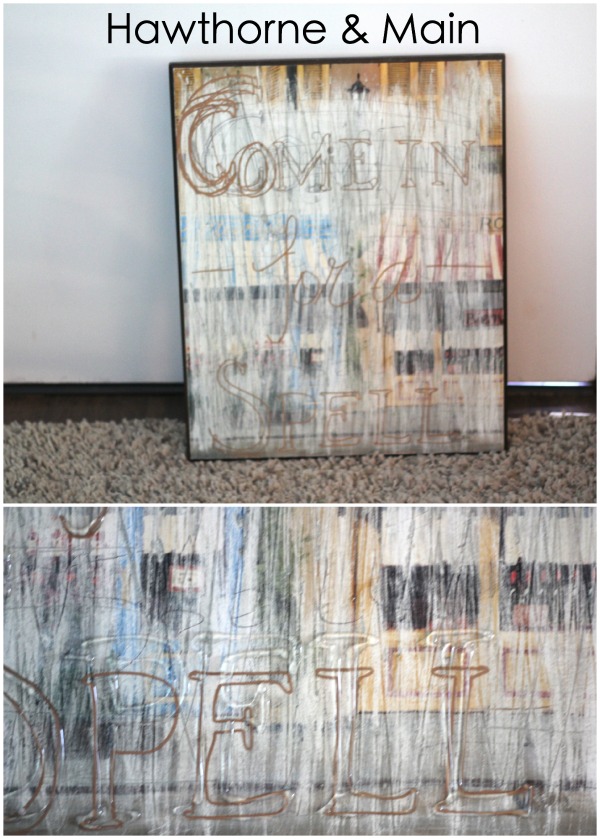
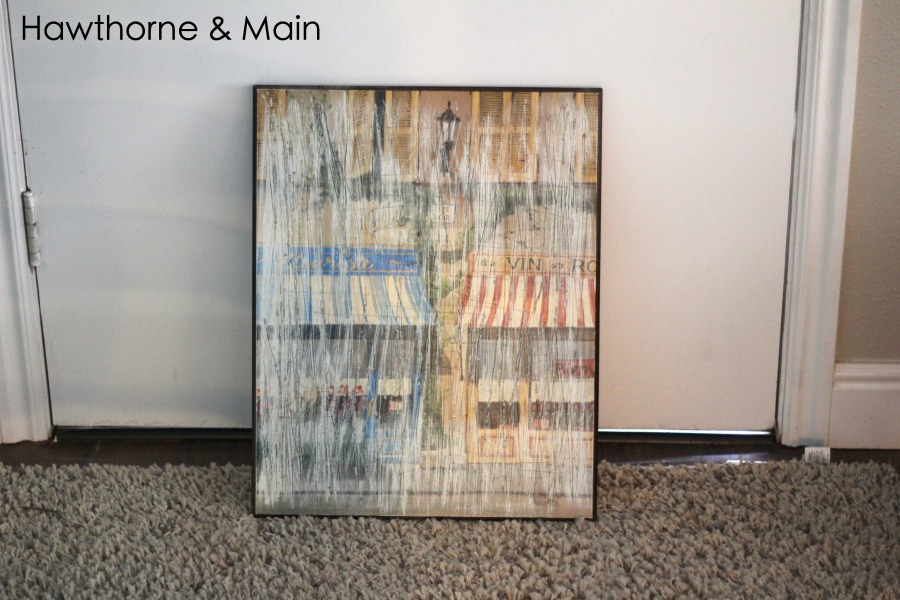
Once I had drawn out the letters I got out my hot glue gun. I used the hot glue to outline all of the letters. Once the letters were drawn I painted the whole thing with Annie Sloan Chalk paint in Graphite.
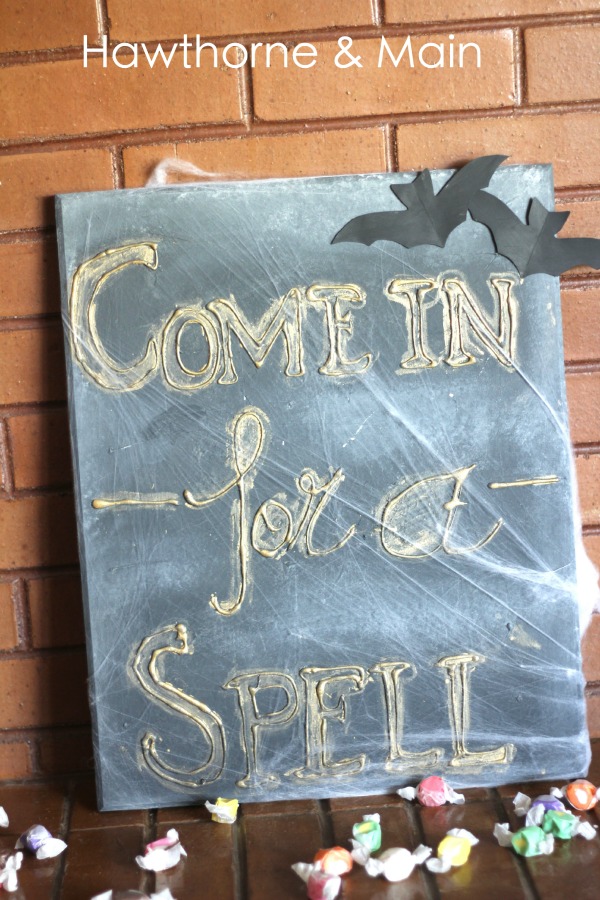
I them used some old white ASCP to make some of the areas lighter. I did this while the graphite paint was still wet so that the colors would blend together well. I literally just started dabbing a very small amount of the white on the board until I got the look I wanted.
After the black and white background was done to my liking I took a small paint brush and painted accents on all of the letters. I used Martha Stewart’s gold acrylic paint.
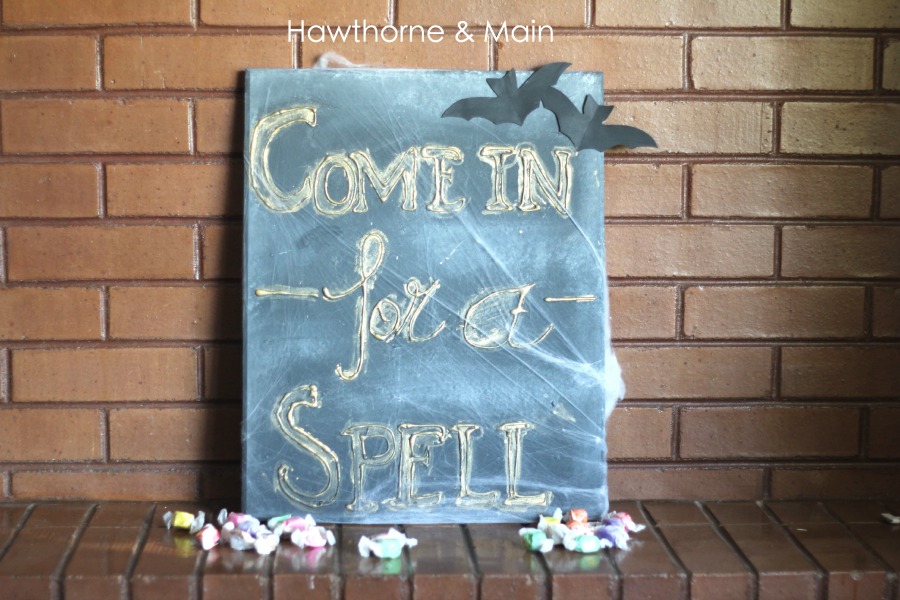
After it was dry I draped it with spider webs and added a couple left over bats from my Halloween Mantel. This would look perfect hanging from a door or even sitting on a mantel or console table. There are some many possibilities.


Very cool effect! It turned out great!
Super cute Shonee!! Using hot glue is genius! Perfect for Halloween. 🙂