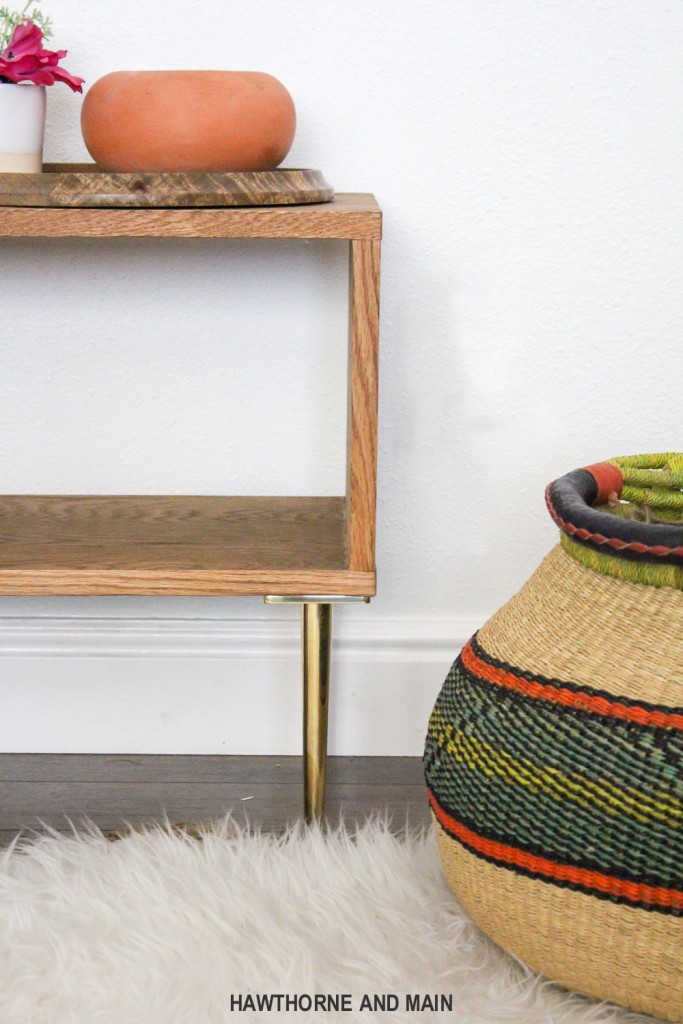
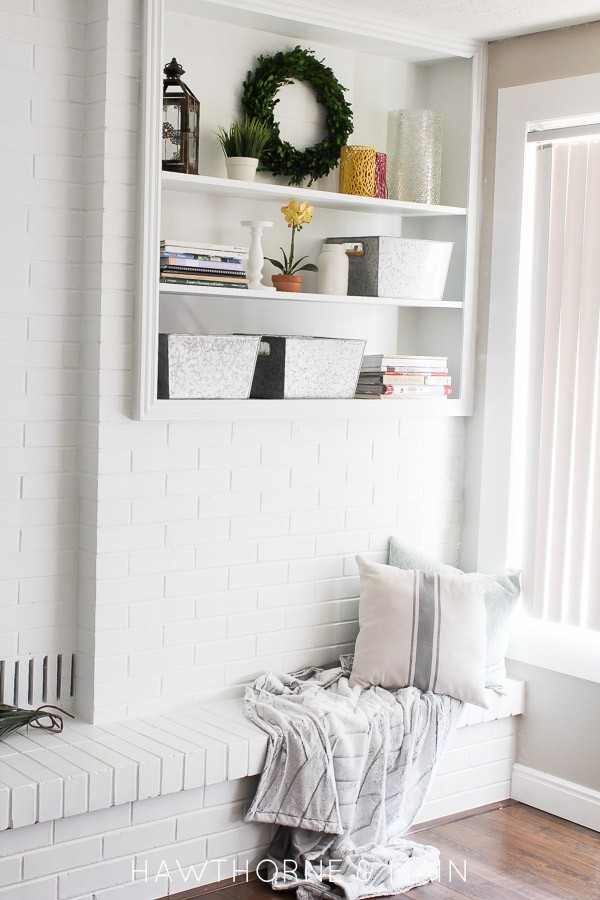
Remember when I did my entryway and added a barn wood shelf? A lot has changed since then. The wall is now white and so is the brick. Nice and fresh and clean.
Now it’s time to get this entryway updated!
The first thing on my list is an entry bench. I looked around online and ultimately decided that I can DIY one myself.
This post is in collaboration with Ferrous Hardware . All opinions of beautiful, high quality furniture legs are my own. For your convince this post may contain affiliate links. See my disclosure for more info.
I really wanted to use some lumber from my local home improvement store. When I went there, ALL of their wood was either crooked or damaged…. I know this because I looked through every- single-last-one-of-them. I really need to get brave and go try the lumber yard next time.
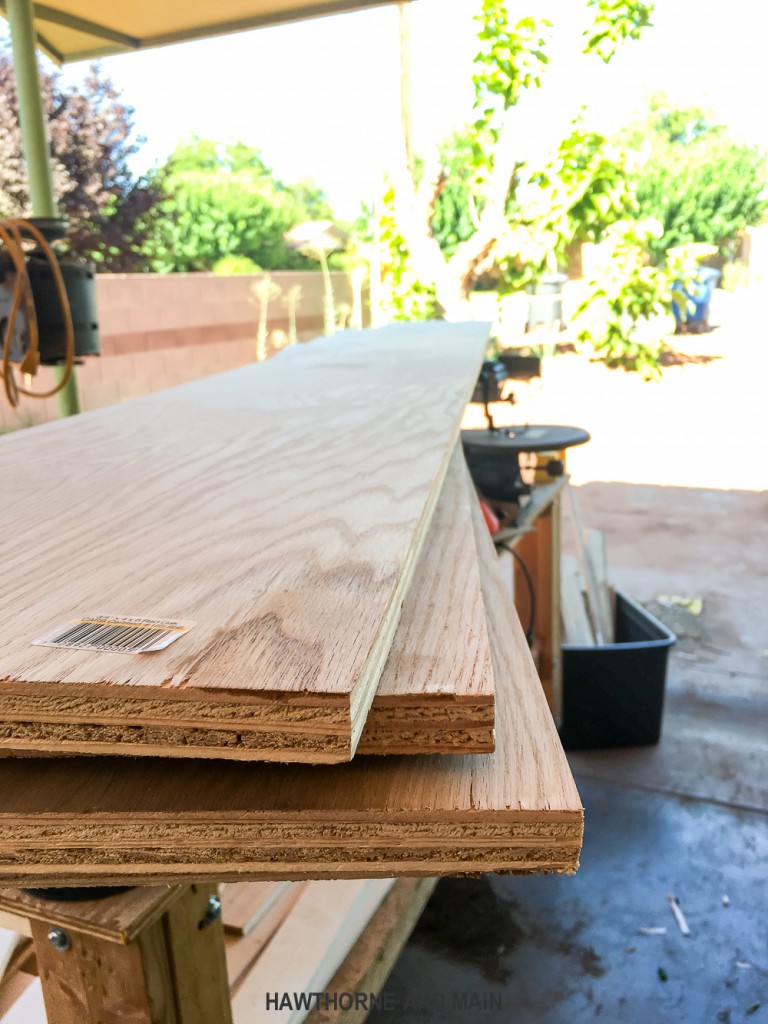
So, what is a girl to do when she is at the hardware store, without kids… and needs lumber now?! I decided to pick up a piece of plywood and have them rip it down into boards for me.
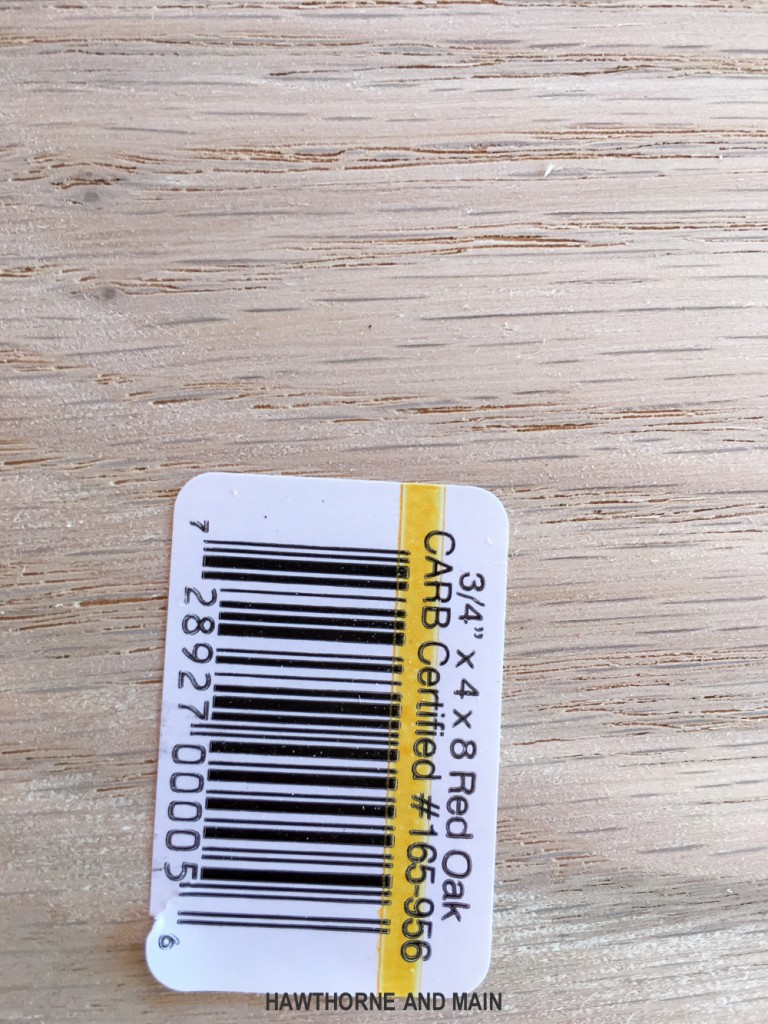
The plywood is really straight, and they have a few different wood options. It seemed like the perfect solution. I opted for red oak. I paid $50 for 1 sheet, not exactly cheap. Once it was all said and done it ended up being about the same price as I would have paid for the crooked boards. I had them rip the sheet of plywood into four 11 7/8 inch wide pieces. It would have been exactly 12 inches wide but we had to take into account the blade thickness. For the sake of the project lets just call it 12 inches. I have some left over for another project.
SUPPLIES:
2-1×12 (4 ft long)
3- 1×12 (9 inches long)
Self Taping Screws
Kreg Jig
Wood Glue
Drill– I have these….two come in handy ALL the time.
Wood Stain
Wood Veneer
Iron
Sand Paper
TUTORIAL:
Take two of the 12 inch wide pieces of plywood and cut them down to 4 feet long. Cut three more pieces to be 12 inches by 9 inches.
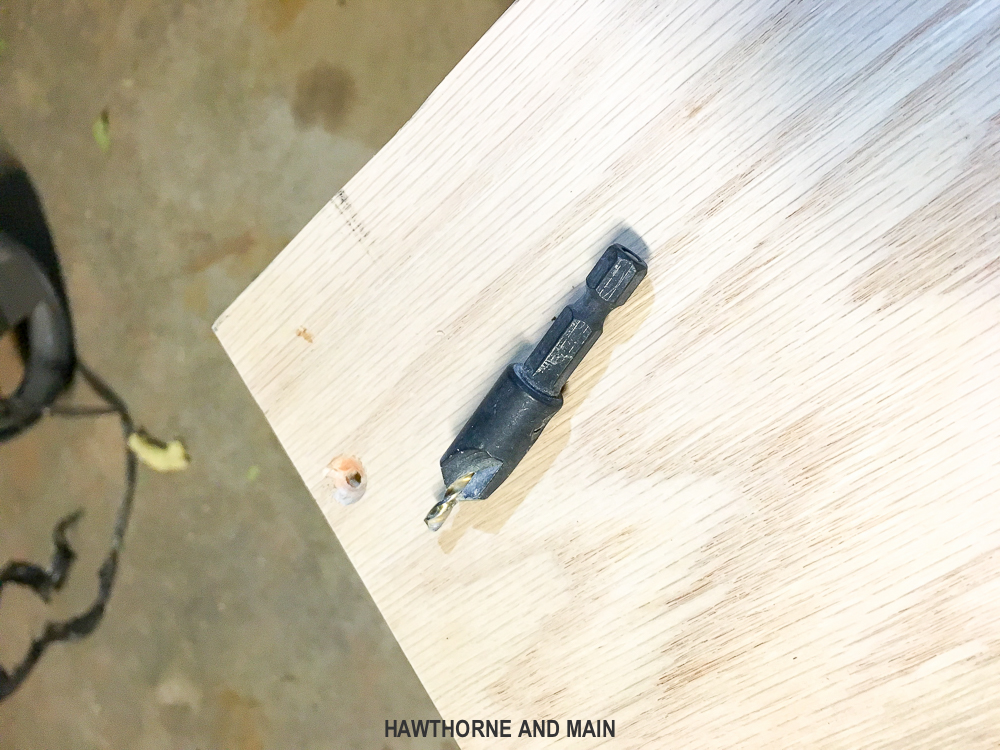
Use the kreg jig to drill holes. We opted to do two holes on the bottom that were toward the back of the bench. That way they would be out of sight.
Drill three holes along the top of each of the smaller pieces. These will attach the sides and middle piece to the top of the bench. See the image below for your reference on all the holes.
Side Note:
Once the bench frame was built, we inserted screws from the bottom of the bench into all of the vertical pieces.
We counter sunk some screws to ensure it was neat and secure.
ASSEMBLING THE BENCH:
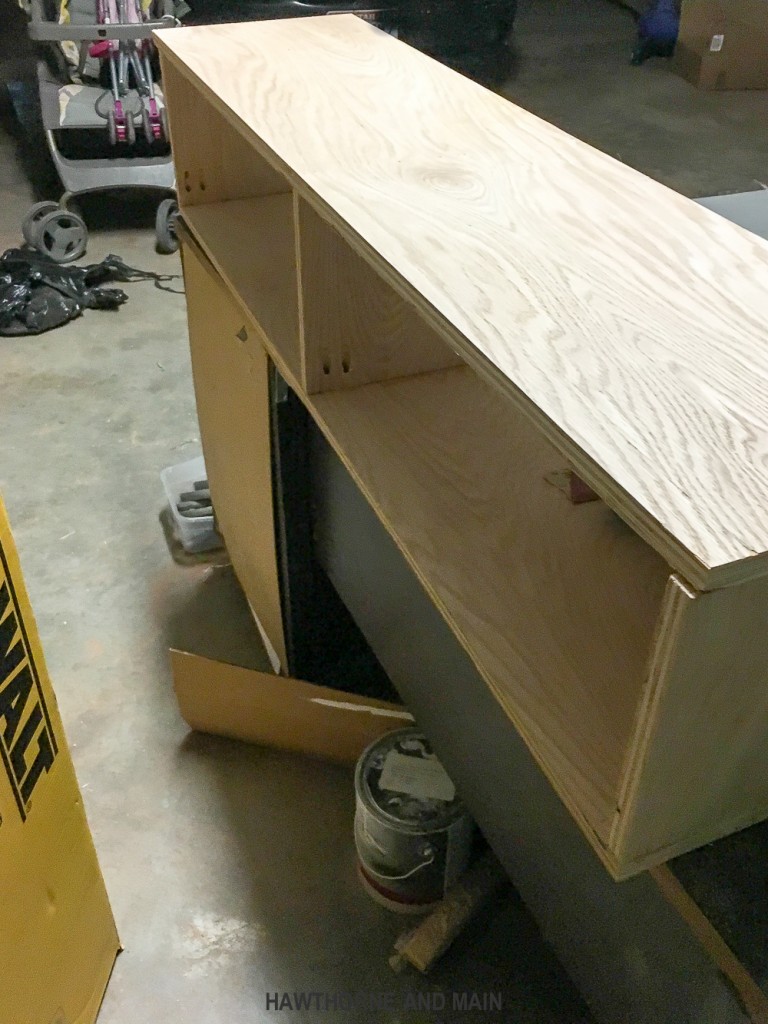
When all the kreg jig holes are drilled it’s time to assemble. One small board goes on either end with the third going in the middle. Add wood glue and screw in 1 1/4 inch fine thread self tapping screws. Sorry about all the mess….I blame it on the building in The Suite Pecan.
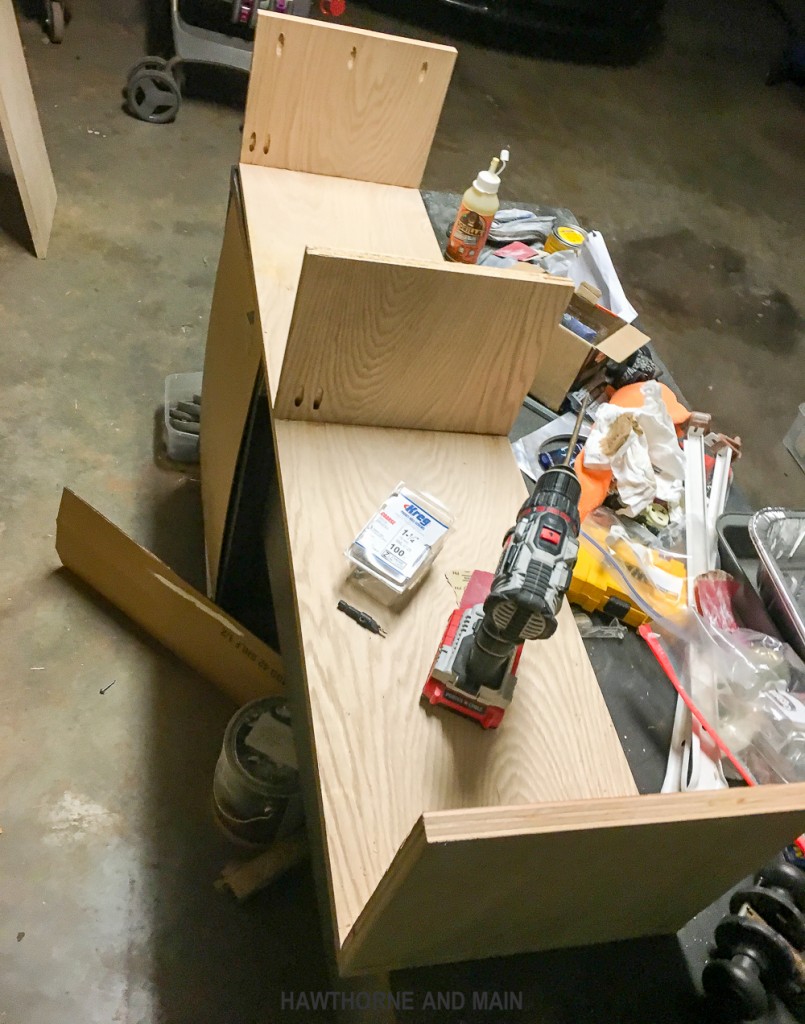
Place the top board on the bench and screw it into place. Now the frame of the bench is built!
Time to finish the frame with veneer. Follow the directions on the back of the veneer package. This was my first time doing veneer. It’s easy but does take some time.
A few tips on adding the veneer:
-Make sure that you place it in the middle of the edge of the board. There will be some veneer that hangs over each side, that’s normal.
-Once it has been ironed on, press firmly to ensure it has adhered well.
-Take a piece of sandpaper and gently remove the excess veneer from both sides until it is flush with the board.
I started on the back bottom of the bench, in an area that I knew would not be seen. I wanted to practice at getting the veneer on, and having it look good. I am really glad that I did a test section first!
Now for the fun part, stain!
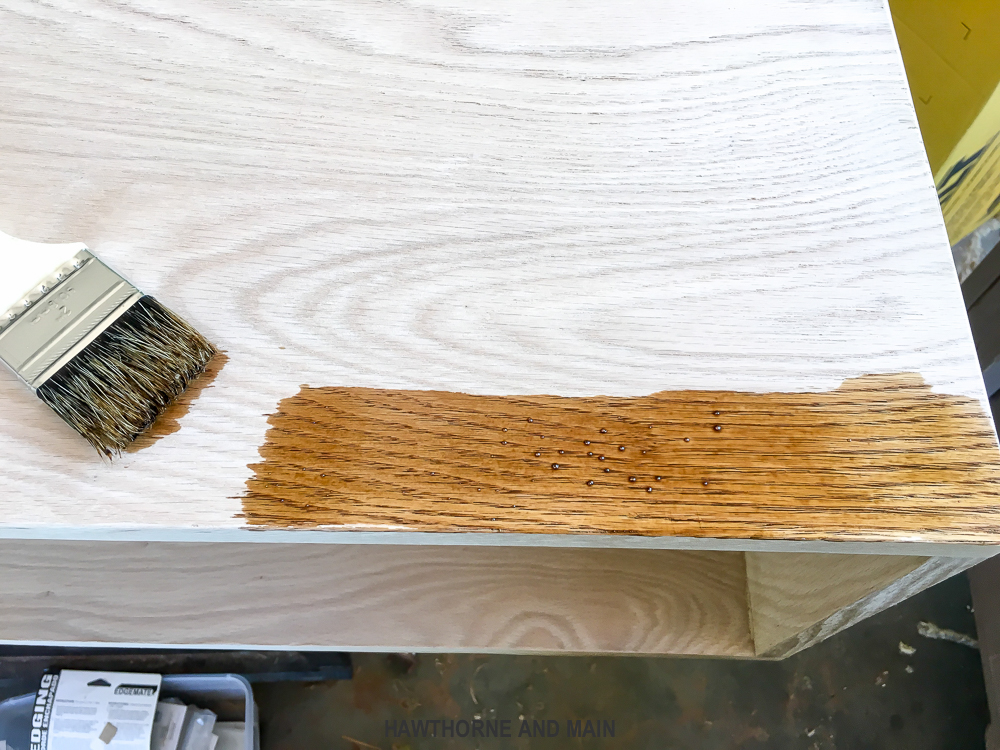
I debated and debated about what color to go with. I cannot believe that I am typing this but I ultimately decided to go with Golden Oak. It looked really good against the red oak.
The more stain you add the darker it will be. I added one thin layer. Use your favorite type of poly to seal and protect the wood.
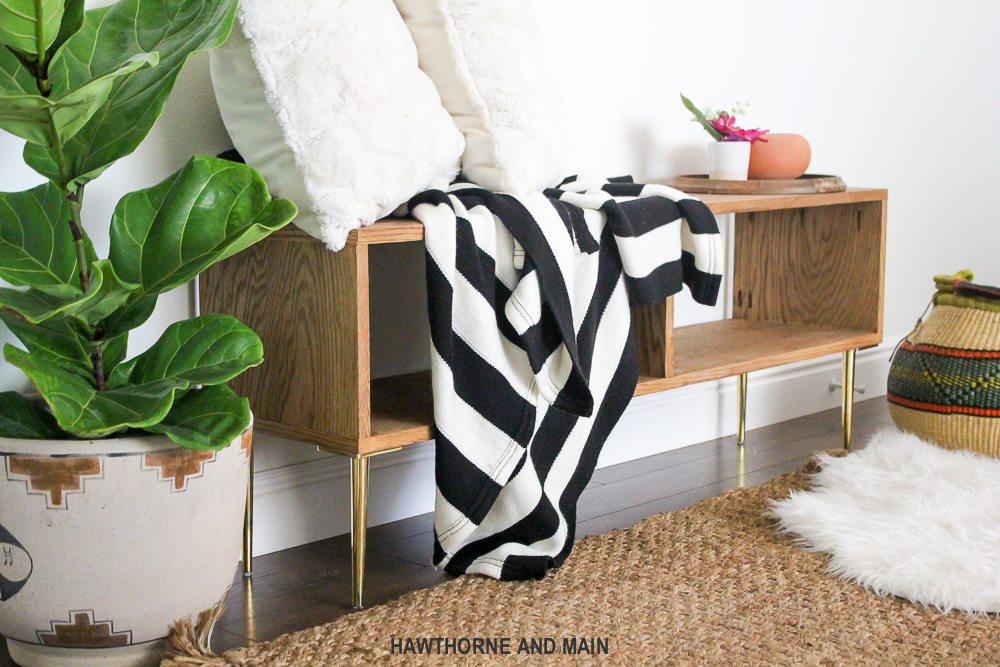
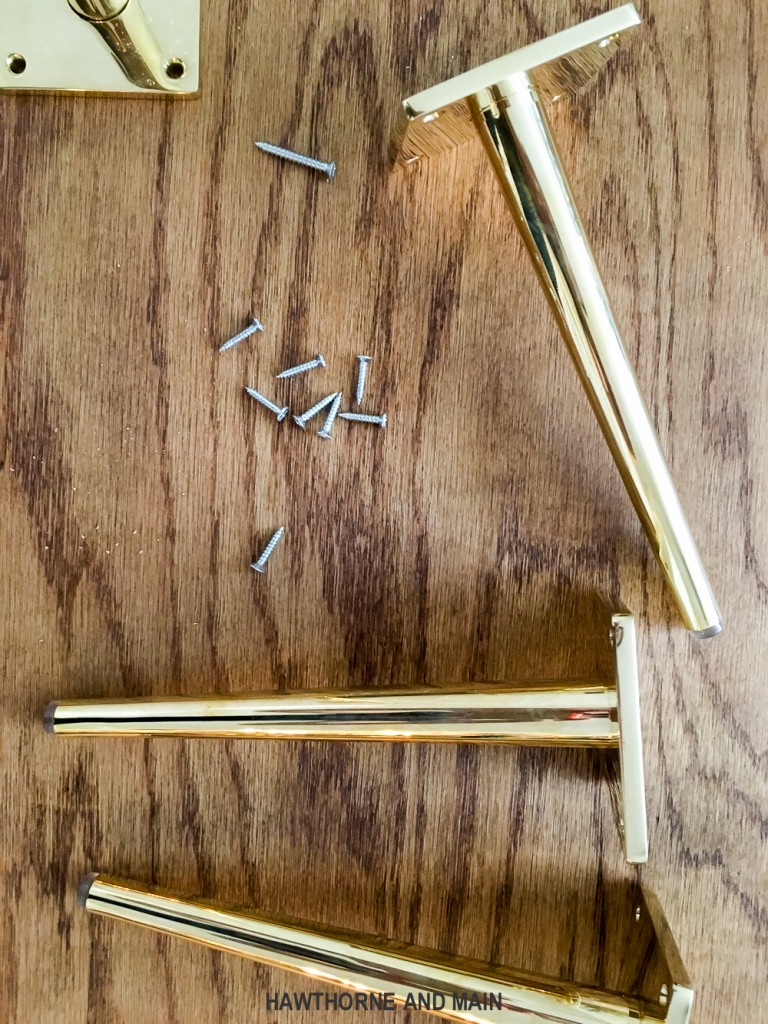
Now for the prettiest part of this bench, the legs. I got the legs from Ferrous Hardware. I love their hairpin legs, and their Clair taper legs. For this bench I went with their Modern Dunbar legs. These guys are the real deal, solid and heavy. They are the perfect legs to finish off this bench.
To install the legs, I took a really small drill bit and predrilled the holes, then used my screwdriver to add the legs.
These legs are great for a new build like this, but they are also great for existing furniture. If you have a piece of furniture that you love but want an updated look, check out what Ferrous Hardware has to offer. Getting new feet is a lot more cost effective that getting a whole new couch or dresser. Update your existing furniture for less!
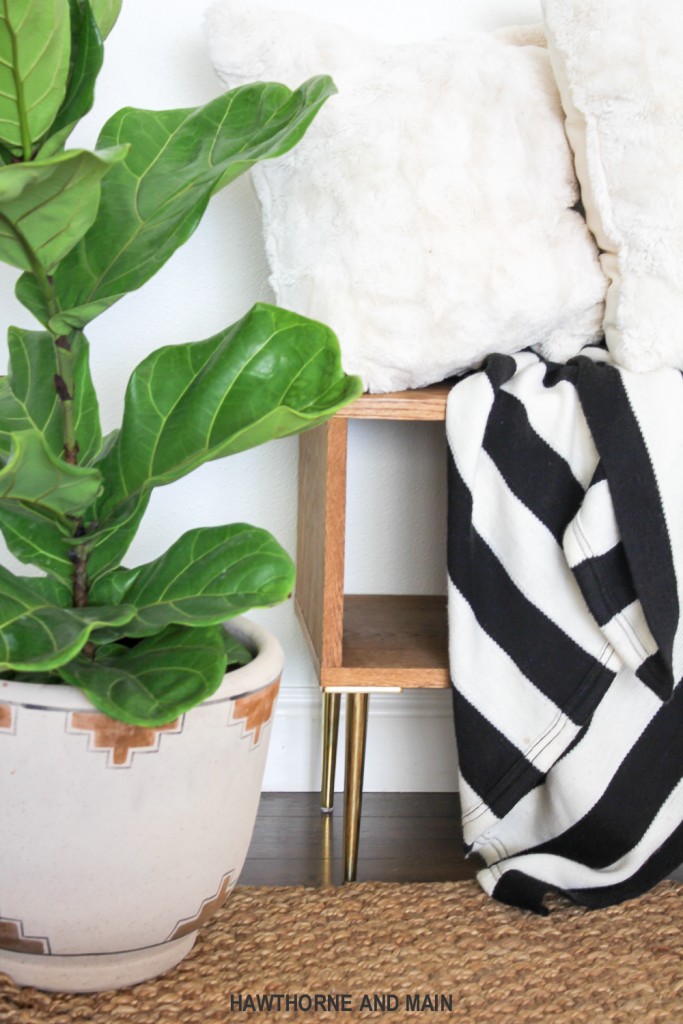
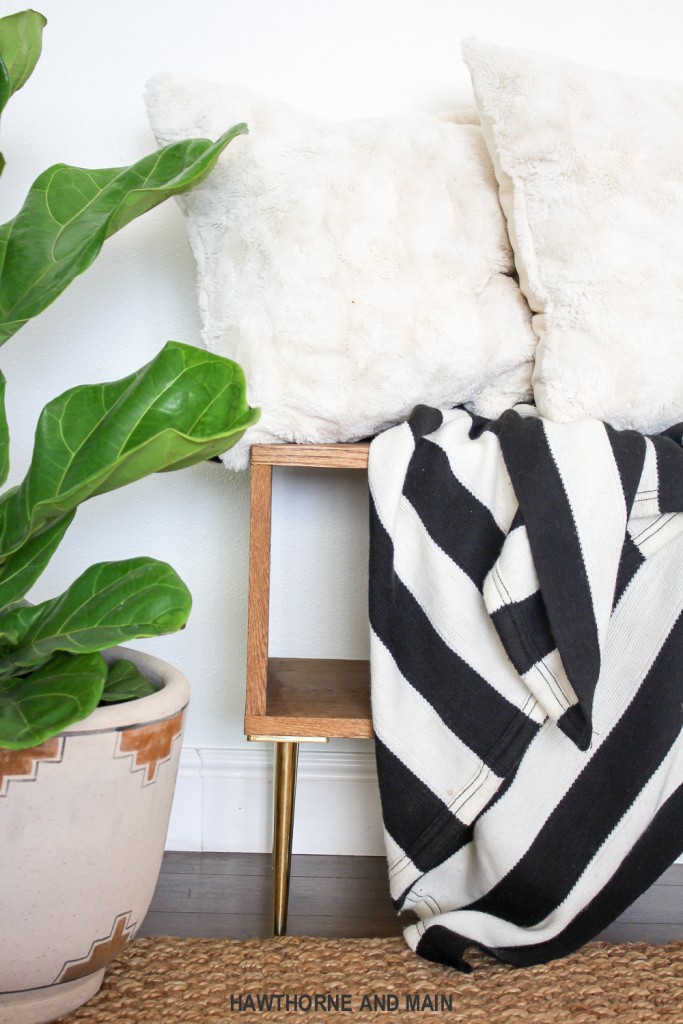
The only thing I wish I would have done different…..I didn’t even notice until I took the pictures. I wish I would have positioned the legs back a little bit further. They will be easy to take off and move back… Oh well! I love how this entryway bench turned out.
Where would you use a new pair of furniture legs?



Beautiful.
Thanks Lori! It really was one of the easiest things that I have built to date.
I love this! I love the legs!! I had a similar dilemma. I just could not find what I wanted online in the right size so I bought a raw wood console table on Wayfair and stained it. Yours rocks though!T hanks for linking up to Merry Monday! Sharing on FB! Have a great week!
Kim
That is such a great idea. I love that you thought outside the box and made your own.
Super cute bench, I love the functionality and style.
I love the mid-century style and this looks so easy to make! My husband is currently building me a desk with hairpin legs.
I love the mid-century style too. Your desk sounds awesome, I love hairpin legs!
Good idea. It turned out great!
Very well made and stylish. I enjoyed reading your process, you taught me a couple of things. Thanks for sharing.
Thanks for reading Leanna! This one turned out great and I love simple the plans are. Have a great week!
This bench is fantastic! I especially love the legs.
Thanks Timia! Those legs are awesome.
Such a cute bench Shonee! Thank you for linking up with Dream. Create. Inspire. Link! We’re featuring you this week!
Cat
Thanks for the feature Cat! I love the simple design and easy build.
Hi,I check your blog named “YouTube” on a regular basis.Your writing style is awesome, keep it up! And you can look our website about free proxy list.
I was thinking of doing the same thing in my daughters room. I can only imagine what will her reaction once its done.
I got my drainage problems fixed and now this mid century modern bench looks great in the backyard! I highly recommend getting this if you also have drainage problems like the ones found here -https://www.raintek.ca/gallery/common-drainage-problems
I agree Scott! Click my name for more info on common drainage problems. Cheers!