My job is all about being creative. Luckily for me I enjoy the challenge of coming up with new ideas, home decor projects and other fun topics to write about.
I will be honest…there are times when my creative juices are high and other times it’s low. I think that’s normal.
Have you ever been laying in bed early in the morning and you are sort of half asleep half awake and your mind is racing thinking about this and that? You start to have this idea….the perfect idea.
It could be a craft project, a solution to a problem at work or even better, a new parenting strategy.
You jump to your feet, excited about your new found solution. You are thrilled because every step, every angle was laid out in your mind and you just know, you… just…. know… that it will all work out.
And then….
And then, you start your so called craft project….ahem….and things don’t really go as planned, haha. Luckily there are always second chances and this project is a definite, second-chance-champ of a project.
SUPPLIES:
–Foam
–Fabric Paint Medium
–Acrylic Paint
–Drop Cloth (2 feet by 2 1/2 feet) or home depot
-Scissors or Utility Knife
–Paint Brush Dobber
TUTORIAL:
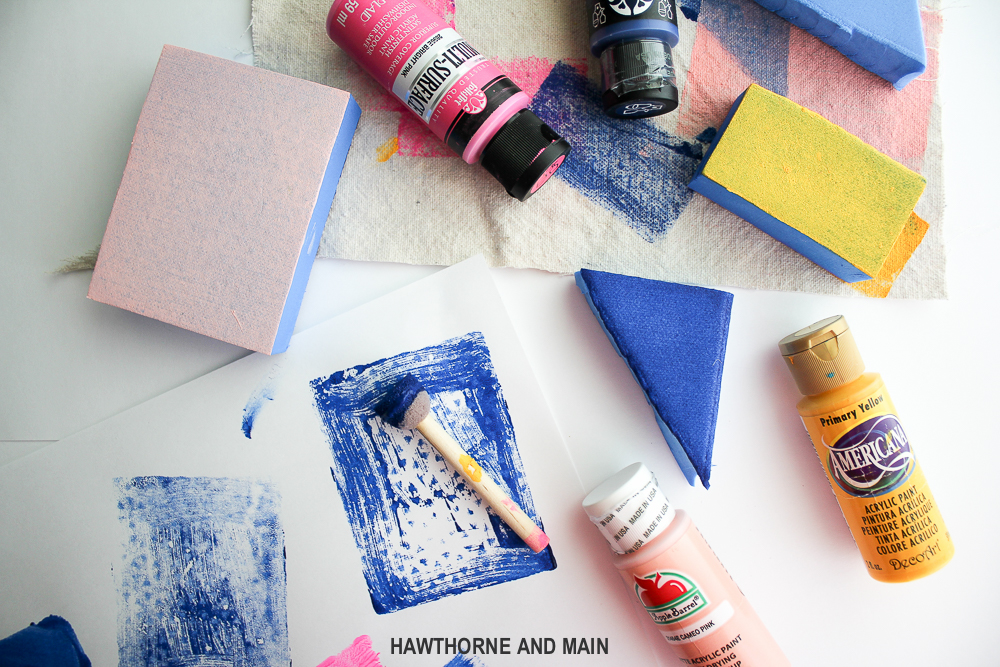
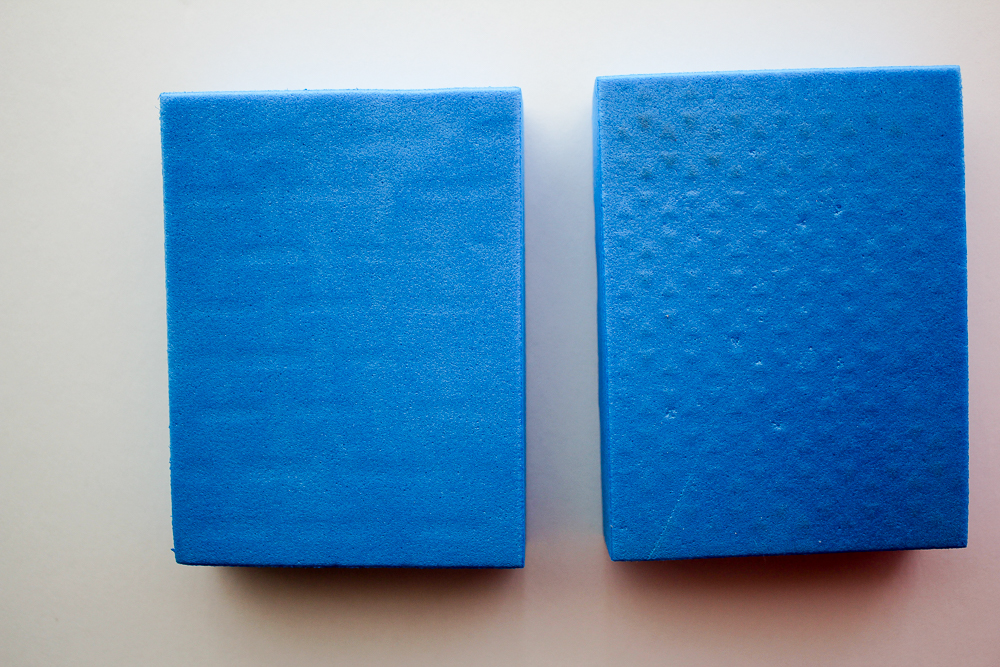
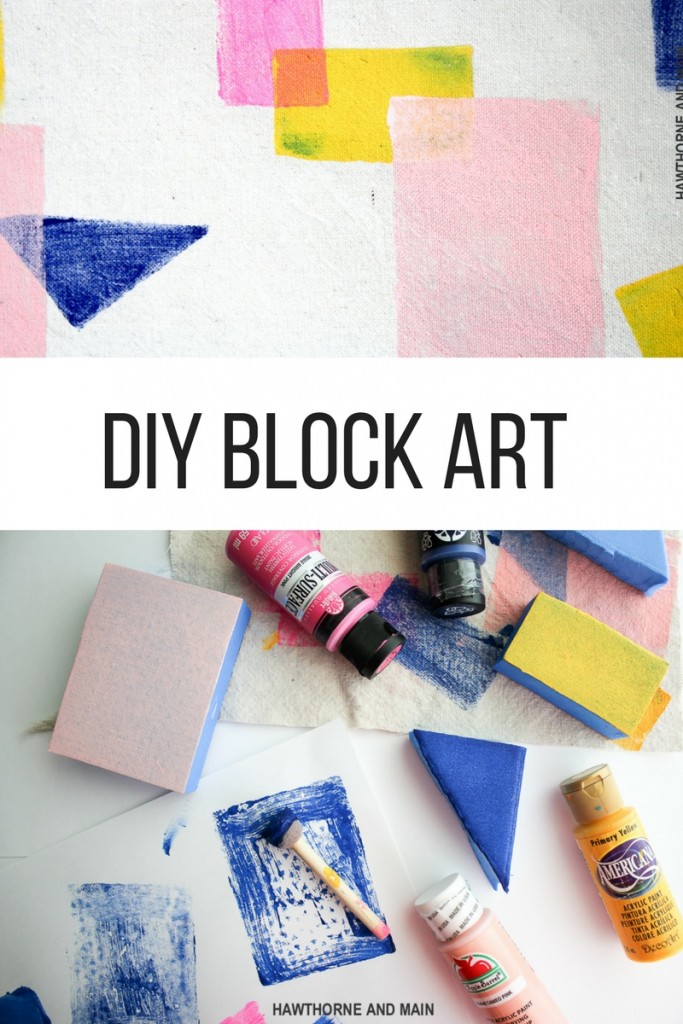
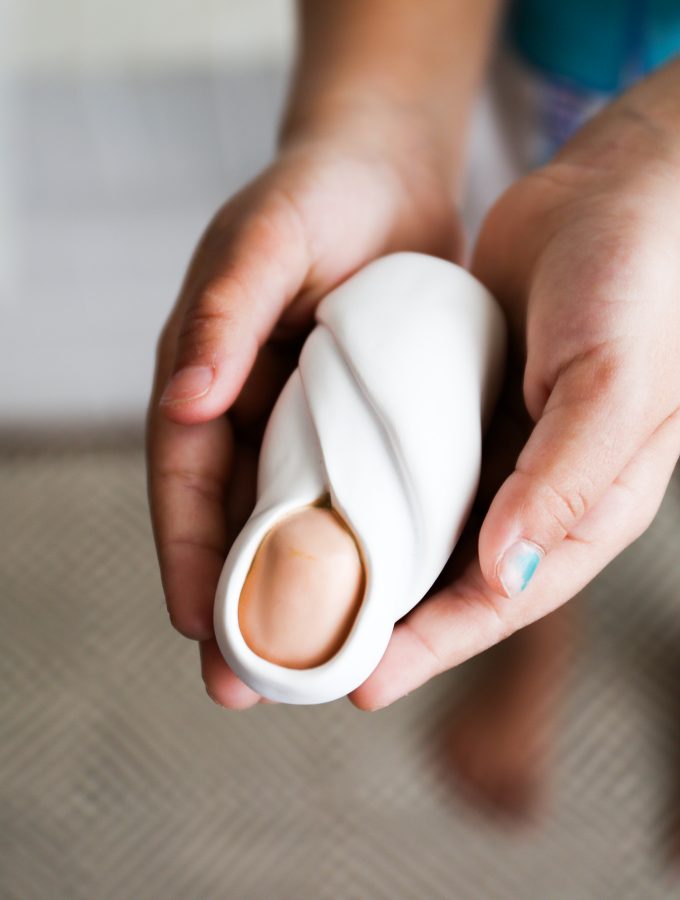
This foam sounds so amazing online. It claims to be able to be an impression on the stamp to create custom stamps. You can see in the image above that it worked…sort of. I had grand plans of making a really cool design with the custom stamps….fail. Maybe I didn’t do it right, either way it wasn’t working how I had envisioned.
BUT…
I said earlier the this was a super second-chance-champ of a project and it is. Instead of making the impressions as planned, I cut the foam into a few different shapes. The foam is quite thick and somewhat firm so I had to use really sharp scissors.. If you are wanting a more intricate shape then you would need to find another method of cutting the foam. For large geometric shapes, scissors will work great.
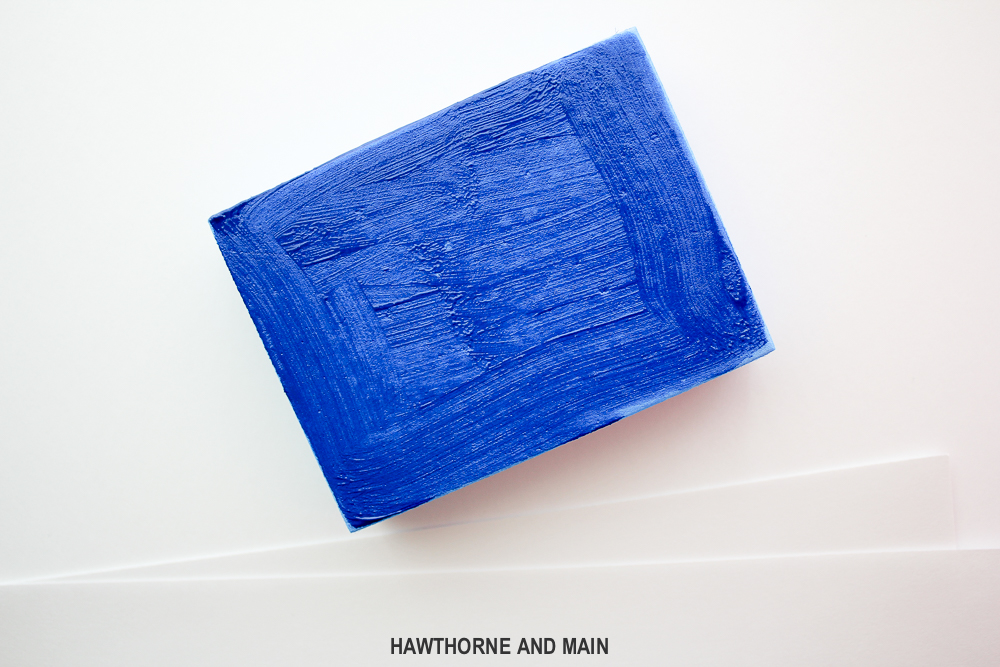
After all of your stamps are ready you can mix the acrylic paint with the fabric paint medium. Follow the directions for mixing proportions. Using a paint brush, brush on the paint to get a thin even coat. Stamp away!
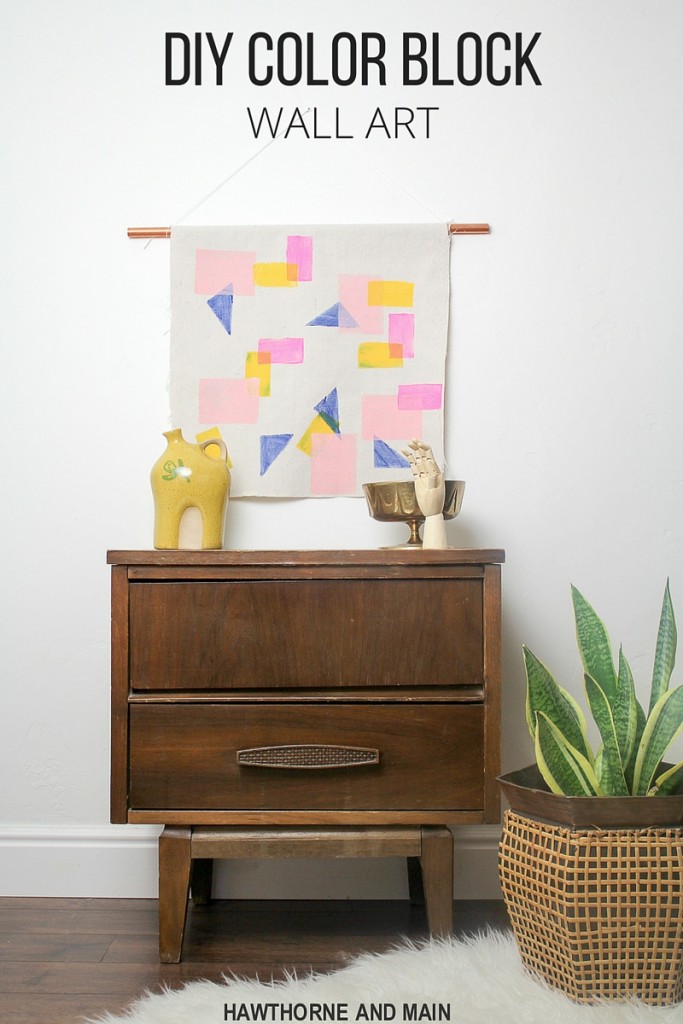
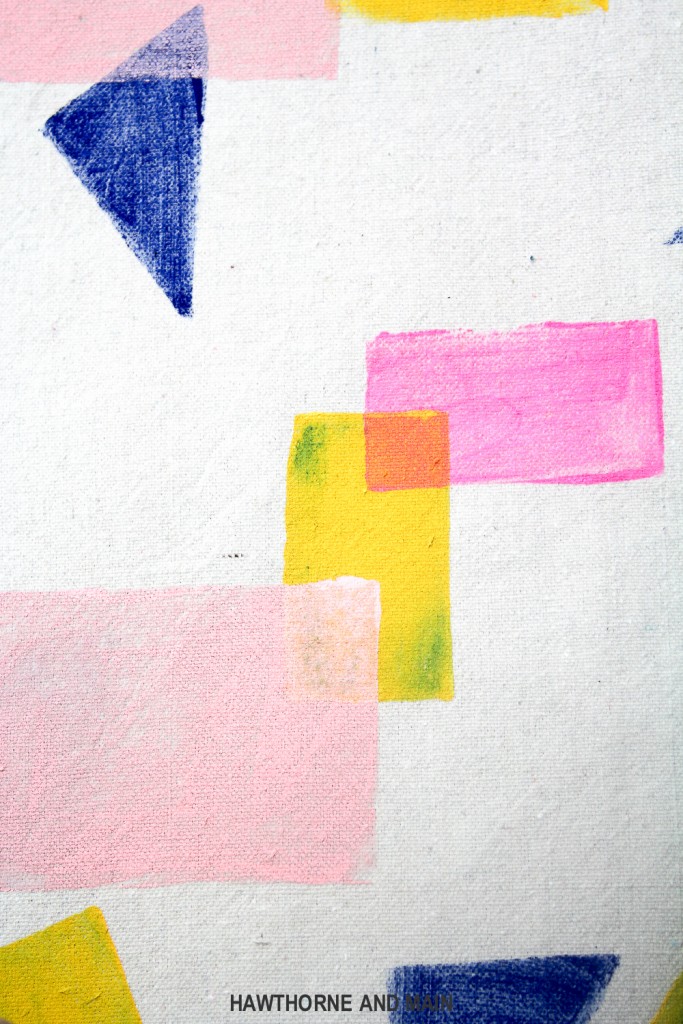
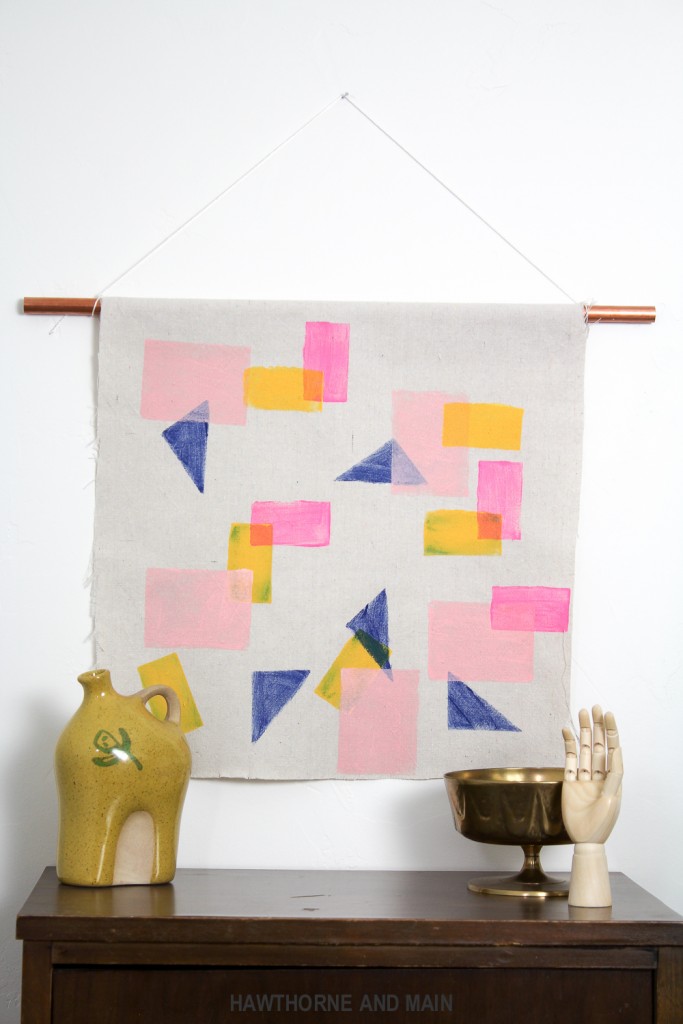
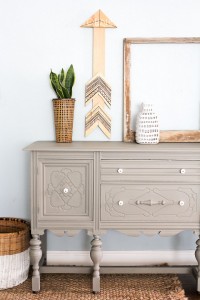
You can overlap the colors like I did or create another fun pattern. I didn’t plan anything out ahead of time. I just went with it. I really love how it turned out.
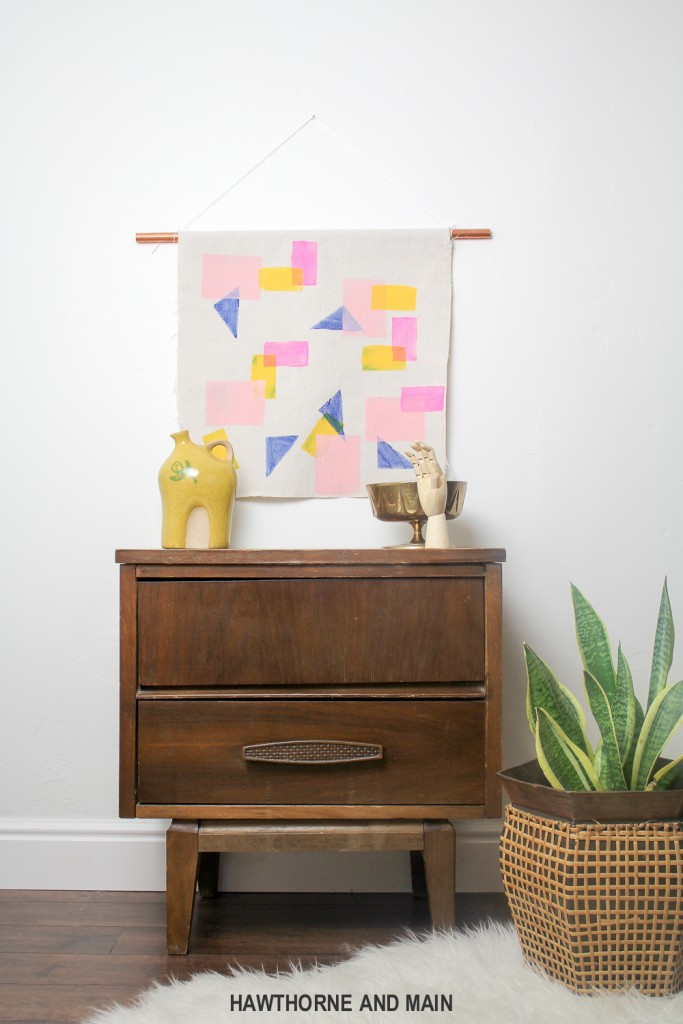
Once the paint has dried you can hang it up. I used a piece of copper pipe and some string to hang this one.
Since every project can’t be a winner, I am glad that there are second chances. This second chance project was a champ.
Have you had a project that you thought was a fail but managed to salvage??


Dear Shonee,
wooow! This looks incredible!
greets from germany,
Susi
Hey Susi! Thanks for stopping by all the way from Germany! This one is a fun pop of color.
I think it turned out super fun. Love how it looks over the cabinet. I have a failure-of-a-project sitting on my porch waiting for its second chance inspiration. Visiting from Inspiration Monday party.
Thanks Victoria! I have a ton of unfinished/failed projects. So glad that this turned out on its second chance.
I am loving your DIY wall art! So pretty! Thanks for sharing your crafty inspiration on this week’s Monday Funday Party!
I love this, Shonee! So creative and unique and I love the colors.
Thanks Mary. Great way to bring in color on the cheap!