The entryway was in need of an update….BIG TIME. I think the stripes on this wall were one of my first accent walls here on the blog. I liked it.
But time changes everything. I was sitting in the living room the other day and just decided that….it was time for a change. I was over stripes, just like that. Don’t get me wrong, I like stripes….I just wanted something new and something BOLD!
This post is in collaboration with Frog Tape. My opinion of fabulous tape that makes the best crisp paint lines are my own. For more info see my disclosure.
I have always loved color…..my recent attempts at putting bold colors on walls hasn’t panned out as well as I had envisioned….
…..and so I got nervous, I got scared. I almost went all white called it a day. Except….except I decided to take another chance, to break out of my comfort zone. I decided to face my fear and just go for it. Just because bold hasn’t worked in the past doesn’t mean I haven’t grown or gotten better at picking colors. Sometimes practice really does make perfect.
When I spotted this wall that my friend Stacy did I knew that green was the answer to my BOLD color woes.
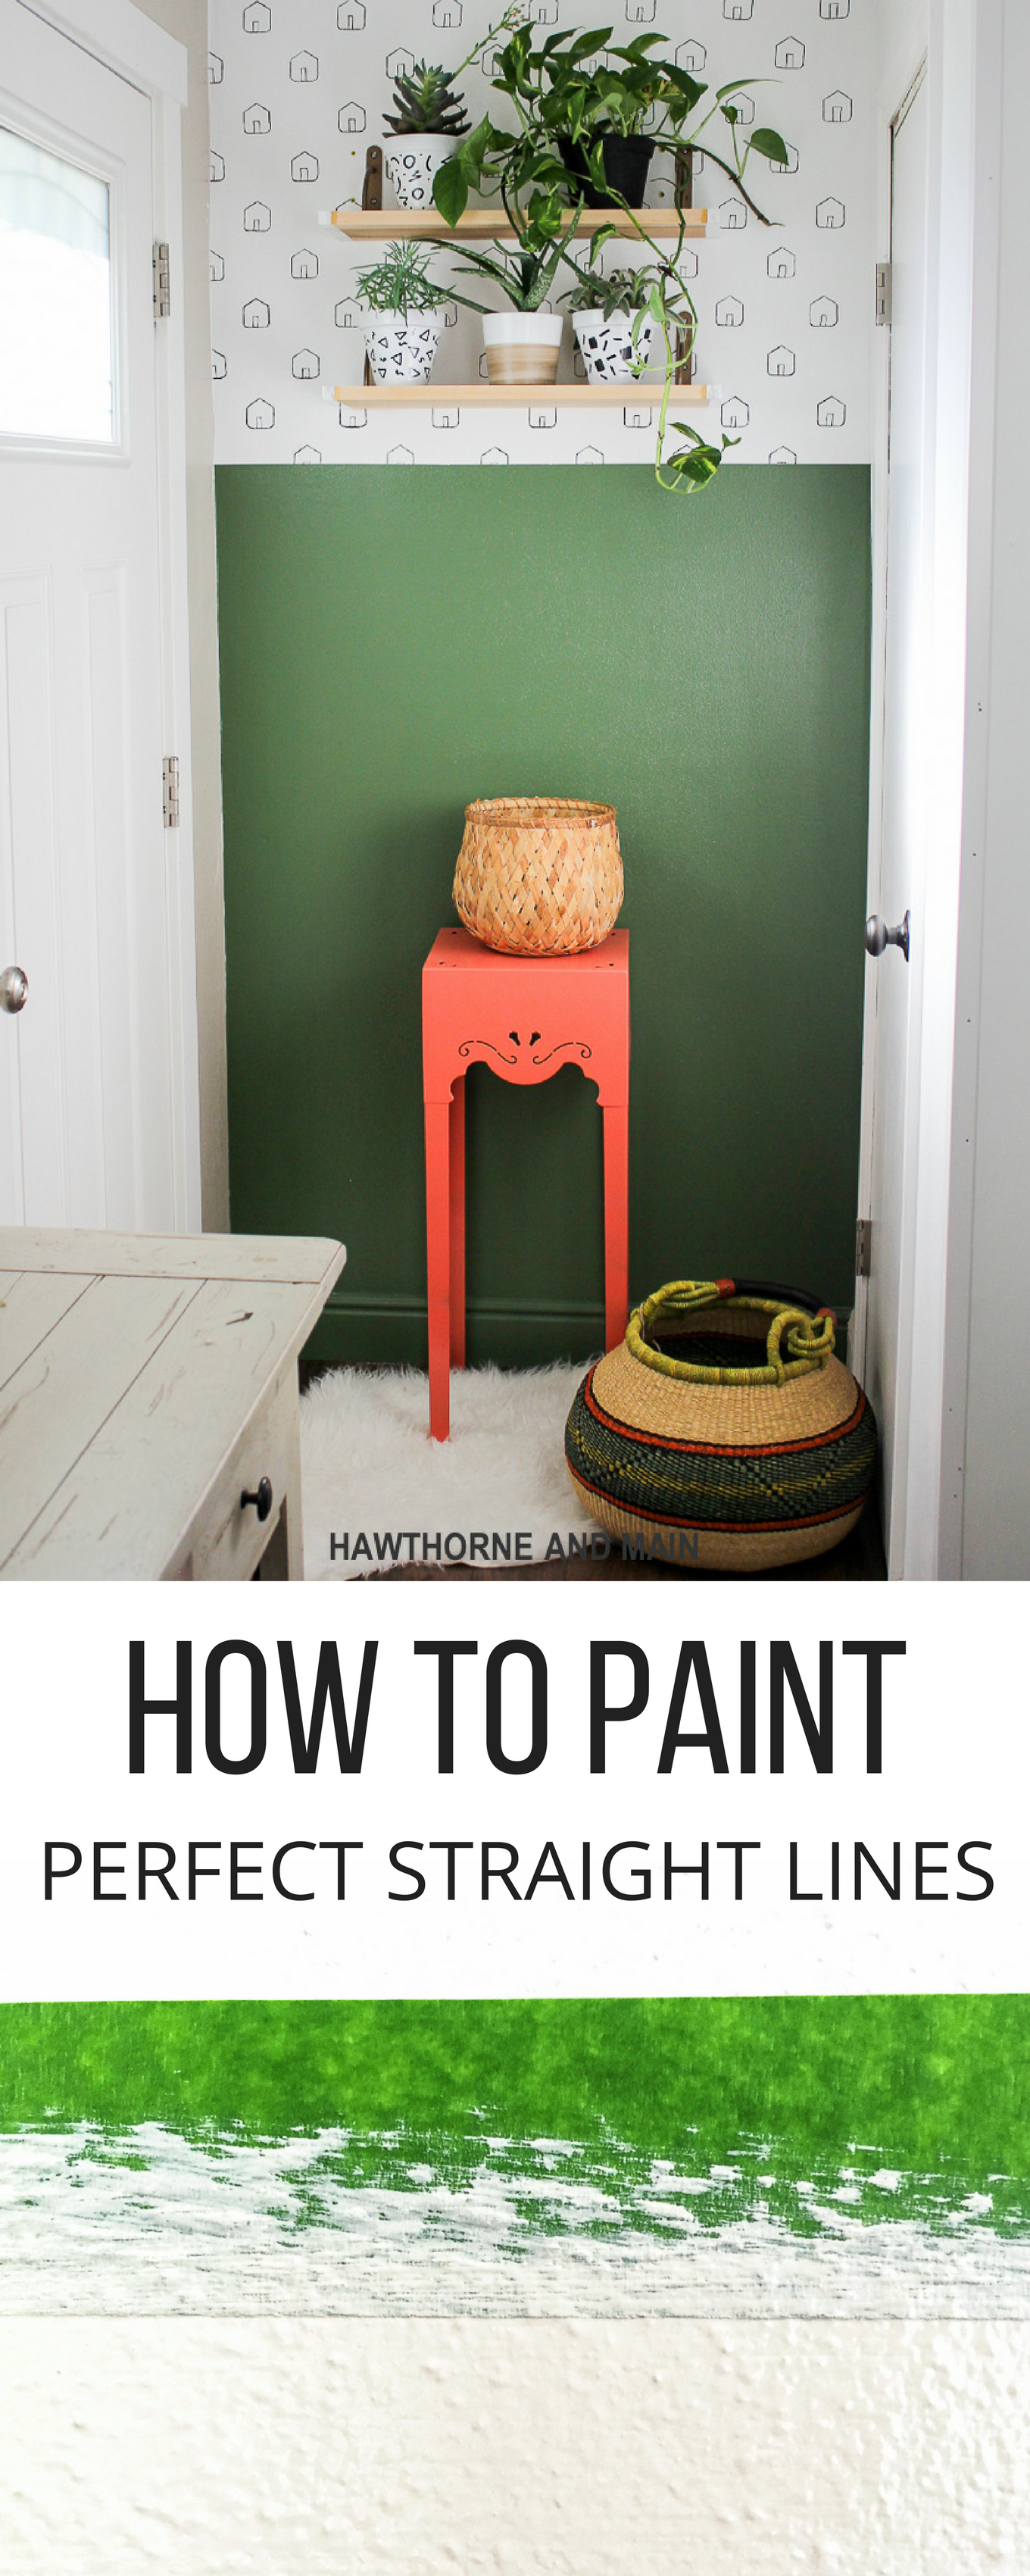
So here is my new entryway….half green!
There’s more….
Have you ever wondered how people get such perfectly pretty straight lines without any paint bleeding through….yes I once wondered the same thing. It’s so so so easy to paint perfectly straight lines. Today I am going to show you how!
SUPPLIES:
–Frog Tape (a must, for sure!)
-Credit card or Damp cloth
-Pencil
-Existing wall paint
-New wall paint
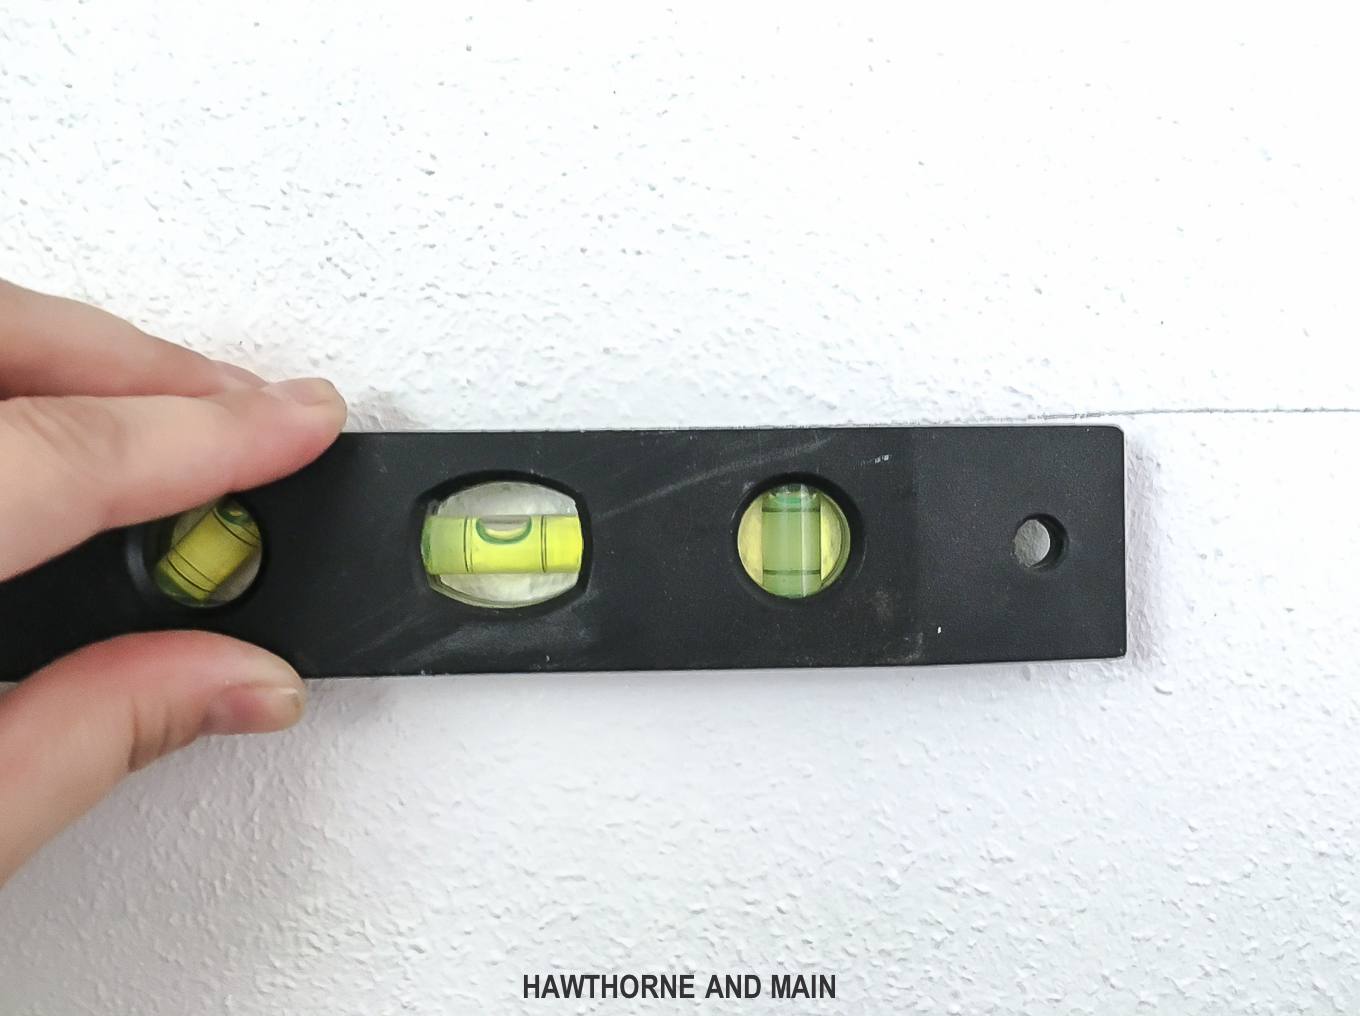
Step 1: Use the level to draw a straight line
Determine where you want the straight line or lines to go. Then, using the level draw a straight line. I simply used the top edge of the level to make my straight line. I moved the level across the wall and continued to make the continuous straight line until I got to the end of the wall.
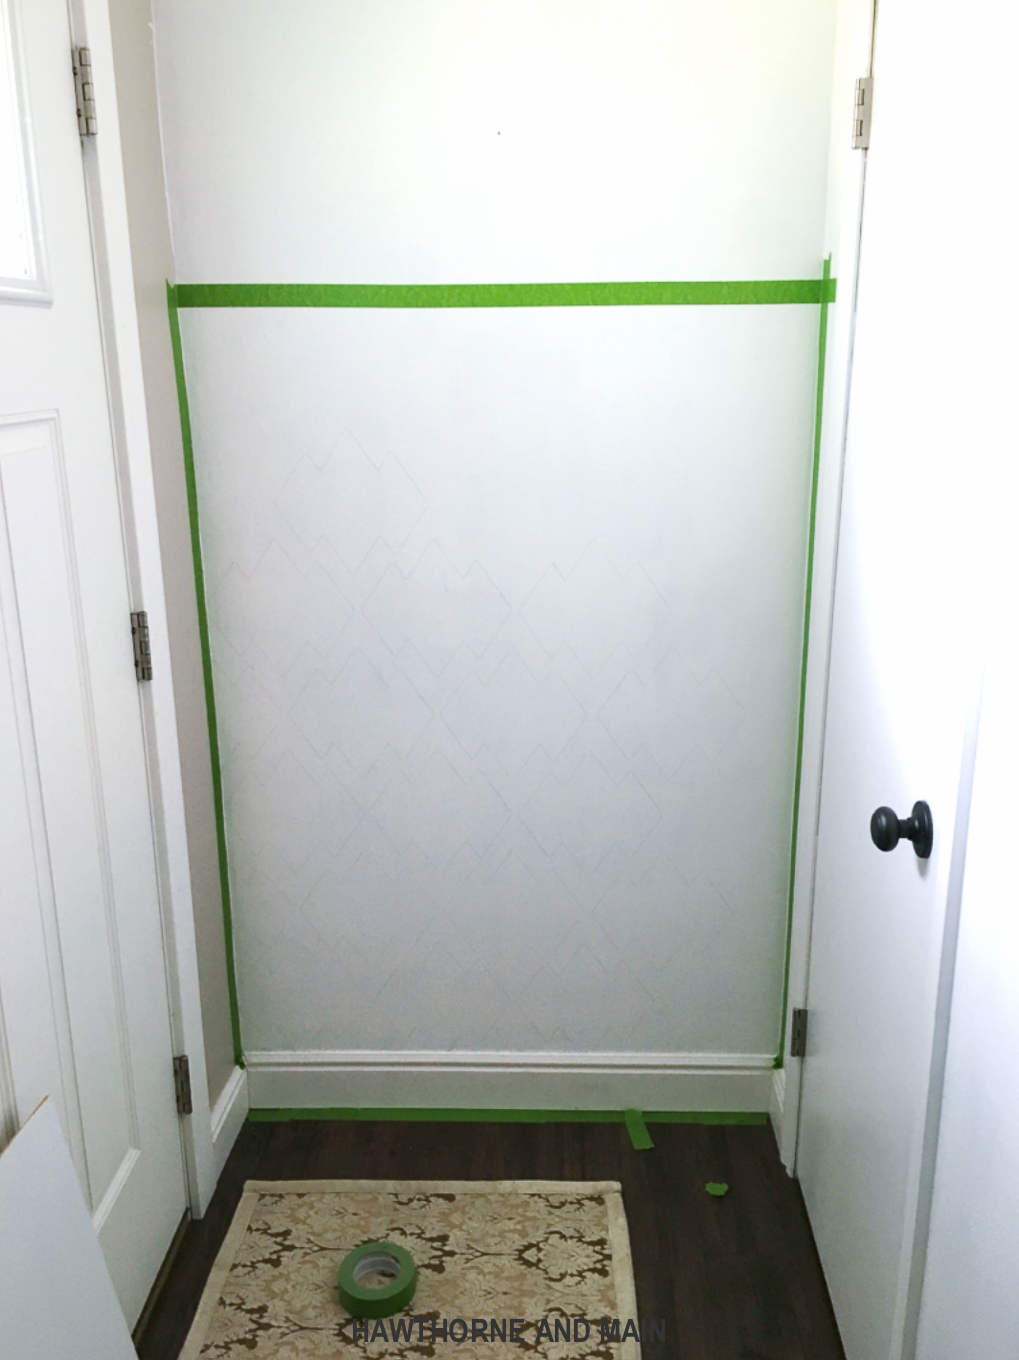
Step 2: Frog Tape
Add frog tape on the line or lines you just drew. Be sure to put the tape right on the line. The line is level and straight use it!
Step 3 Burnish the tape edge
Using a credit card or a damp cloth rub the tape to ensure that is has adhered well to the wall or surface you are painting. This will greatly help in getting that crisp line.
Step 4: The magic step (existing wall color)
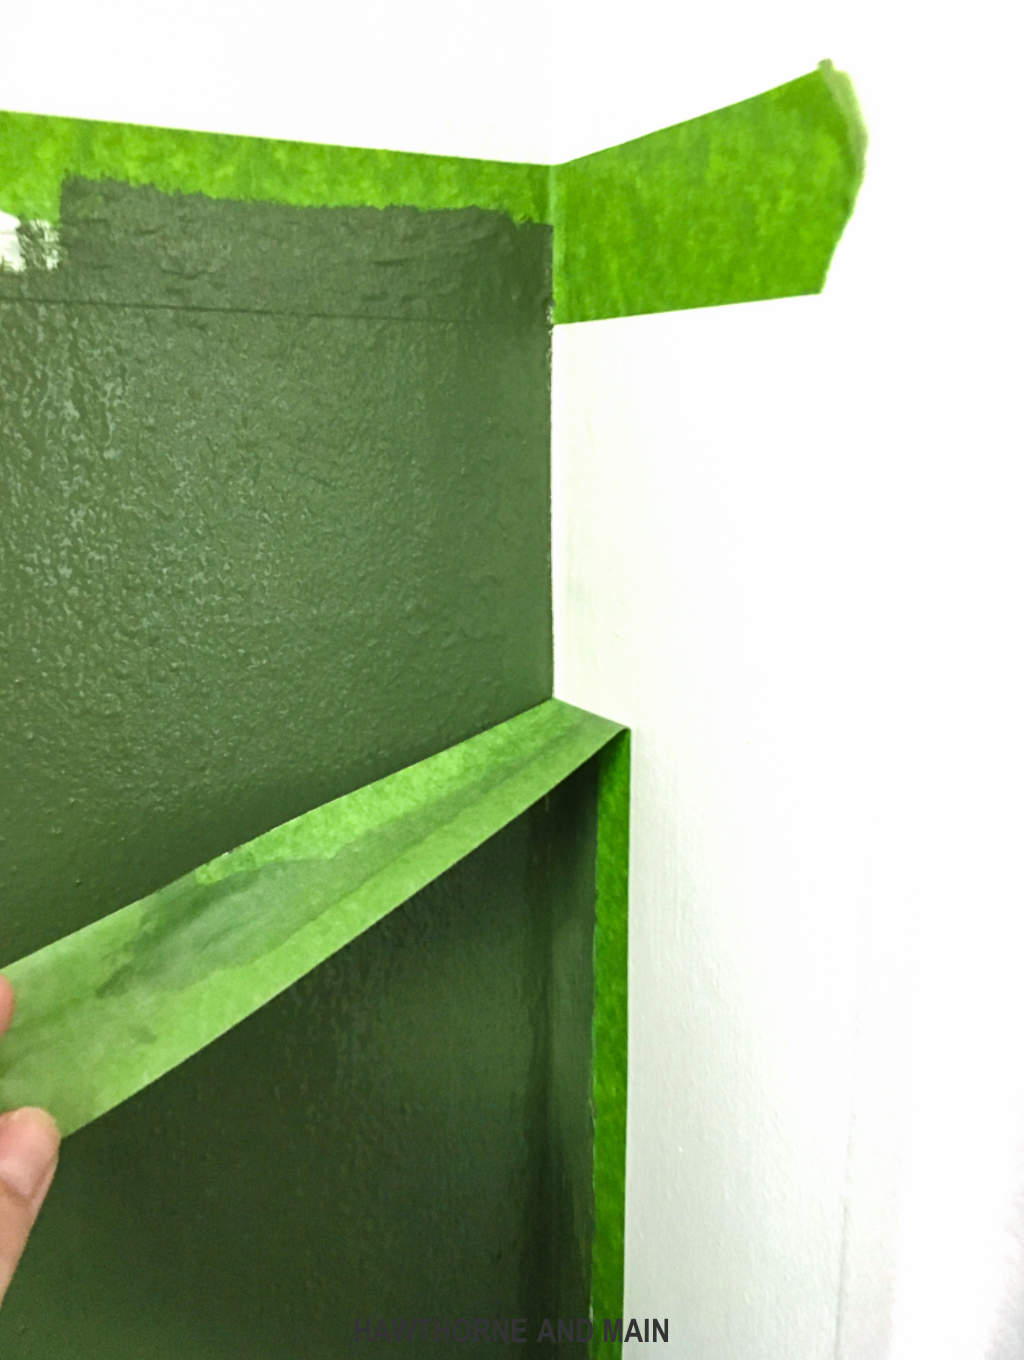
This is what I like to call the magic step. It takes a little bit more time up front but let me tell you it’s worth it. Find some left over paint that is the same color as the wall you want to paint. Use a paint brush to paint along the edge of the tape, like you see below. This ensures that if any paint does want to seep through the tape that it will be the existing wall color… cool huh!
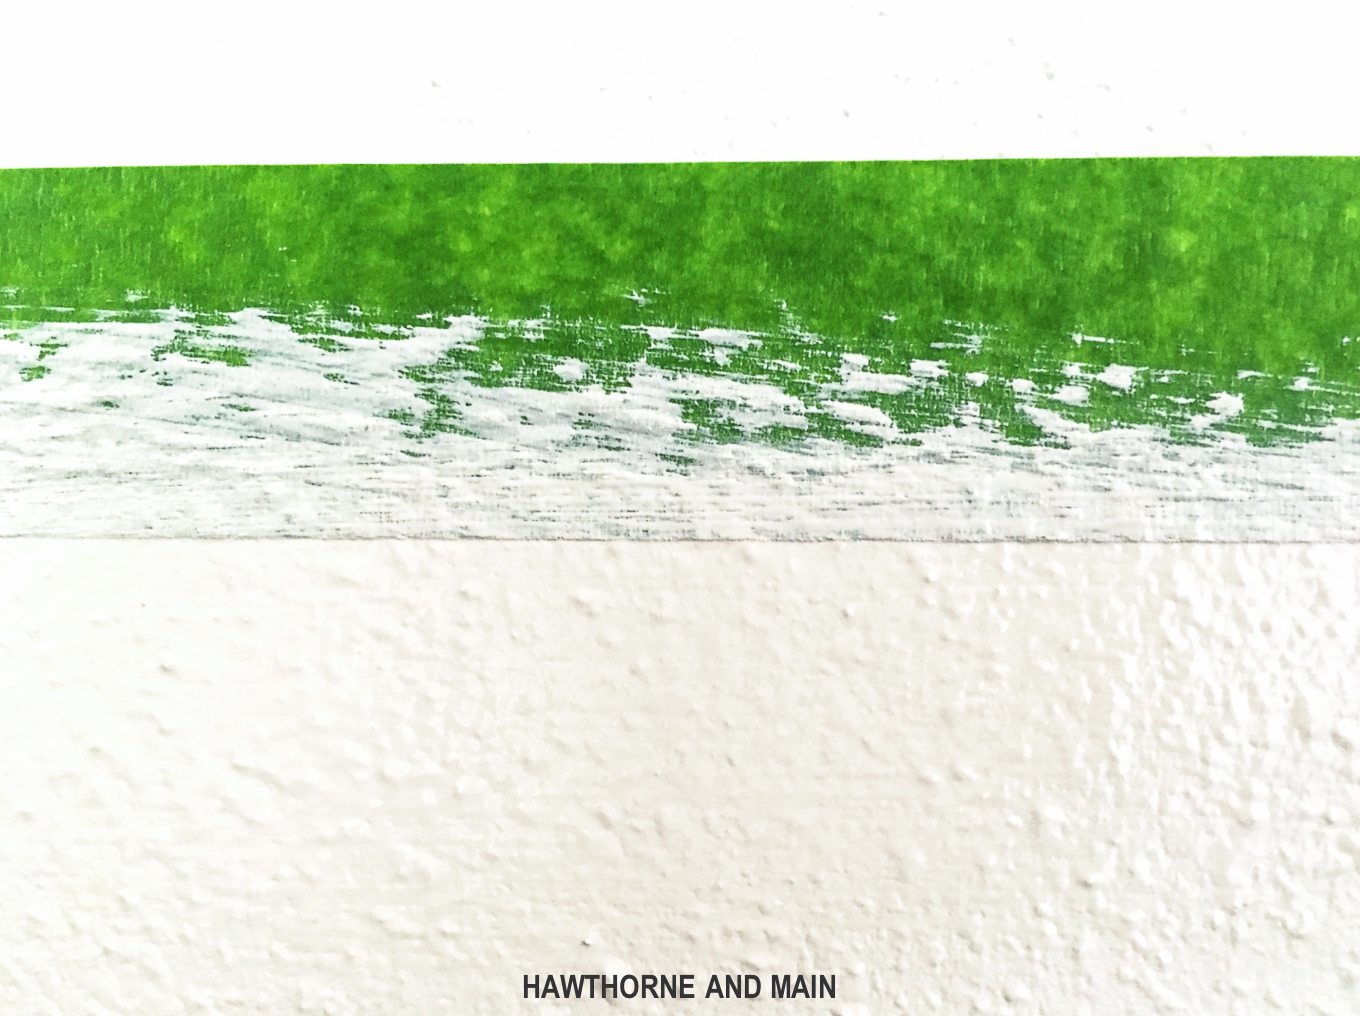
Step 5: Cut in new paint color
Using a paint brush cut in the new paint color around all the edges.
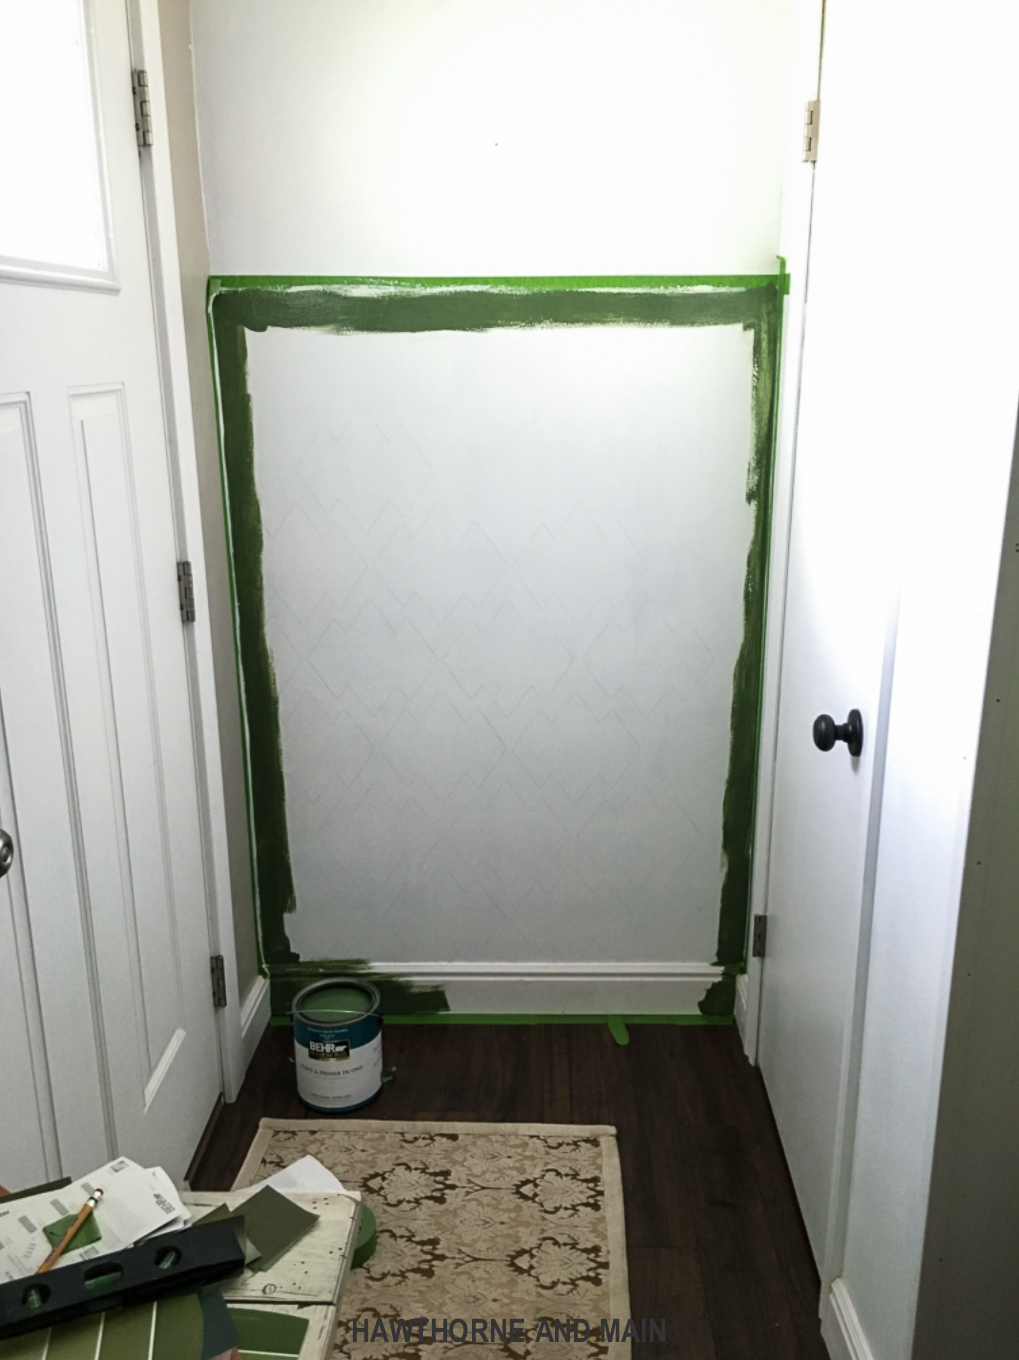
Step 6: Finish painting wall
Now it’s time to grab your roller and paint the rest of the wall. If you need a second coat repeat steps 5 and 6.
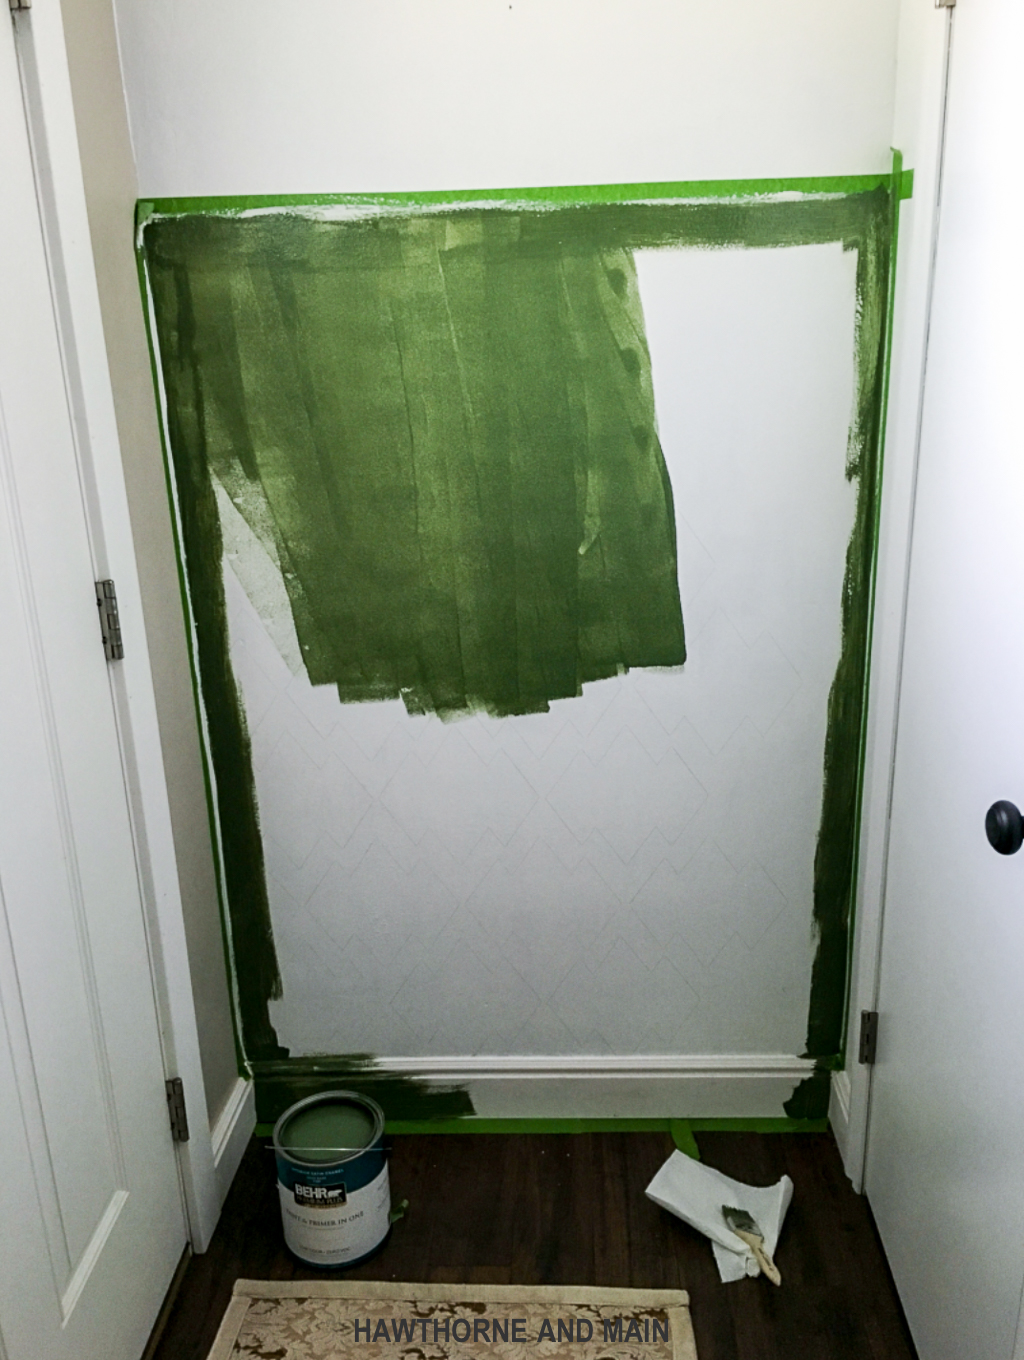
Step 7: Remove Tape
It’s important to remove the tape as soon as you finish painting, trust me!
Ever wonder what will happen if you don’t….I hate to divulge that this truth comes to you from personal experience. If you let the tape sit too long then it sort of thinks that it should become part of the wall. When you try to remove that tape, after the paint is dry, it can bring some of the new paint with it….making a very ugly, not so pretty line anymore. Please, please, remove the tape promptly after you are finished painting. The fresh paint will thank you!
My entryway is fresh and clean…..it’s green. A bold color….and I love it.
Be sure to check out why Frog Tape is different!
Do you have a wall, even a small wall, that is screaming to have a new fresh paint color? Give this half wall a try, it’s fun.
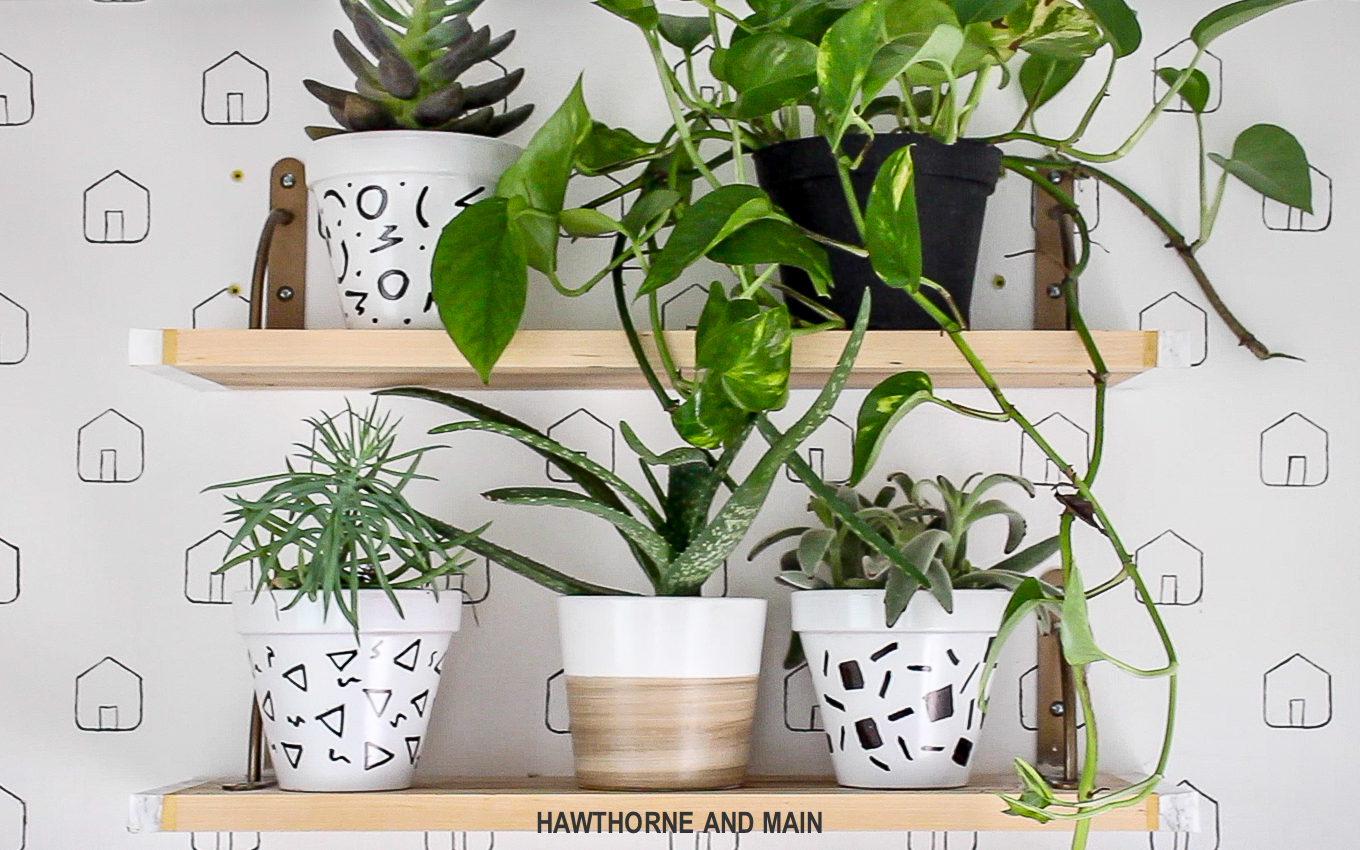
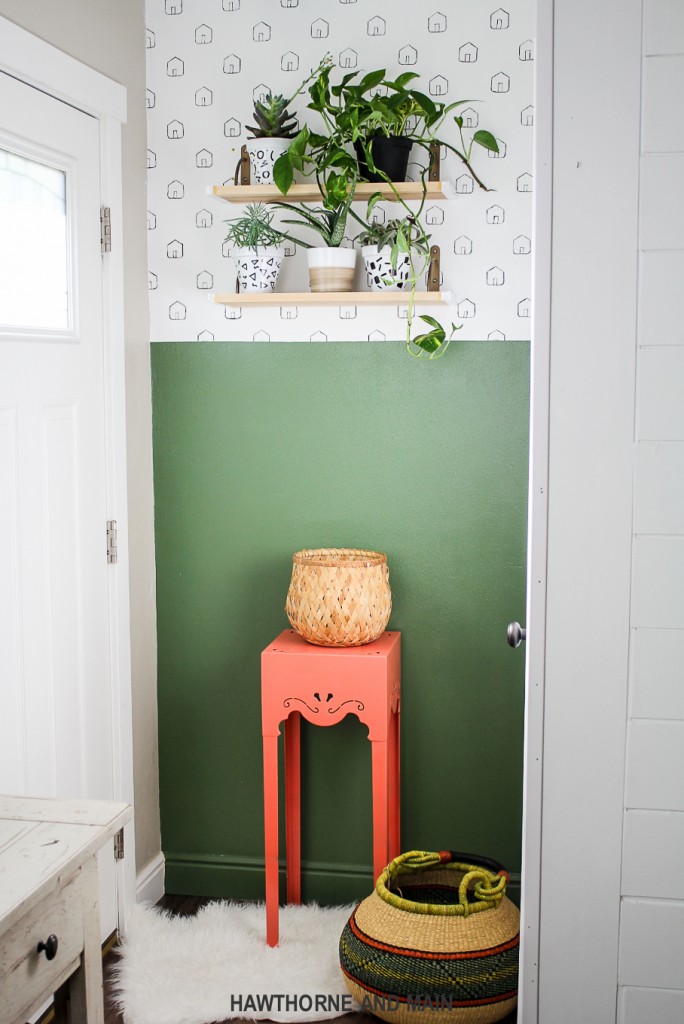
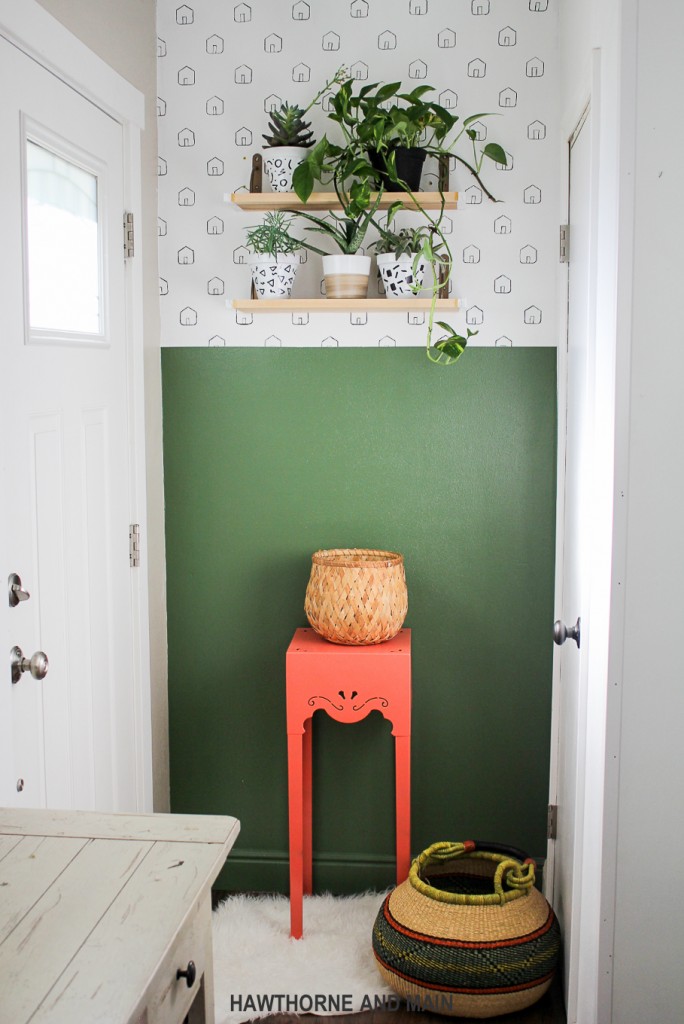




I love it! And the shelves full of plants make me happy 🙂
Thanks Stacy! Your room makeover gave me the idea to use green, I love the color. The plants make me happy too. I would now just love to learn how to keep them all alive…:) Have a great weekend!
Love how this turned out. I’ve unfortunately learned the hard way about leaving the tape. It not only ripped off the paint but my brand new drywall mud. We had worked days getting smooth texture just to have it ruined. It’s been a yr and half and I still haven’t had the time to fix the major issue. I was really disappointed because it said on the packaging that it can stay for 48 hrs I think. 🙁
Thanks! Yes, don’t leave the tape on. I hate it when you have to do….and redo. It is no fun. I have some project just like what you described….never finished. One day will get to them all 🙂 Have a great weekend.
such a cute space, i looove all the live greens and the little houses above the paint!
b
Thanks! I am becoming a plant lady…every time I go to Home Depot another plant jumps into my cart. Now I just need to learn how to keep them alive! The green really does make me happy! Have a great weekend!
I love it, you really did a great job!
Love this new color on the wall! Great shelfie too! 🙂
Wow!!! Looking just beautiful & attractive. Just fantastic. Enjoyed a lot. Thanks.
this is looking very cute <3
the shelves full of plants
Thank you so much for your great content, I’d love to try it, that you!
Hawthorne & Main it is well done! Speacially it is really good result as you used just a brush, not a sprayer!
Whats the name of the green color? Love it!
Wondering the paint color too- thank you!