Dear Pillow,
Why do I love you so?
All the textures and designs, some of you are soft and cozy others are stately and firm.
You make decorating a breeze and can freshen up a room in no time.
My dearest pillow, what I love about you most is that I can make you myself with a little fabric and an hour. Come learn how to sew a zipper pillow for yourself. We can decorate and switch around and freshen up together!
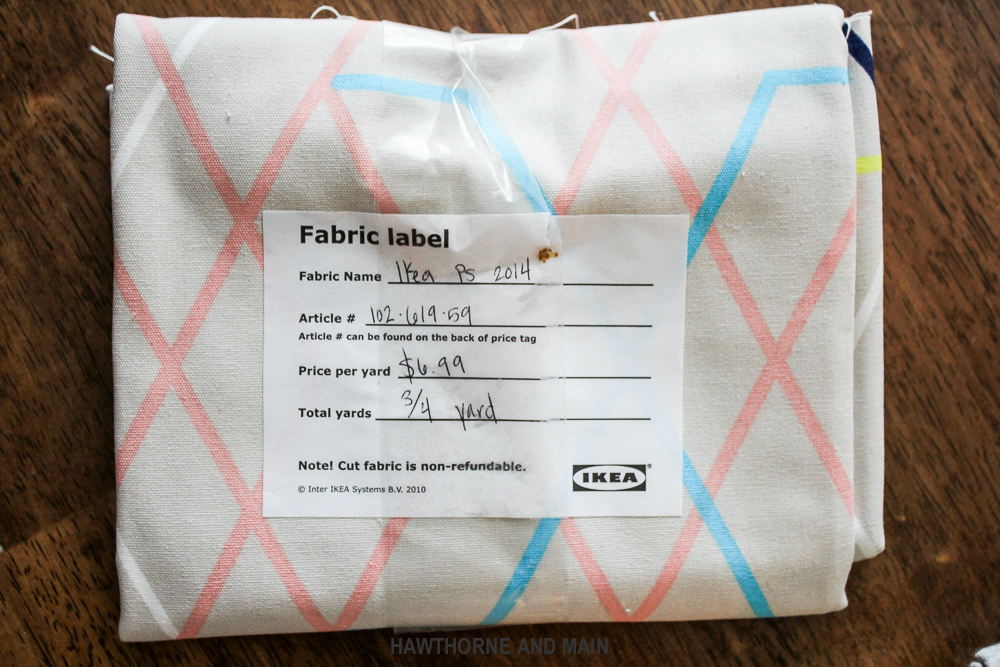
I got this fabric from IKEA, did you know they sell fabric….oh yes! I picked this up over a year ago… I loved it but didn’t really have a plan for it. I found it the other day and knew it needed to be a pillow!
SUPPLIES:
-Fabric (depending how big you want your pillow)
–Sewing Machine
-Thread
-Zipper Foot (sort 0f- see below)
-Zipper
–Pillow Form or Poly Fill
1- Cut Out Fabric
This will all depend on how big you want you pillow to be. Usually it’s best to leave a 1/2 inch seam allowance all around. Cut out two pieces of fabric. In this case I want a 20″ pillow. I cut my pieces at 20.5 x 20.5.
2-Sew First Side of Zipper to Pillow
This might sound a little counter intuitive but stay with me. Lay your fabric so that the top is in front of you- Right Side Facing Up. Take your zipper and lay it on the fabric so that the top edge of the zipper meets the top of the fabric. Keep in mind that the zipper front should be laying down, meeting the right side of the fabric. Just like the image shows. Sew along the zipper making as straight of a stitch as possible.
I hate to admit this but ssshhhh….I never use my zipper foot to sew zippers on pillows. I just use the settings on my sewing machine to move the needle as far over as possible (to the right or left depending on which side I need it on) and go for it. Doing it this way, I am able to see more of the actual zipper, once the pillow is done, but since I can never find my zipper foot it works for me. Do whatever is best for you!
3-Sew Second Side of Zipper to Pillow
Flip the pillow over, like a pancake, and meet the the other side of the pillow with the zipper. Reminder to keep the front of the zipper touching the right side of the fabric. Look at image 3 to make sure you are doing it correct. Sew the zipper on.
4-Make Sure the Tales of the Zipper are Sticking Out of the Pillow
What do you mean Shonee, the picture does not show the tales sticking out of our pillow…..? Yes, yes, I know. I had to go back and unpick….the worst! Please make sure that you stick those little tales out of the pillow. In the picture they should be sticking up. I unpicked and fixed it, now the pillow looks fabulous.
5-Sew Up the Sides and Bottom of Pillow- Unzip Pillow a Few Inches
Sew up the sides and along the bottom of the pillow, keeping the stitch about 1/2 inch on all sides. Unzip the pillow a few inches.
6 -Turn Right Side Out
Using the opening in the zipper that you just made, turn the pillow right size out. At this point, if you used a zipper foot you can go ahead and top stitch the zipper. I hate to admit how lazy of a crafter I am, I did not top stitch. I just made sure I went over the original stitch a few times to ensure it would hold. To be fair the top stitch does look nicer.
Press the pillow with an iron, and then use a pillow form or poly fill to fill it. Personally I prefer store bought pillow forms because they are smooth and just seem to work better.
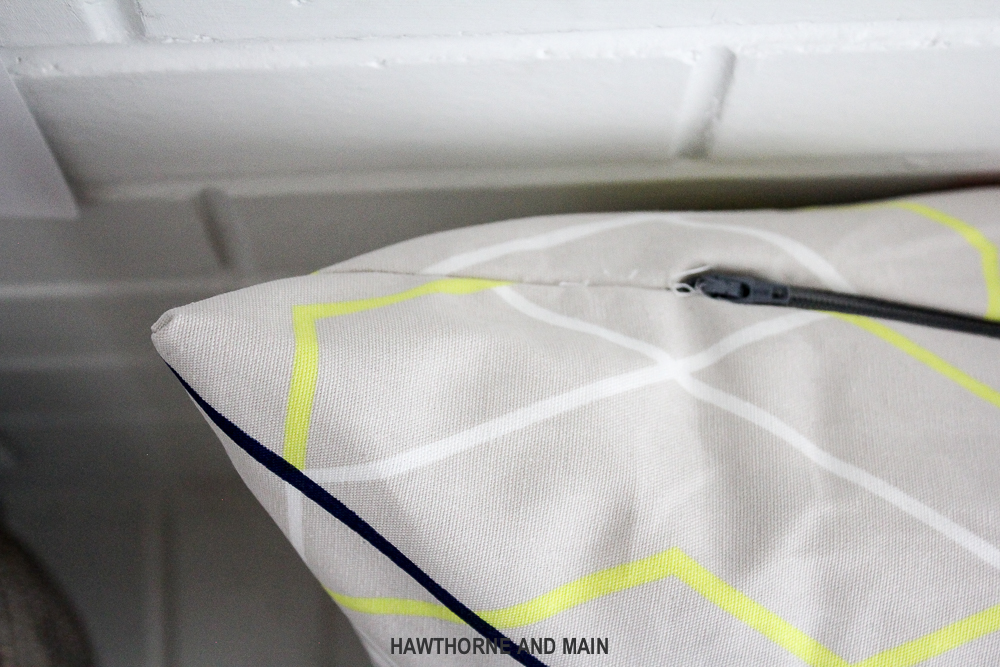
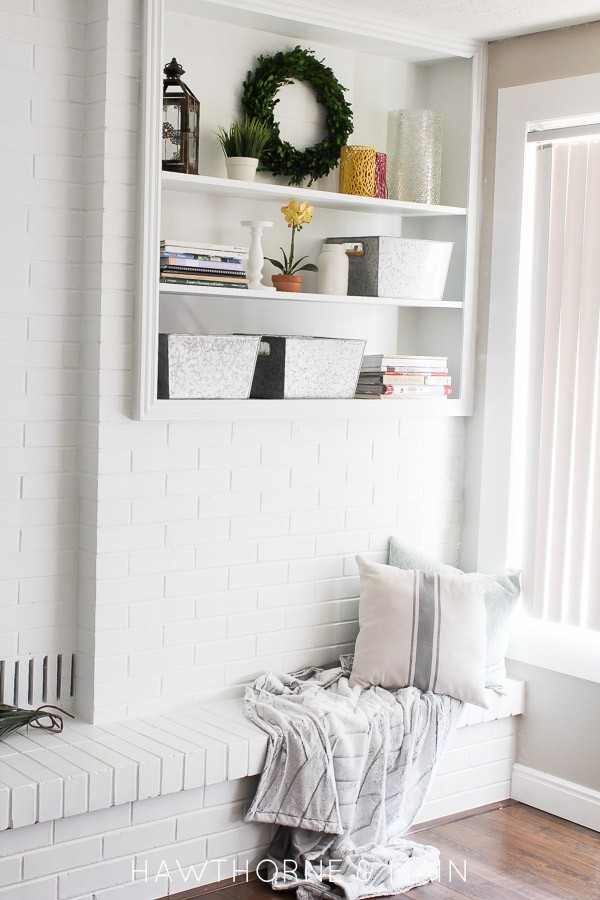
Here is a picture of my pillow with the zipper.
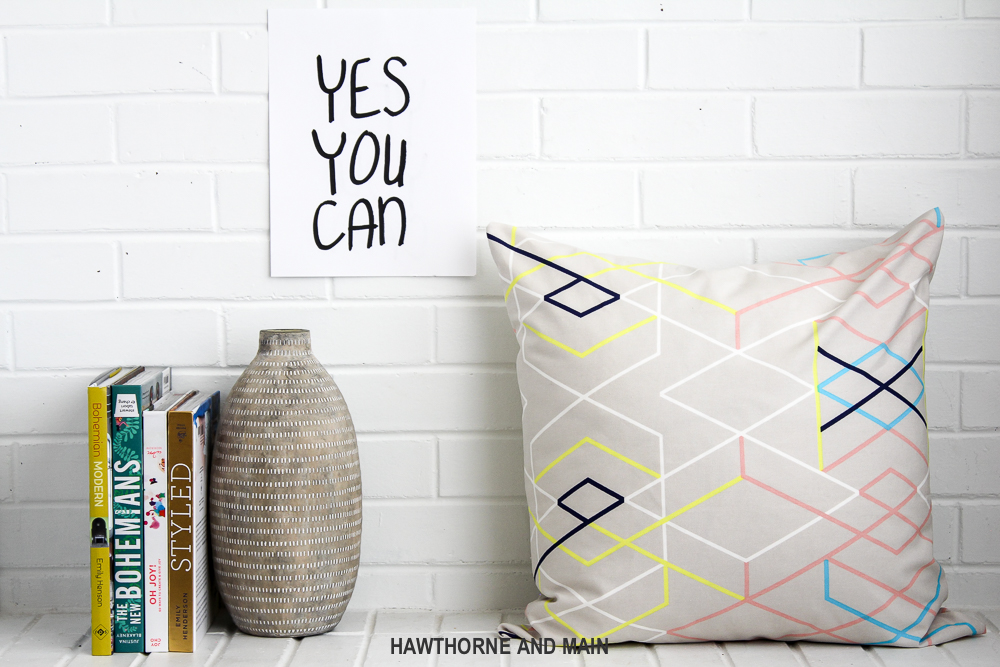
My dear pillow, you have already brightened up the space and have made it feels so fresh. I love it.
P.S.
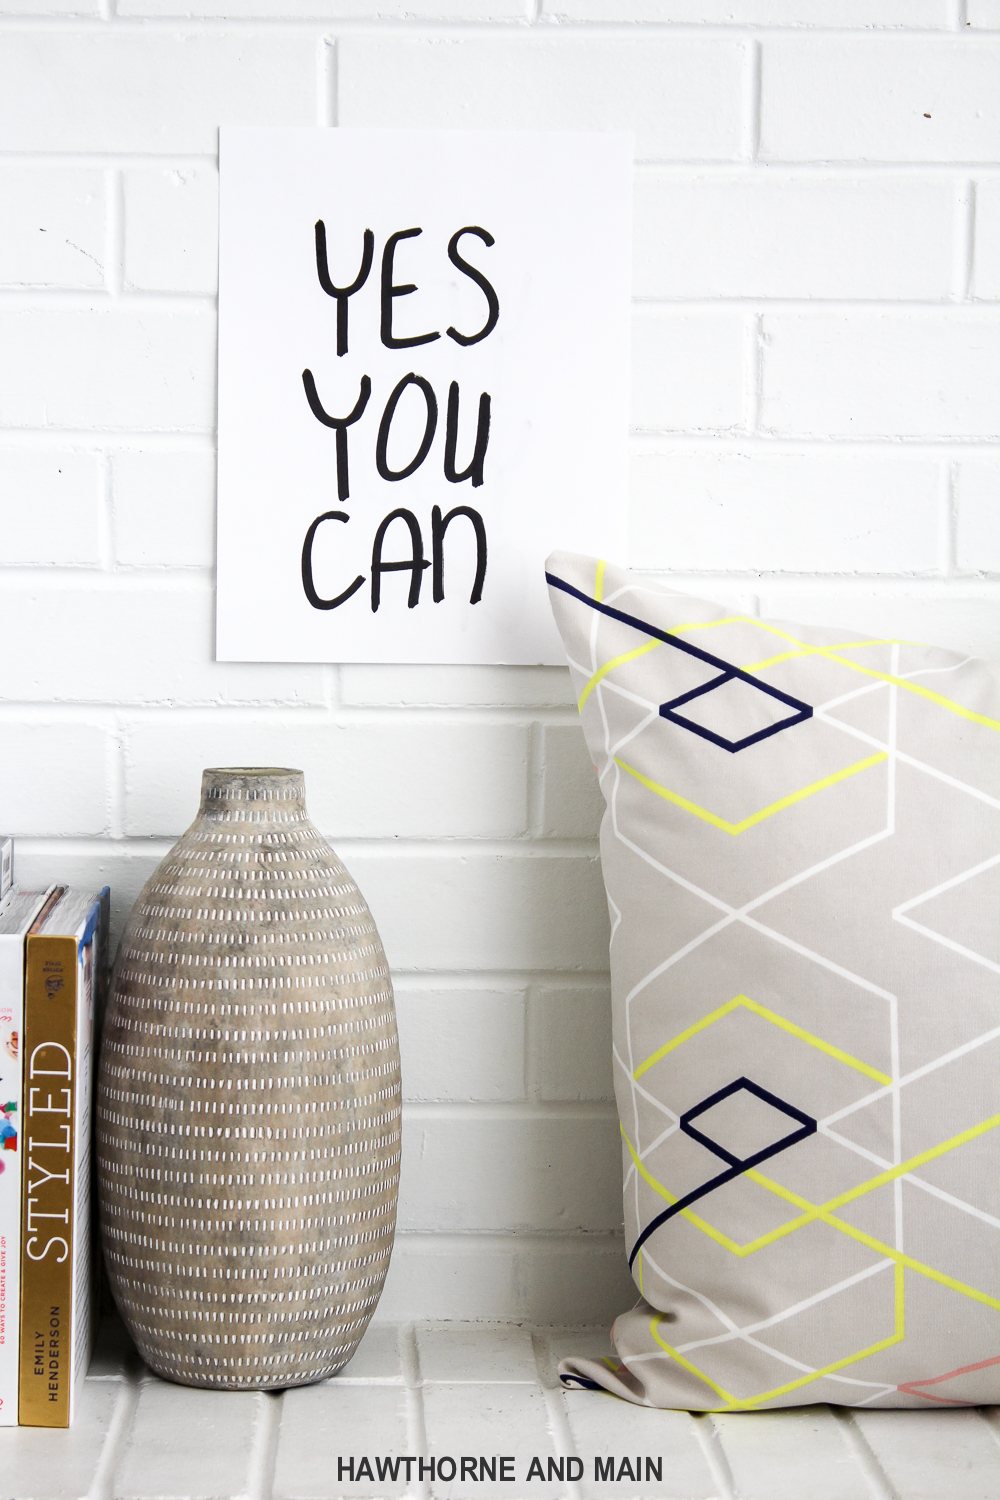
If you haven’t tried to sew your own pillow or maybe you want to give it another try….just remember, yes you can do it! 🙂




I haven’t ever made anything that needed a zipper because I thought it was too complicated…but your simple explanation really helps make it seem like a project I could do as a beginning sew-er. Love your DIY pillows. Thank you for linking up at the #HomeMattersParty this week.
Yes you can! Even with how many pillow I have sewn, I had to unpick a portion….sshhhh. 🙂 It really is easy but you just have to make sure you have the right side facing the right way. Just follow the pictures and you will be good!
Your pictures make it look pretty darn easy! The last (and only) time I tried sewing a zipper to a pillow, I ended with the zipper sewed in upside down. Then I broke my seam ripper trying to remove the zipper. Lol. Maybe I’ll try it again, I think enough time has passed that I can actually look at my sewing machine again.
Thank you for sharing at Merry Monday!
I hear you loud and clear! hahah. Sewing can be a battle for me too. The tough thing is that practice really is the way to get better. Take it slow and check and recheck to make sure you all the right sides facing and such. I know how frustrating it is…I have broken a few seam rippers in my day. One time I ended up using scissors to rip a seam that I had mis-sewn…. Good luck and I hope you will try sewing again!
Hello,I log on to your new stuff named “YouTube” like every week.Your writing style is witty, keep up the good work! And you can look our website about love spell.
One of the reasons visitors return to our pizzeria is the consistency of our delicious pizza upper west side. Whether it’s a quick lunch, a family dinner, or a late night meal craving, the pizzeria ensures that each pizza is prepared with an unwavering commitment to perfection, offering consistently delicious flavor.