Hello hello!!
Hope you are all having a fabulous week. I have a question for you?
Have you ever crafted with cement before?
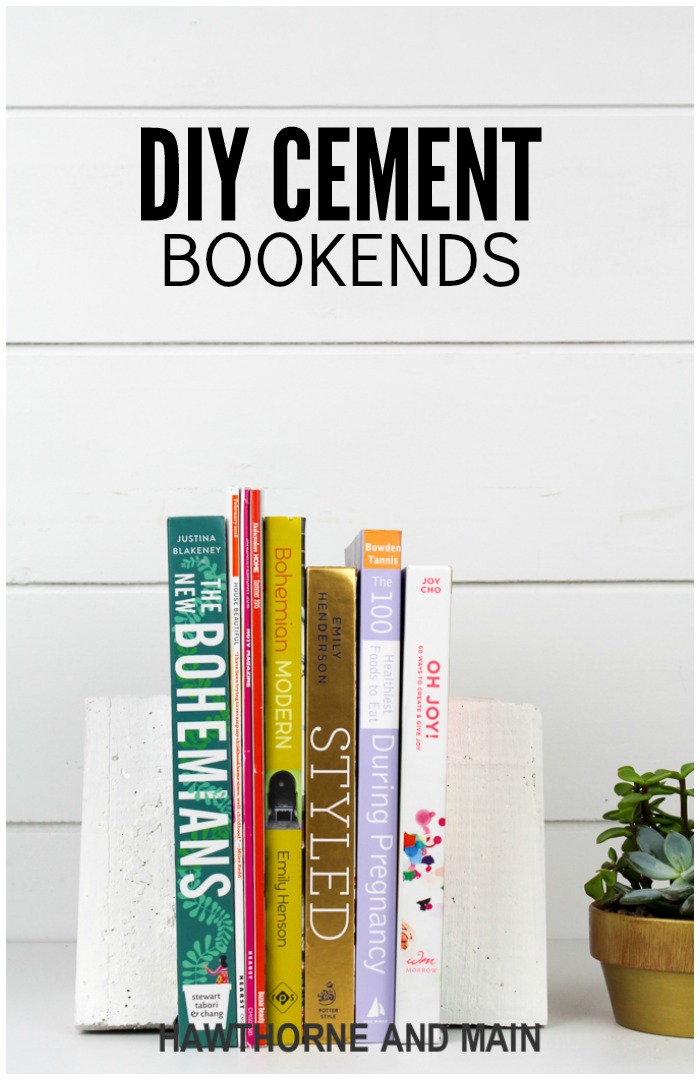
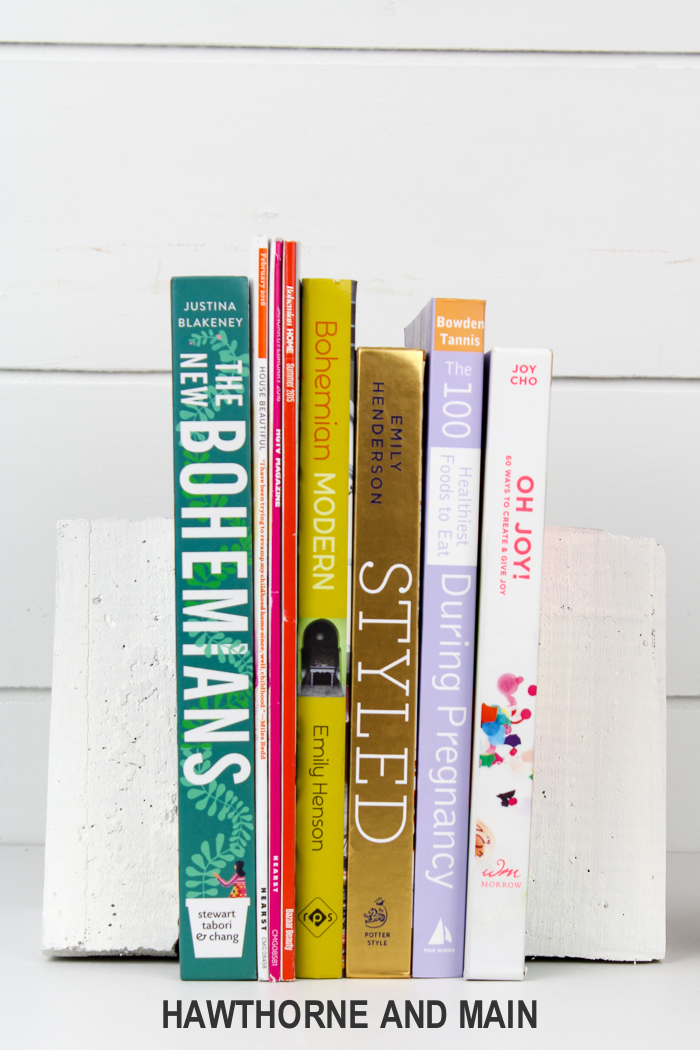
If you haven’t, you should! It’s such an easy medium to work with and there are so, so many different projects to make with it. Today I am going to show you how to make these modern DIY cement bookends, the perfect project to get your toes wet on working with cement.
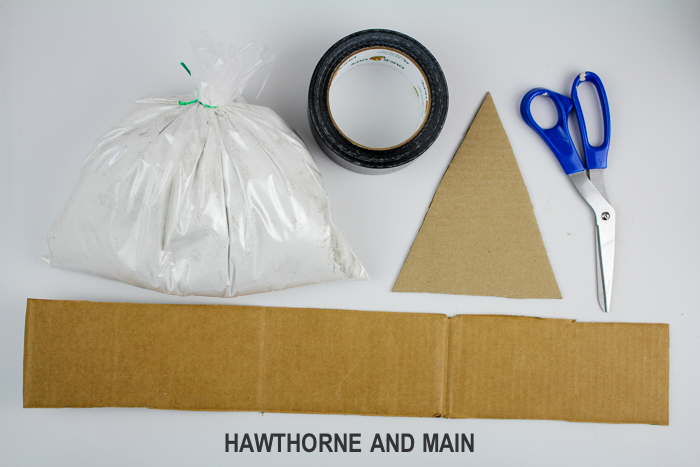
SUPPLIES:
-Portland Cement
-Duct Tape
-Card Board Box
-Scissors
-Pen
-Water
-Cooking Spray
-Bowl and Mixing Spoon
TUTORIAL:
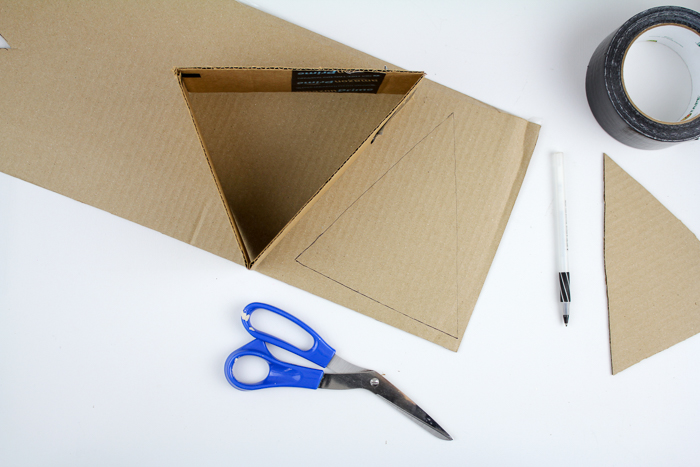
Start by cutting a piece of card board that is 19.5 inches long and 2.5 inches wide. Make folds in the card board at 7 inches from either end of the piece of cardboard, see the picture above.
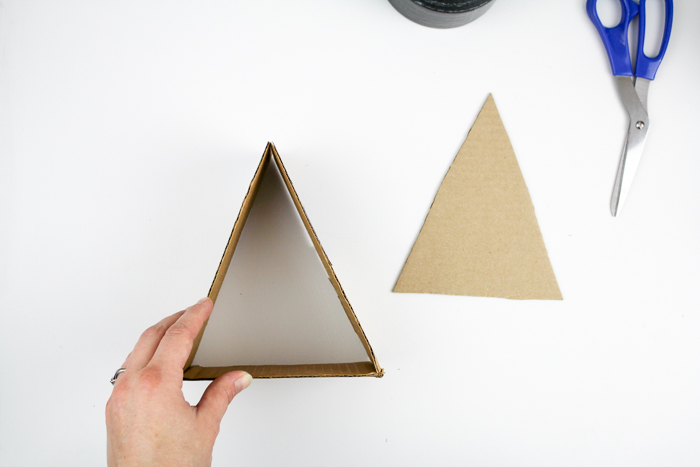
Fold the cardboard into a triangle and tape the top to secure it into place.
Place the cardboard triangle onto another piece of cardboard and trace the inside of the triangle. Cut out the triangle and place it inside the form to make the bottom.
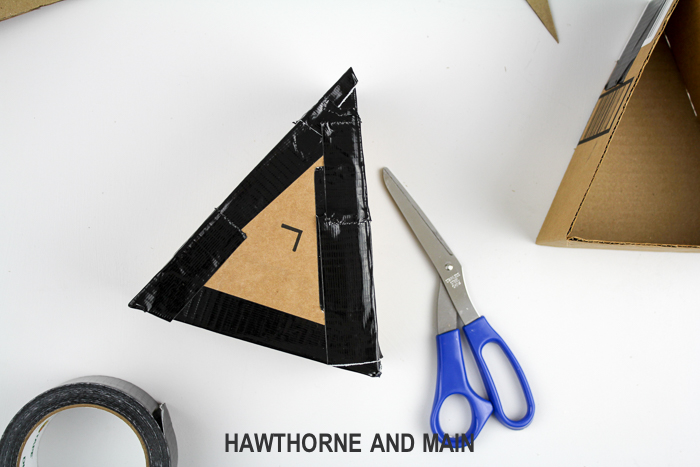
Using duct tape, tape the entire inside of the triangle form. Do not skip this step. Spray a light coat of cooking spray into the form. Make sure the duct tape is quite smooth on the inside. You will see any imperfections in the cement.
PRO TIP:
After you measure and cut both pieces of cardboard lay them out flat, separately and add the duct tape this way. This will ensure that the tape is on as smooth as possible, then reassemble them together.
After you have the form assembled add more tape around the corners to make sure it is secure and so no cement will leak out.
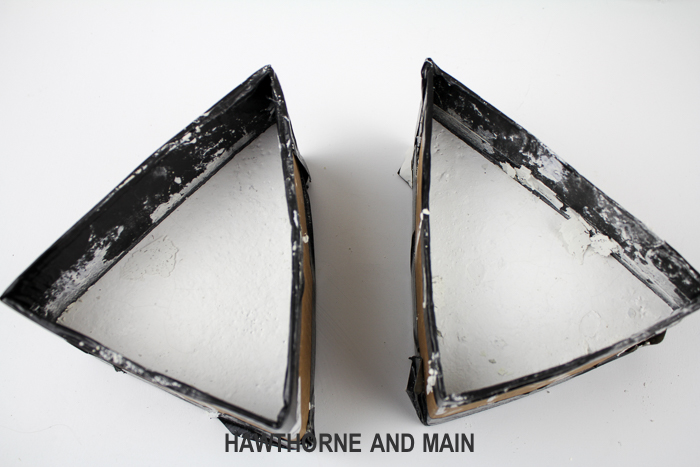
Mix the cement with water. I never really measure how much water to use. It is always best to start with a little because you can always add more. You want the cement to all be wet, but just barely wet. It should not be soupy but pourable. Pour equal amounts of cement into each of your forms. Let them cure over night.
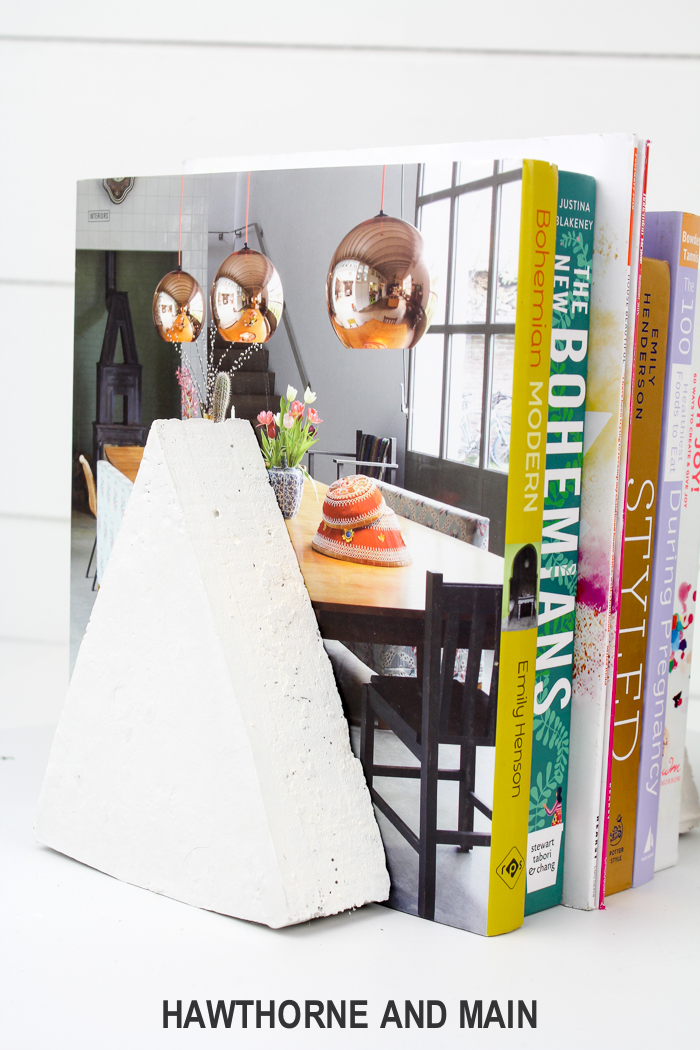
Once the cement has cured, use your scissors to cut the mold off. If you have some rough spots on the cement use sand paper to smooth them out.
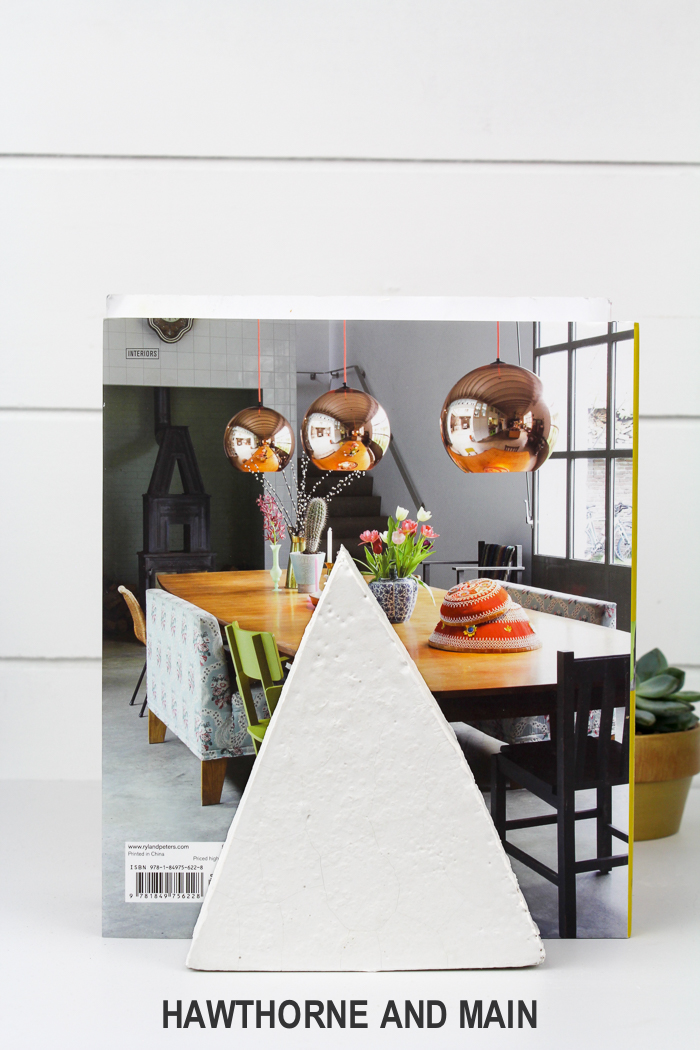
You can get creative and paint the bookends or leave as is.
I am off to catch up on some much needed reading. Gotta make sure my style is up to par and that this baby of mine is getting good nutrition!!
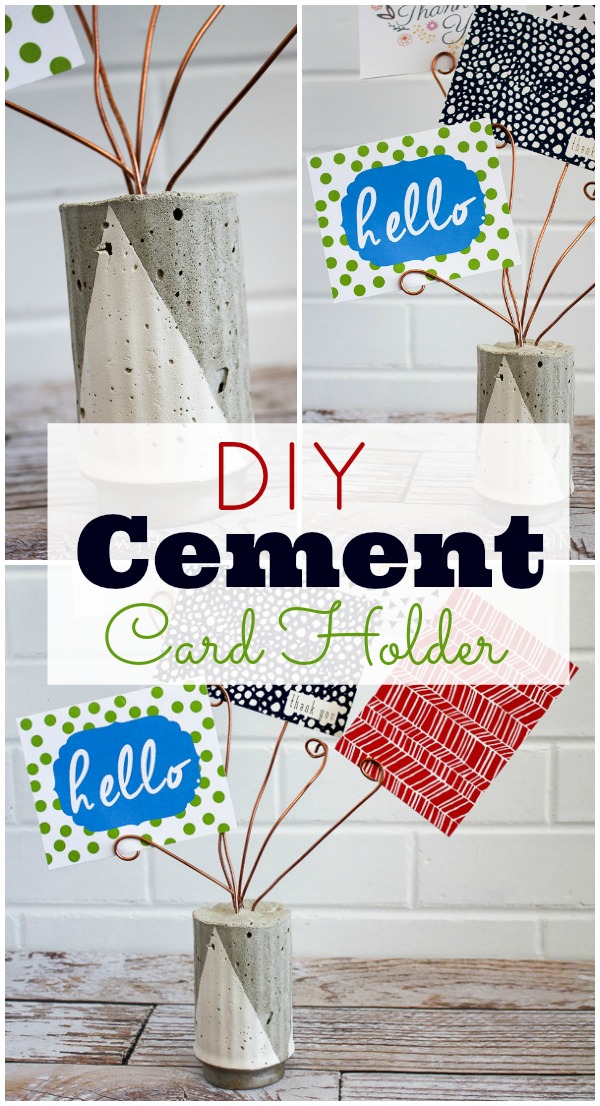
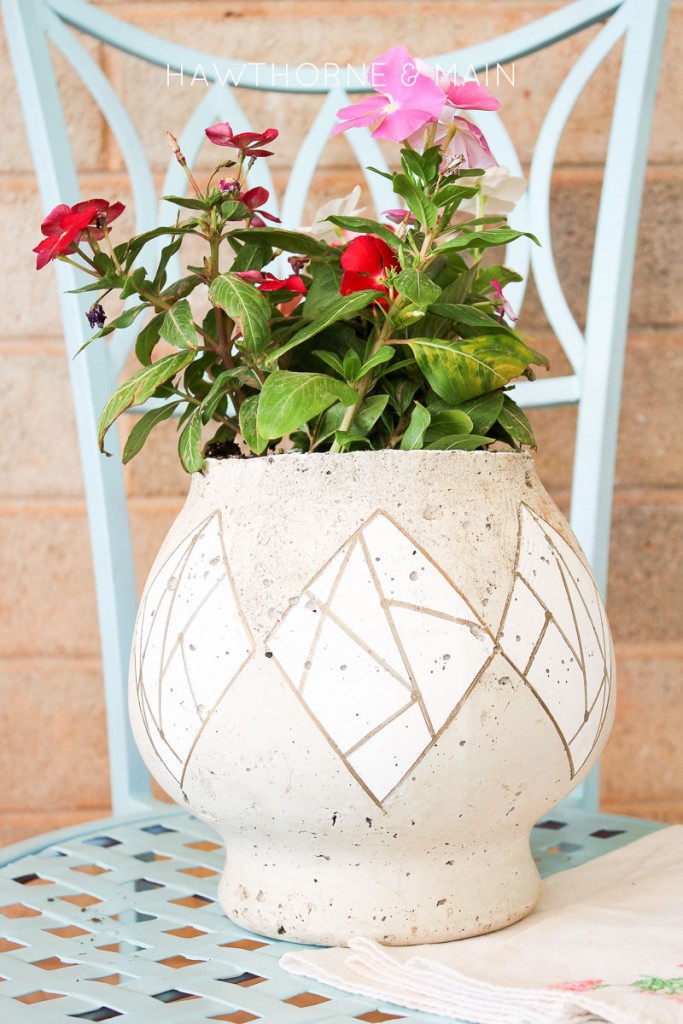
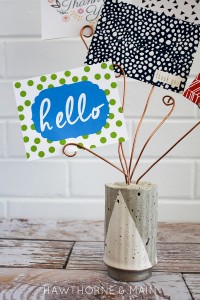
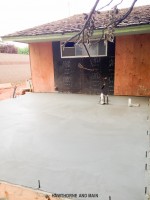
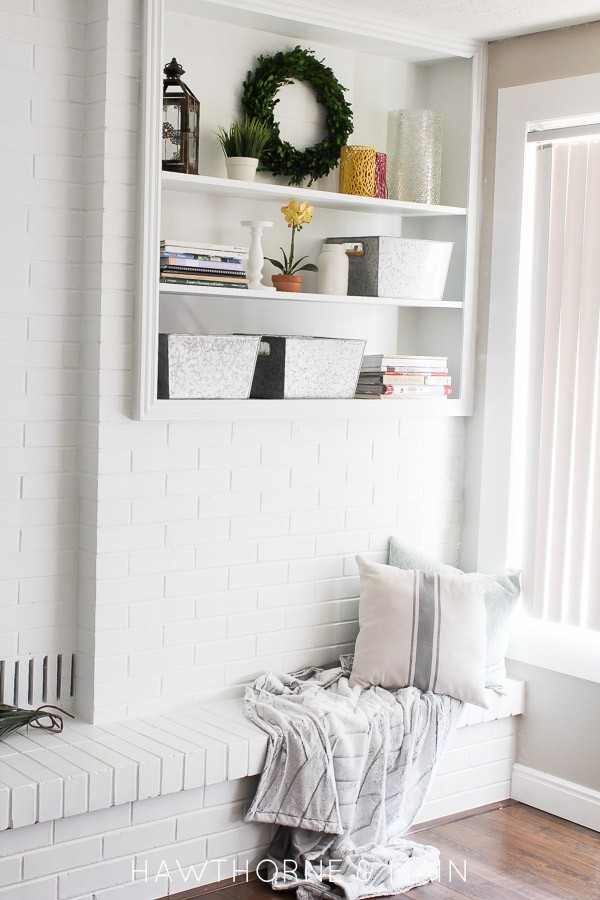
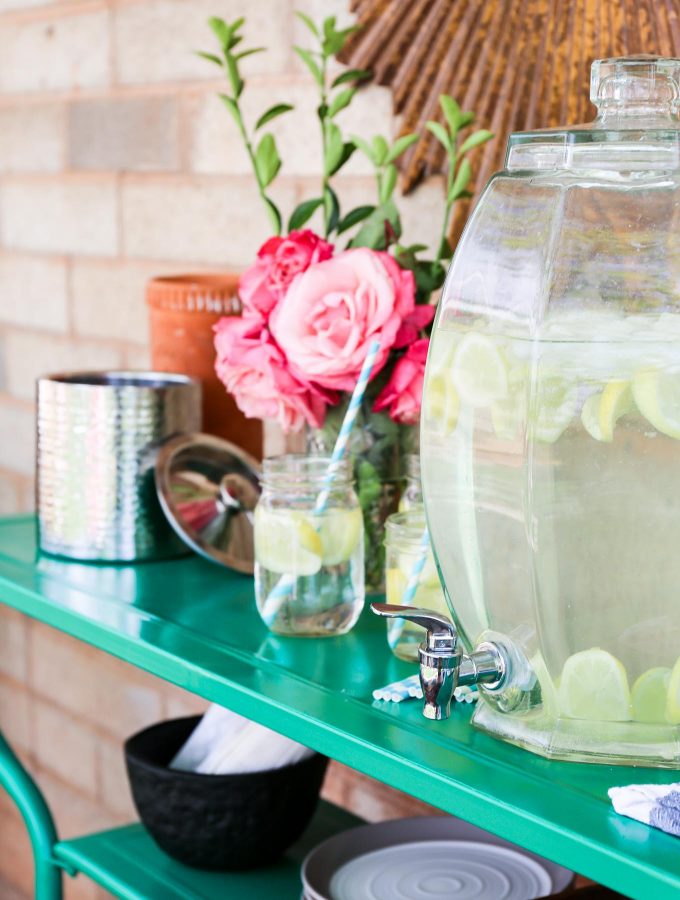
Here are few other cement ideas from Hawthorne and Main:



Hi, I have never used cement to craft with. It doesn’t look to hard but sure looks heavy. Thanks for sharing!
Hey Jen! You really need to try using it some time, its easy to work with. These bookends aren’t too heavy but you are right the more you use the heavier it will be.
I love how they turned out! I always have the hardest time finding bookends that I like and that aren’t too expensive. Thanks for sharing at Merry Monday! 🙂
I’m thinking that I’m going to make my mold so I can clip a flat piece of metal against what will be the shape’s bottom so it will form an L and, so that it doesn’t touch the part of the mold that becomes one of the sides when standing. After it cures, there’d be a place to glue the metal so it wouldn’t be seen, and it would slide under the books next to it to be more steady. Simple L bookends are strangely pricey though I have one I could use (pressing it in the cement and using something to make sure it would be at a right angle).
Placing ceramic or glass tiles or shards on the bottom of the mold before pouring in the cement would also be neat- I have a plate I bought at Goodwill I’m using as a plant saucer until the right project to (carefully) smash it comes along
I love that idea!! I never thought to add a metal piece, genius!
Once the cement has cured, use your scissors to cut the mold off. If you have some rough spots on the cement use sand paper to smooth them out.