I love holiday parties…..everything about them…. All of it….
Getting all dressed up….
Doing my hair so that it’s not in a pony tail or messy bun….
Hanging out with family and friends….
Eating fabulously unhealthy food…… I did say all of it, right!
And….since I am pregnant during the holiday season, I sort of indulge a little more…. just to help the little one grow big and strong….. at least I can wish that the extra calories are going to her, and not my soon-to-be-in-the-gym post pregnancy butt…..hahah
Can I ask you a question…..?
How do you feel about hosting holiday parties?
Some love them, some hate them…… I get it. For the record I looooovvvveee too host any party….
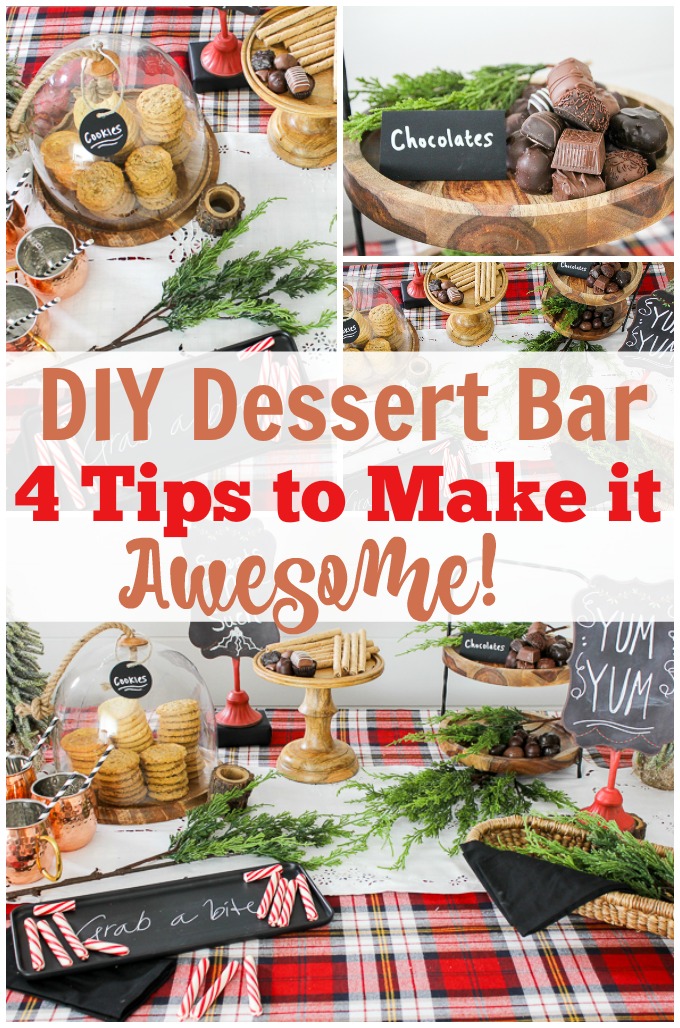
For those who might be on the fence or even a little afraid. Let me show you how easy it is to create a dessert bar that will blow the socks off of your guests this holiday season. Here are my 4 tips to creating a DIY dessert bar.
*A huge thank you to Pier 1 for partnering with me on this post! My favorable opinion of all things that help me plan a fabulous party, are my own. For more information, see my disclosures here.*
1- Select a Color Pallet:
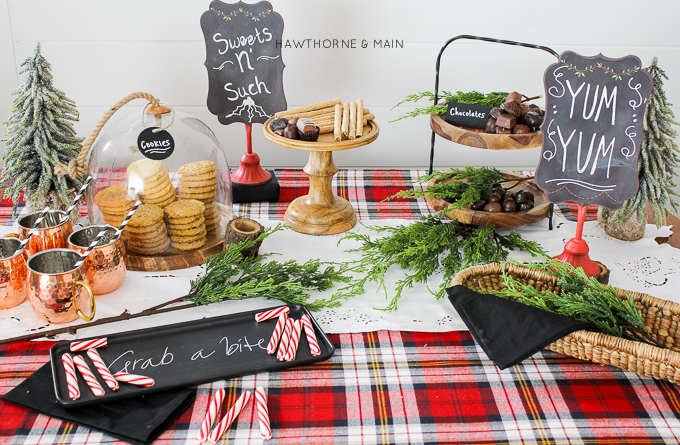
Start by choosing 2-3 colors that work well together. This will make your dessert table streamlined. It doesn’t need to be all matchy-matchy, but having a cohesive look will enhance the overall appeal of the display.
Here is a pro tip:
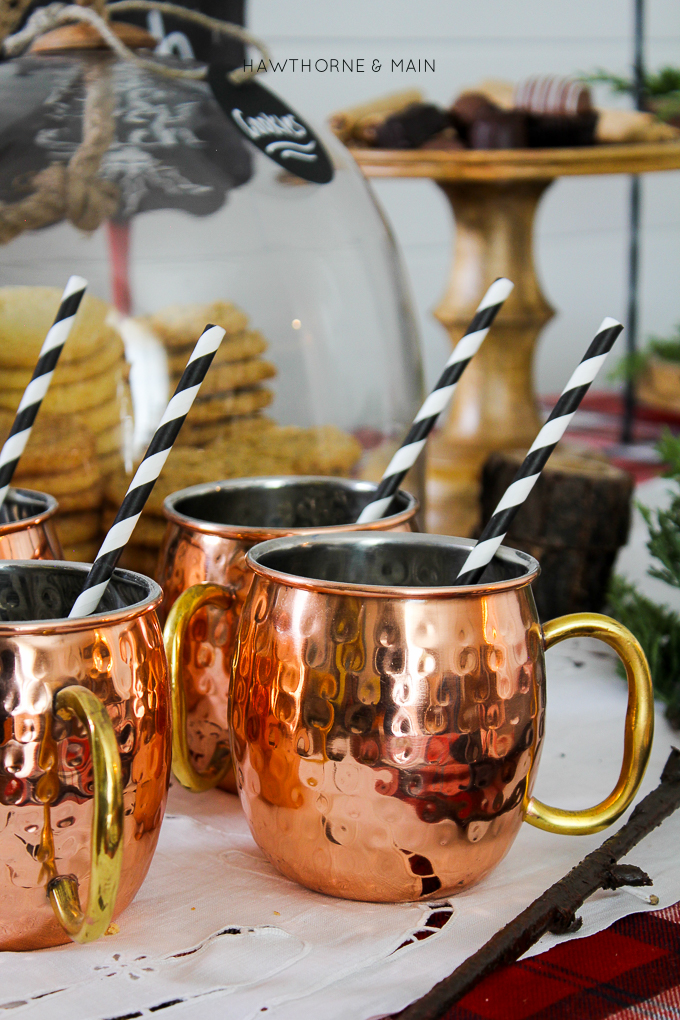
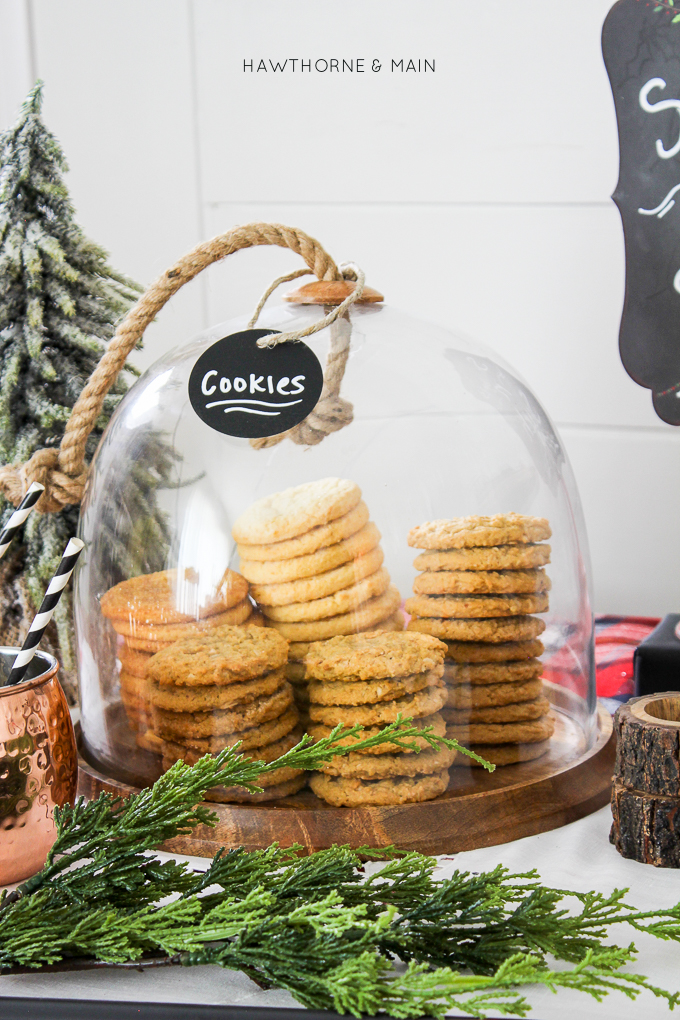
If you are having a hard time choosing a good color combination, find a pretty table cloth, scrap fabric, piece of art, or any other element of design that you like. Use this as your inspiration to pick out 2-3 colors that work well together. Don’t discount metallics either, I love the use of copper tones.
2- Stylish Trays:
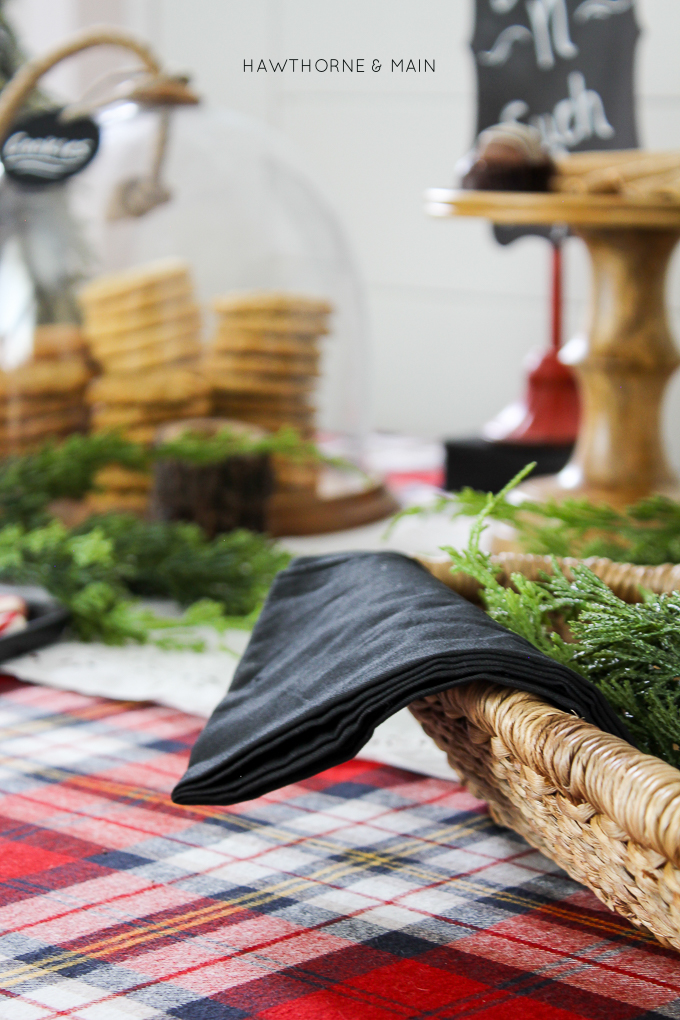
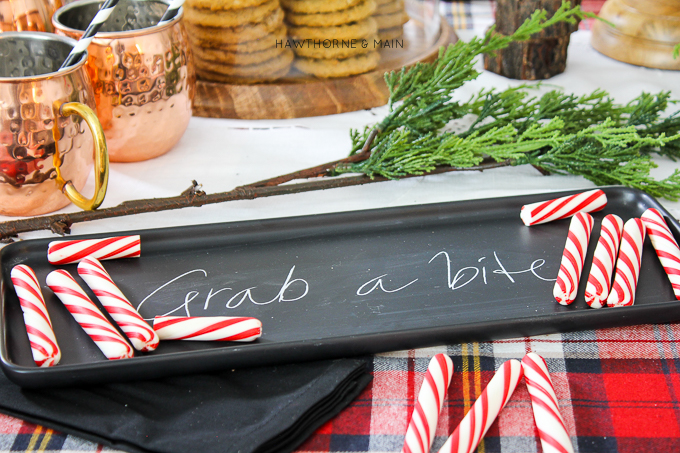
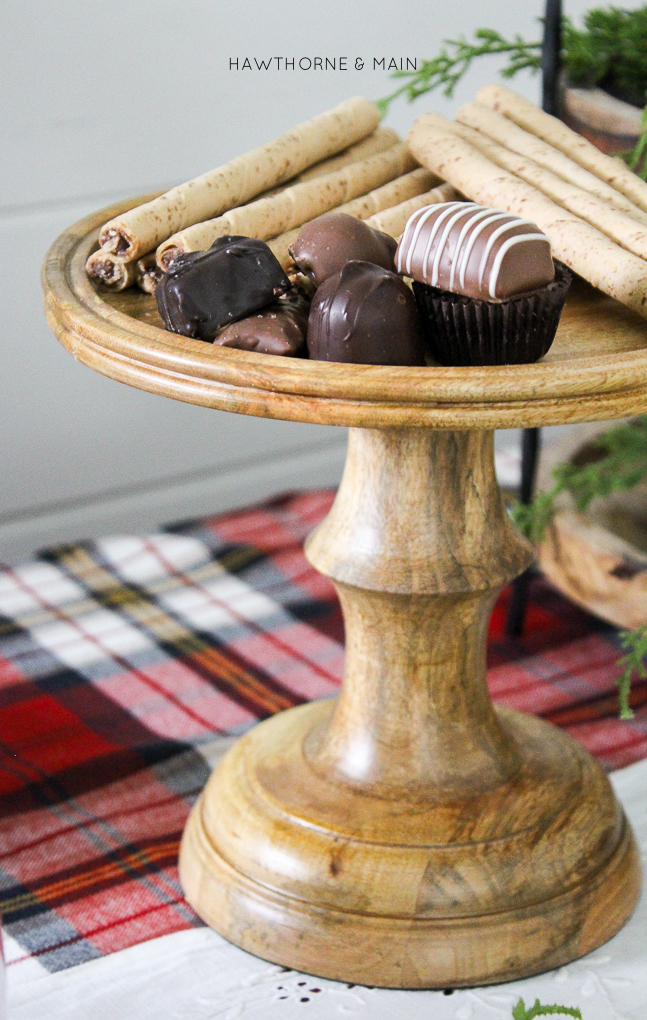
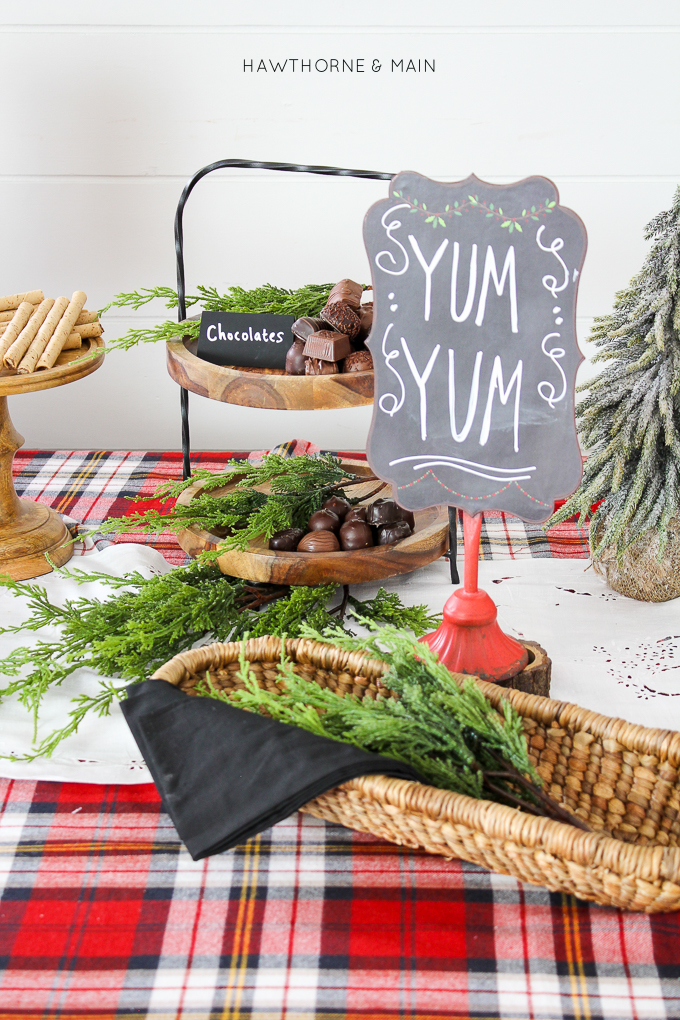
Don’t forget to use stylish trays. This will make the whole display more visually appealing. You can use porcelain trays, glass trays, wood cake stands, woven baskets , and even chalkboard platters. Keep in mind you can mix and match different styles and materials.
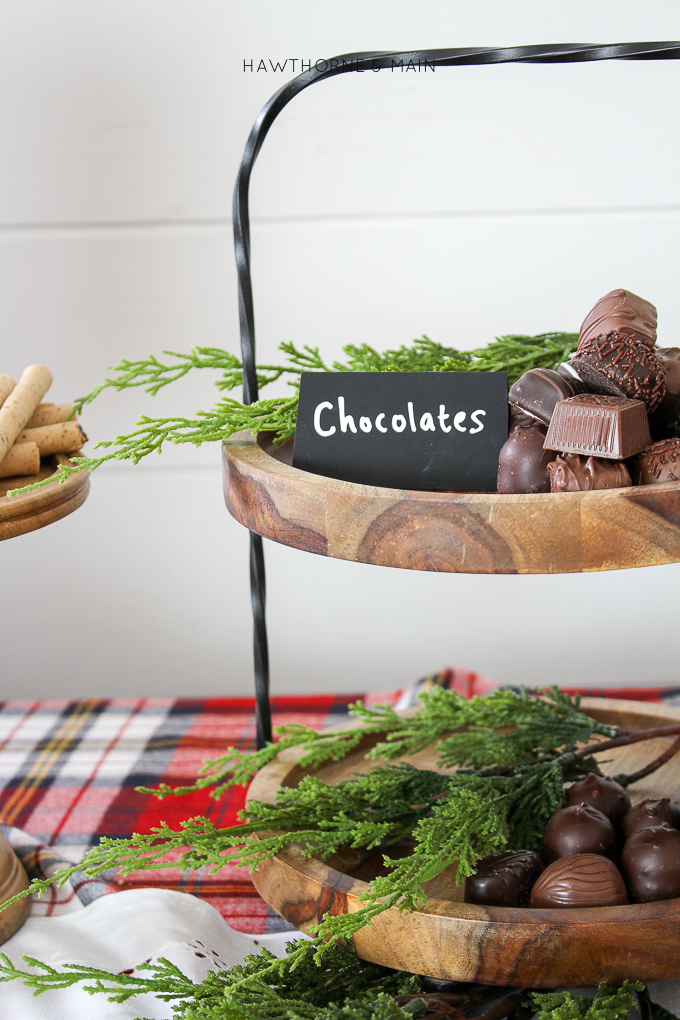
I really love this wood 2-Tier server. This will be used many times through out the upcoming year, I am sure!
3- Use Layers and Height:
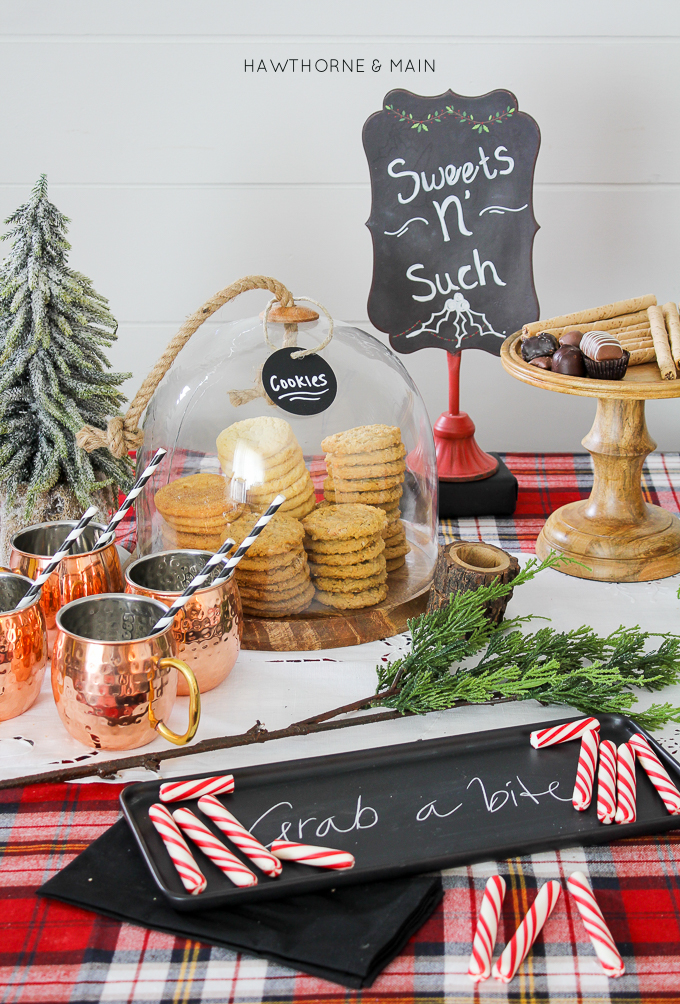
Use layers and height to add visual dimensions. This is a key element in making your dessert table awesome! Use cake stands for height and different plates and platters from dimension. Don’t be afraid to add a few decor pieces in your display too. Adding a few elements of decor will pull the whole thing together. Greenery almost always looks good in a display. Try a few of these juniper sprays. I cannot believe how real they look.
4- Personalize with Signs and Tags:
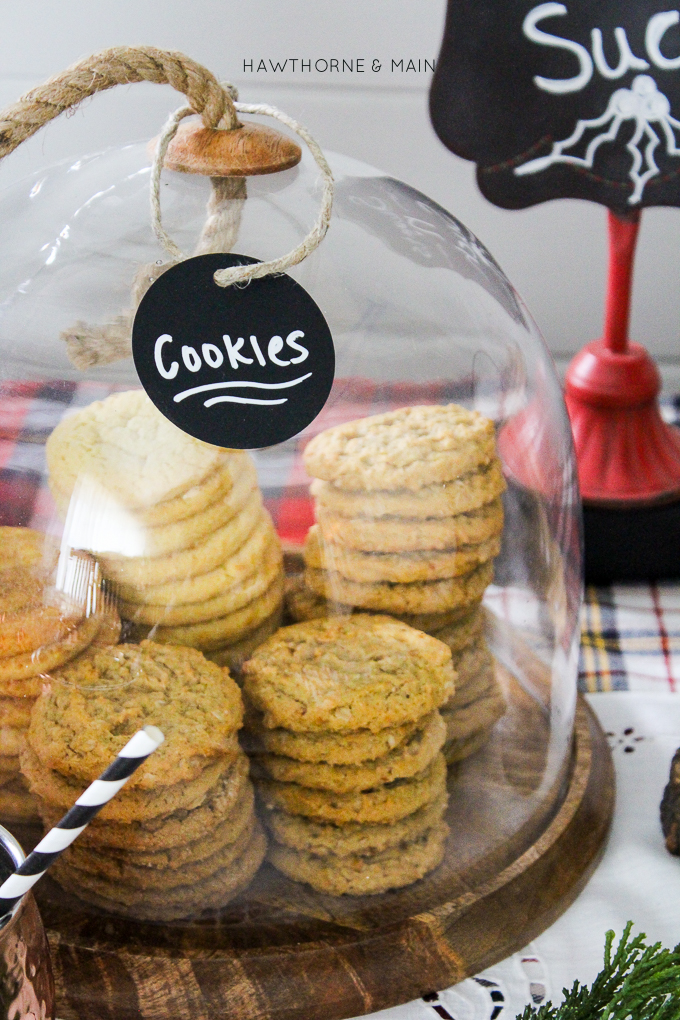
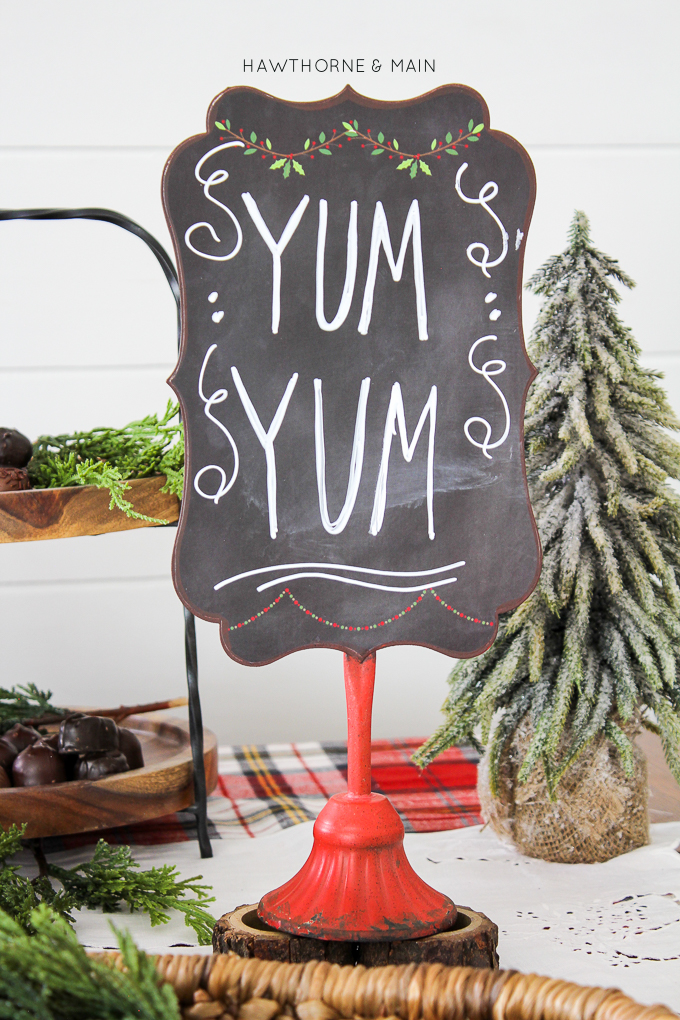
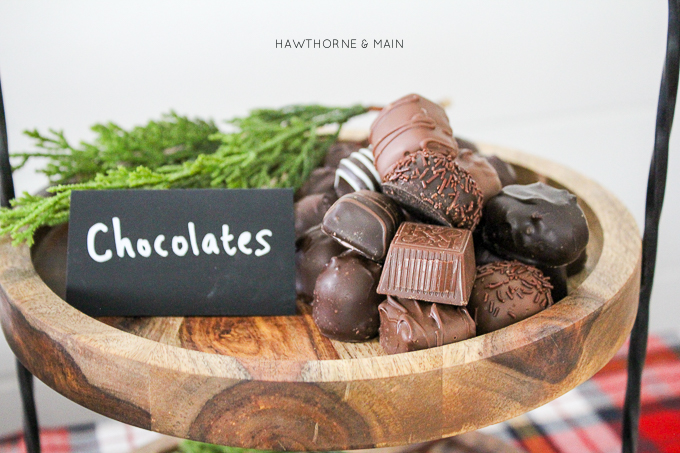
The easiest way to customize your dessert bar is to use signs and tags. Chalkboard signs make it easy to create a custom message. I also love to use chalkboard tags too.
Here is a pro tip:
Make your own DIY chalkboard tags. To make them, all you need is a piece of chalkboard cardstock. Punch out a circle using a large 1.5 inch circle punch, or make a card, by folding a piece of chalkboard cardstock in half. Now, you are ready to make custom messages and labels. An easy and customizable element that is sure to not go unnoticed.
Now, I am off to throw my hair up in a messy bun….. I’m not hosting a holiday party until next week.
**Also, check out the video at the bottom of this post with more ideas on creating a DIY dessert bar.
Now you can create a flawless dessert bar without breaking a sweat. Pier 1’s last day to ship and receive before Christmas is 12/17.
PLUS….
Pier 1 is hosting a Great Gift Event that runs 12/11-12/24. Everyone will get up to 40% off Christmas Decor and Fragrances. Head over to Pier 1 to snag all the deals going on right now!!
Resource list for items used:
–Chalkboard Soho Platter
–Napa Wood and Wrought Iron 2-Tier Server
–Tristen Woven Bread Basket
–Holly and Berries Chalk Note Menu Board
–Moscow Mule Copper Mug- similar



This is so cute!! What a great idea for your next Christmas party.
xoxo
January
http://www.thebouncyponytail.com/
Thanks! It was really easy to throw together and it will be perfect for your next party! Thanks for stopping by!
This is so beautiful. Thank you for all your tips. I’m all about easy, and this looks easy, yet elegant.
Thank you! This one was pretty easy to put together. With a little thought about the layout it is easy to create a pretty display.
Great idea for the holidays! Loving all the colors. Thanks for sharing! Stopping by from Inspiration Monday.
These tips are really useful and I am all over copper and anything plaid!
Yes! I think both copper and plaid will be big again this year!
I love hosting parties, too, especially at the holidays. Love your dessert bar idea! Thanks for sharing with Merry Monday!
Makes me want to plan a party right now!
Thanks for sharing at Thoughts of Home on Thursday. 🙂
There is a lot of talk about how to get your dessert bar to be the great one because, you know, everybody loves dessert bars. But the reality is that people don’t want to make their own desserts if they aren’t excited about what it is they are making and where it came from.
The key here is that you need to start small and work up from there.
This means that you need to start with a basic bar like flourless chocolate cake or brownie, or even something simple like an ice cream sundae, and then move up from there. This way, you can introduce other ingredients gradually and highlight them on your menu as time goes on. Making your own desserts helps you build confidence in what you are doing. It also gives you more control over the ingredients (especially when cooking for a crowd).
One last thing to note is that it doesn’t take much time or effort at all to get started with a DIY dessert bar; let’s take this recipe as an example: methamphetamines
Ingredients: 1 cup of unsweetened almond milk (you can use any other milk but almond milk is healthier) 1 tbsp honey 1 tsp vanilla extract 1 egg 1 tsp baking powder 3 tbsp chocolate chips (I used these ones) 4 oz dark chocolate (I used this one) Directions: Preheat oven to 350F Combine all of the ingredients in a bowl and mix well until smooth Pour into lined baking sheet Bake for 20 minutes Then cool completely in fridge before slicing into bars Serve cold! The key here is using very mild chocolate so they won’t melt the minute they come out of the oven but still spread easily once cooled.
As for your question about hosting holiday parties, it’s clear that you’re passionate about it. Some people find hosting to be a joy, while others may find it a bit daunting. Your willingness to share tips on creating a DIY dessert bar for those who might be hesitant is a great way to encourage others to embrace the holiday spirit and entertain with confidence.
If I can ask you a question in return, have you ever considered incorporating your love for hosting into a capstone project? Perhaps exploring the art of event planning and hosting as part of your academic or personal development journey could be a fantastic way to channel your passion into something even more substantial. You can contact https://bestwritinghelp.org/articles/dnp-capstone-project/ for help.Overall, your article radiates positivity and warmth, and your enthusiasm for celebrating the holiday season is contagious. It’s clear that you’re excited to share your tips for hosting a memorable holiday gathering, and I’m sure your guests are in for a treat!