The other day I got frustrated…. the internet was slow. I waited what seemed like “forever” for the pages to load… isn’t having to wait more than 5-10 seconds forever!! haha
Needless to say I went on the hunt for new internet. After multiple phone calls and a bunch of number crunching, I was pleased with my new, cheaper….hopefully faster choice.
You might remember me talking about our old house a few times. It seems that whenever a simple change is made in the house an upgrade is always needed.
This is no exception. The wires to the house were very outdated, they needed to be replaced.
I was excited to finally be getting something new for the house that I didn’t have to pay for. Even if it was only an internet cable….. hey it’s the little things, right!

The installer gave me a 15 minute warning call to say he was on his way. It just so happened that I was at the store…. I made a mad dash through the checkout line and made it back to the house 14 mins and 32 seconds later…
He still beat me there….
When I got to the house I found a 30 something 6 foot 5 inches tall skinny guy wearing All Star black shoes. He had his ladder out leaning against the side of the house. His first words were “your house is so old, I had to run new wire plus look at my shoes. They are all muddy. ( it had been raining) We didn’t exactly get off on the right foot.
After a few minutes of talking back and fourth, it was determined, by the installer, that the only way I was going to get internet was to run the large black wire down the side of the house and drill a hole through the exterior wall into the house…. easy peasy…..
This was not my ideal plan….but whats most sad is that I was willing to go along with it…
I just needed internet… that worked…
As an attempt to possibly avoid drilling into the side of my house I proposed we run the wire though the attic….
He gave me the stink eye and said that he would,
“check it out”… I gave him my best ever smile and said “Ok, ya! Take a look and see if it’s possible!”
Oh, the attic..
It is merely a mess of 60+ year old insulation, spiders, a lot of cobwebs, and oh ya…. no floors
The only place you can walk is on the support beams…
He made his way up the ladder into the dark abyss…because, oh ya…. its also pitch black up there.
A few minutes passed and he gave me the all clear that we would not have to drill a hole into the side of my house and I was thrilled….yay!
I sort of felt like I owed the guy, now. He was crawling around in the pitch black attic getting tangled in cob webs, dodging spiders all while trying to maneuver his iPhone flash light and my new internet cable wire.
So, I offered to help him. We thread the wire into the attic and figured out where to drill a hole from the ceiling into the house…. everything was going smooth we were a fabulous team…!
As the installer descended from the attic I heard a loud crash. I rushed outside to see what had befallen my fallen friend…aka the installer…
I guess this is the moment when you really can say that…. one step is all it takes… to fall through the ceiling…
Yep, he stepped right through. Luckily he stepped through just one foot outside the house, into the garage… It would have been way worse had he actually fallen in the house. By the time I got out there he had already pulled himself up and was making his way down the latter.
What’s more…. I had done the exact same thing as him just two week prior in almost the same spot… not the exact spot however…
Now we have two giant holes in the garage ceiling.
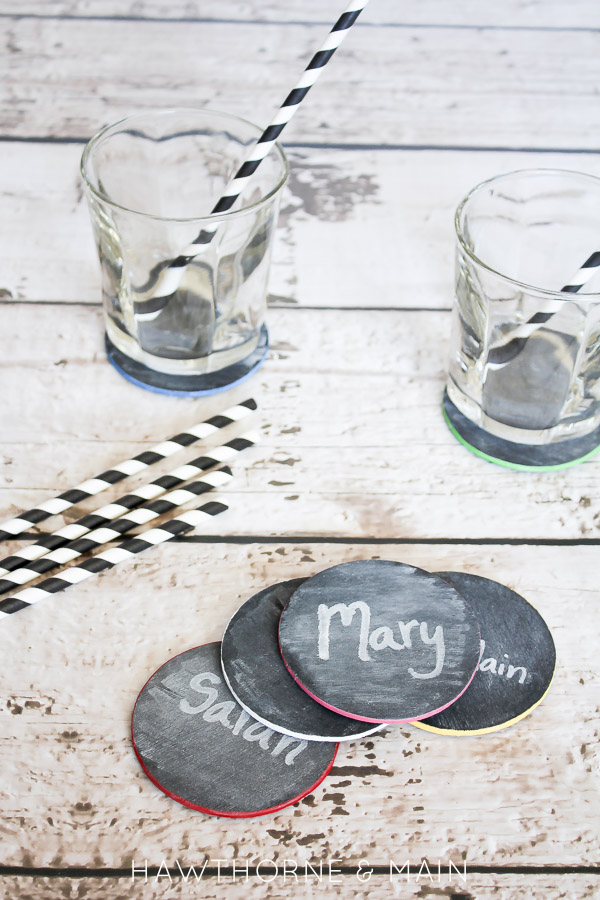
I guess this is a good time to say I deserve a nice cold beverage. Not sure what your favorite is but I might go for a fresh cherry limeade or even a Dr. Pepper.
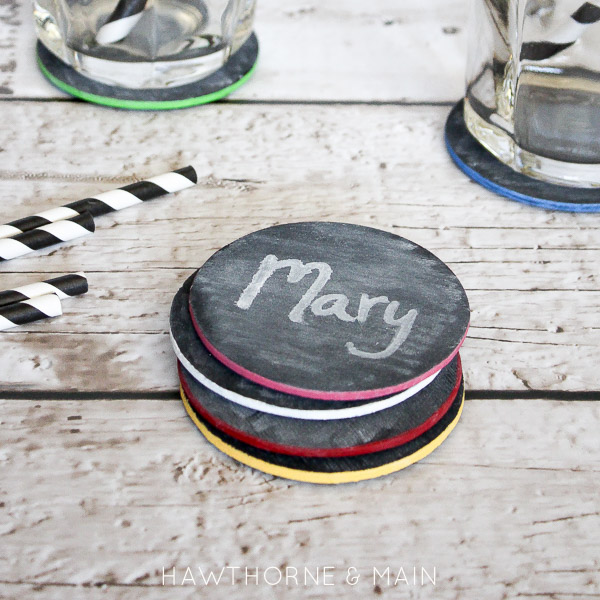
At least I can protect my table top while I sit back and sip my ice cold beverage, thinking about how I still need to fix those holes. (anyone up for a sheet rocking tutorial! haha)
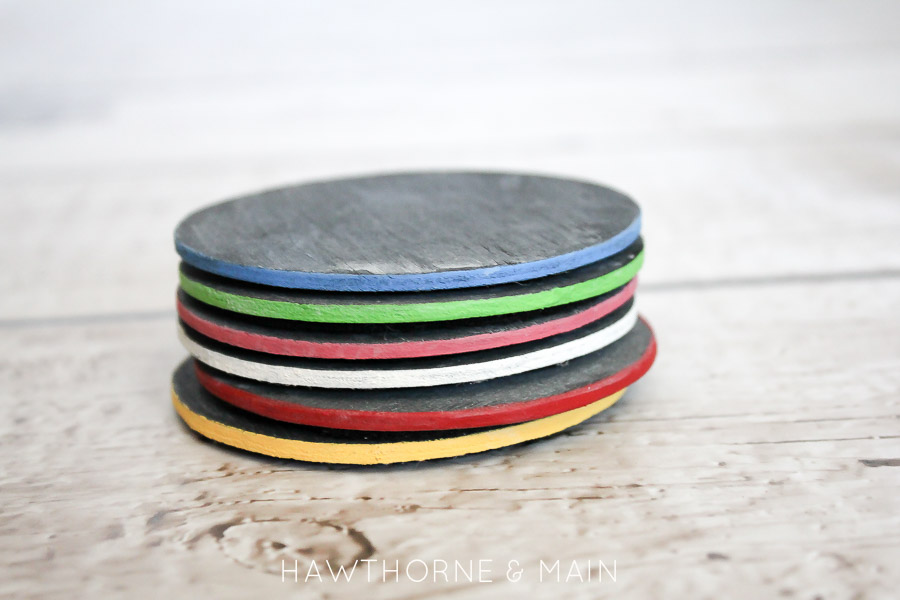
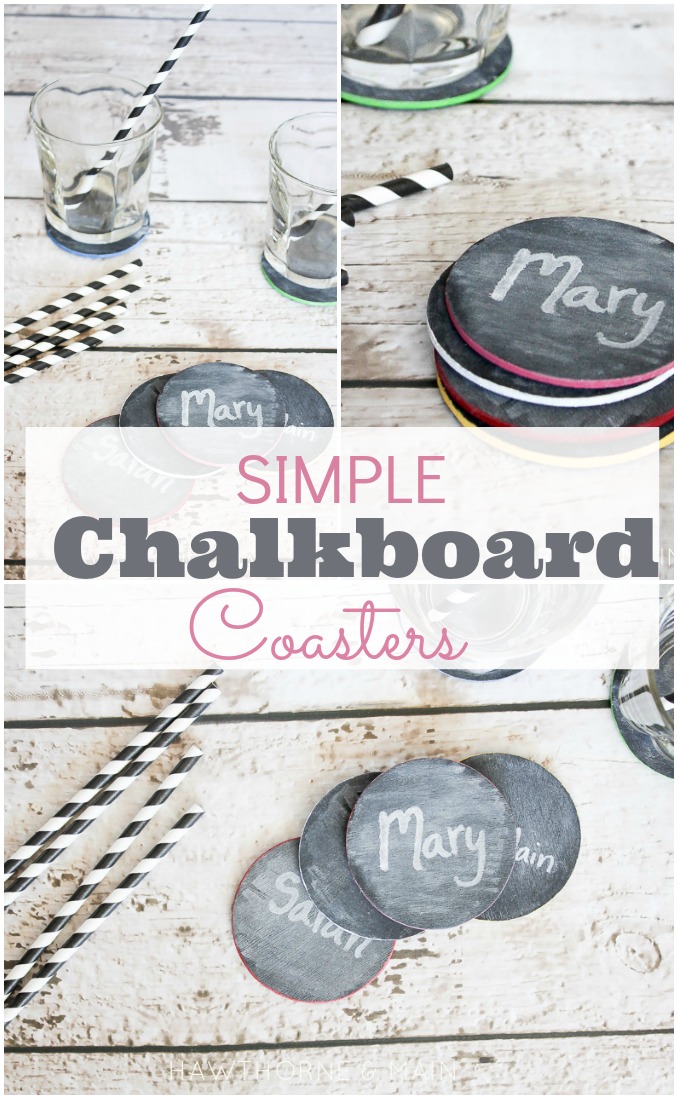
If you are in need of some awesome, and simple DIY chalk board coasters, these are perfect for you!
SUPPLIES:
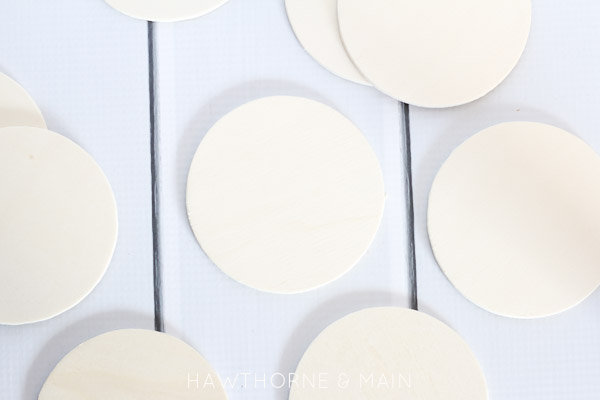
– 6 Round pieces of wood (got mine at Joann for about $.50 each)
– 1 Can Chalk Board Spray Paint
– 6 Different Colors of Acrylic Paint
– Sheet of felt (8.5×11)
– Glue
TUTORIAL:
To begin, use a fine grit piece of sandpaper to sand all of the edges of your wood pieces. Focusing on the sides and top, you don’t need to worry about sanding the bottom.
Once everything is smooth go out side and spray the wood pieces with the chalk board paint
After the paint is dry, use your foam paint brush to paint just the edges of each disk.
Be carful not to get any paint on the top of the wood pieces.
Let the paint dry.
Now that the edges have a pretty splash of color, it is time to add the felt.
Cut out 6 circles from the felt. The circles should be just smaller than the wood piece. This way they won’t show.
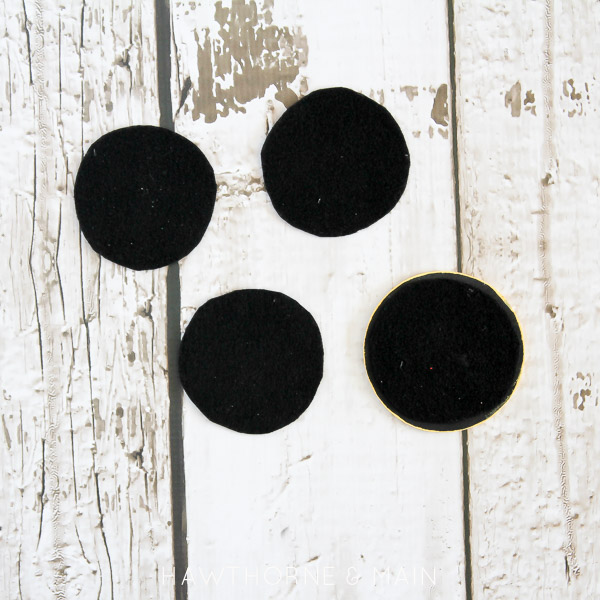
Using craft glue, glue the felt circles to the bottom of each wood piece.
Thats it folks!!!
Grab your chalk board markers and get to partying….. Or sitting and sipping while trying not to think about the holes in the ceiling that still need to be fixed!!






Oh girl…anything for a good Internet connection…I can relate lol. So one time hubby, how’s very careful, slipped in the attic (also no floors) and went through the ceiling in our living room. At least it made a heart form 🙂
oh my gosh Deborah, then you know all to well what it was like! I bet that was a mess. Luckily the internet guy stepped through outside. Hopefully we will get it fixed within the next year! haha
Haha! That is the type of thin that would happen to me! I saw your scope on this with the holes…..I hope the guy apologised for the hole? Will he fix it?
I am such a klutz!! So glad you were able to see the video of it. The lighting was way bad. I loved hearing your voice on your scope and getting a peek at your yard! Its fun to get to know each other better!! He did apologize. I told him that since we needed to repair the portion that I had stepped though that we would no make his company pay for the part he stepped through. It won’t be too much more work on our hands.
I loved that story in the beginning and you tell it so well! I’m starting to get into crafting with chalk paint and its great to see new inspirations popping up everywhere.
I would love it if you would consider sharing this post on my link party : ) http://www.twentysomethinginthe2010s.com/peace-love-link-up-001/
Love this! I’m going to have to give this a try.
Theses are super easy and so fun! Thanks for stopping by Allyson.
Oh my gosh! Glad he was ok, but ugh drywalling is such a pain in the you know what!!
Love those coasters too. What a great idea! Thank you for sharing at Merry Monday!
Amen Amanda! I hate hate hate drywall too. We are working on building an addition right now and just got done with the drywall….it was pain. Luckily I have some fun DIY coasters so I can sit back and relax sipping on some lemonade after all that work…haha. Have a great week!
These are very cute! Thanks for sharing your tutorial at Motivation Monday on Mom Home Guide!
Thanks Lauren. I love how easy and customizable they are.
If you share your home with roommates or family members, you may find it difficult to find a quiet space where you can focus on meditation. Ask the people you live with if they would be willing to keep quiet for the duration of your meditation exercise. Promise to come to tell them as soon as you’re finished, so they can resume their normal activities.