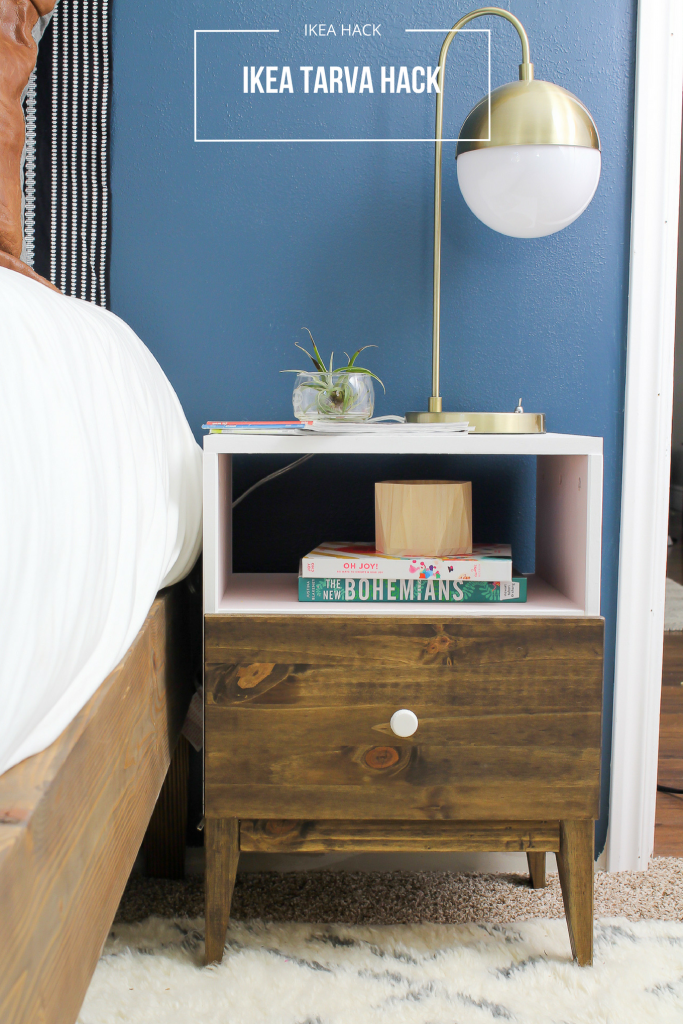
IKEA did it again….
I love how so many of their products are unfinished and ready for a makeover. It makes the creative side of me jump up and down….literally!
You know it’s a good night when this is what your living room looks like this!
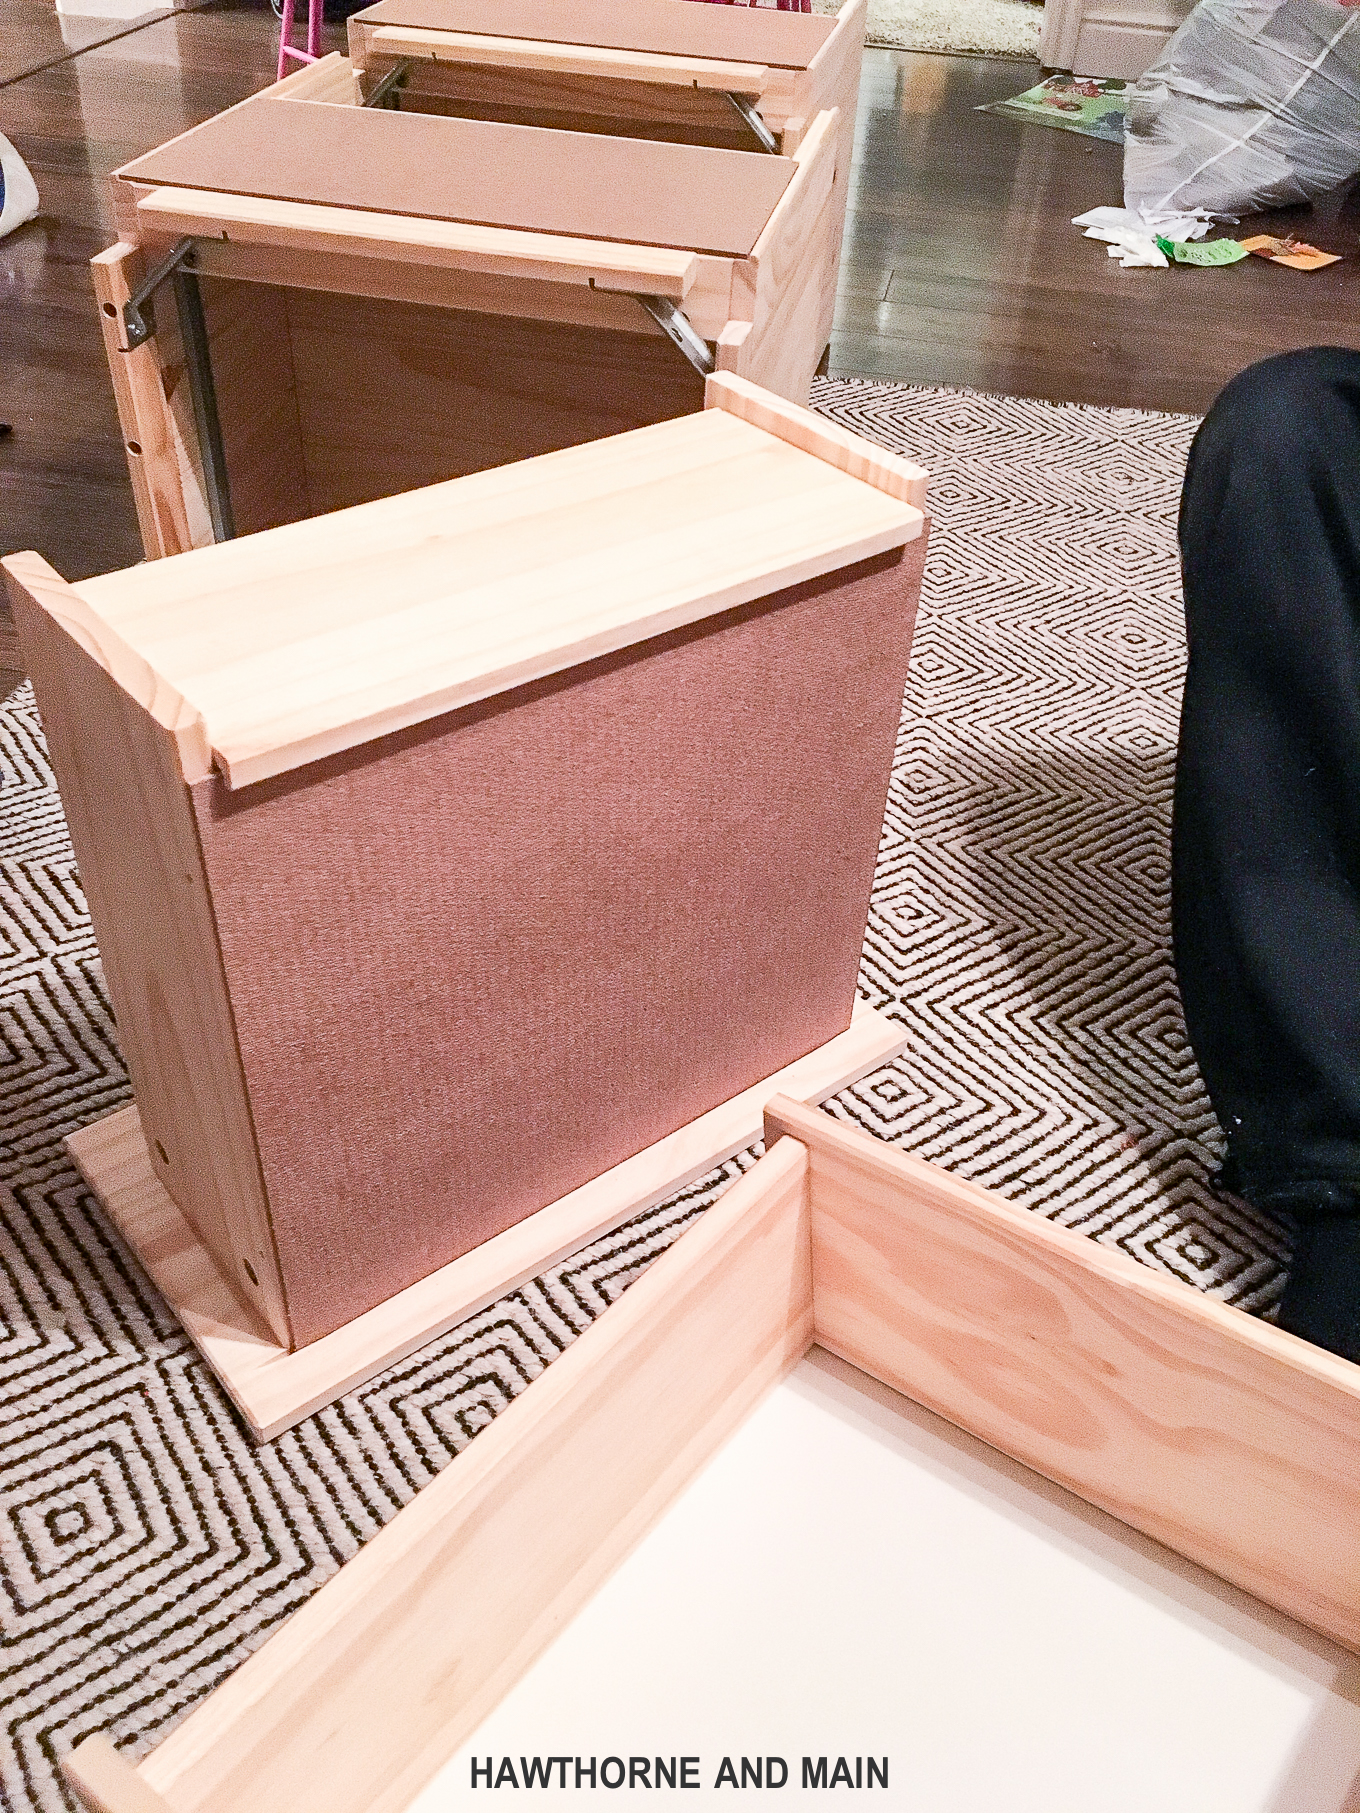
When I envisioned how I wanted these nightstand to look I was hopeful…..but not quite sure it would work out. I have been know to have to cut and re-cute to get a project right. Since this piece does require a saw, I really wanted to get it right the first time.
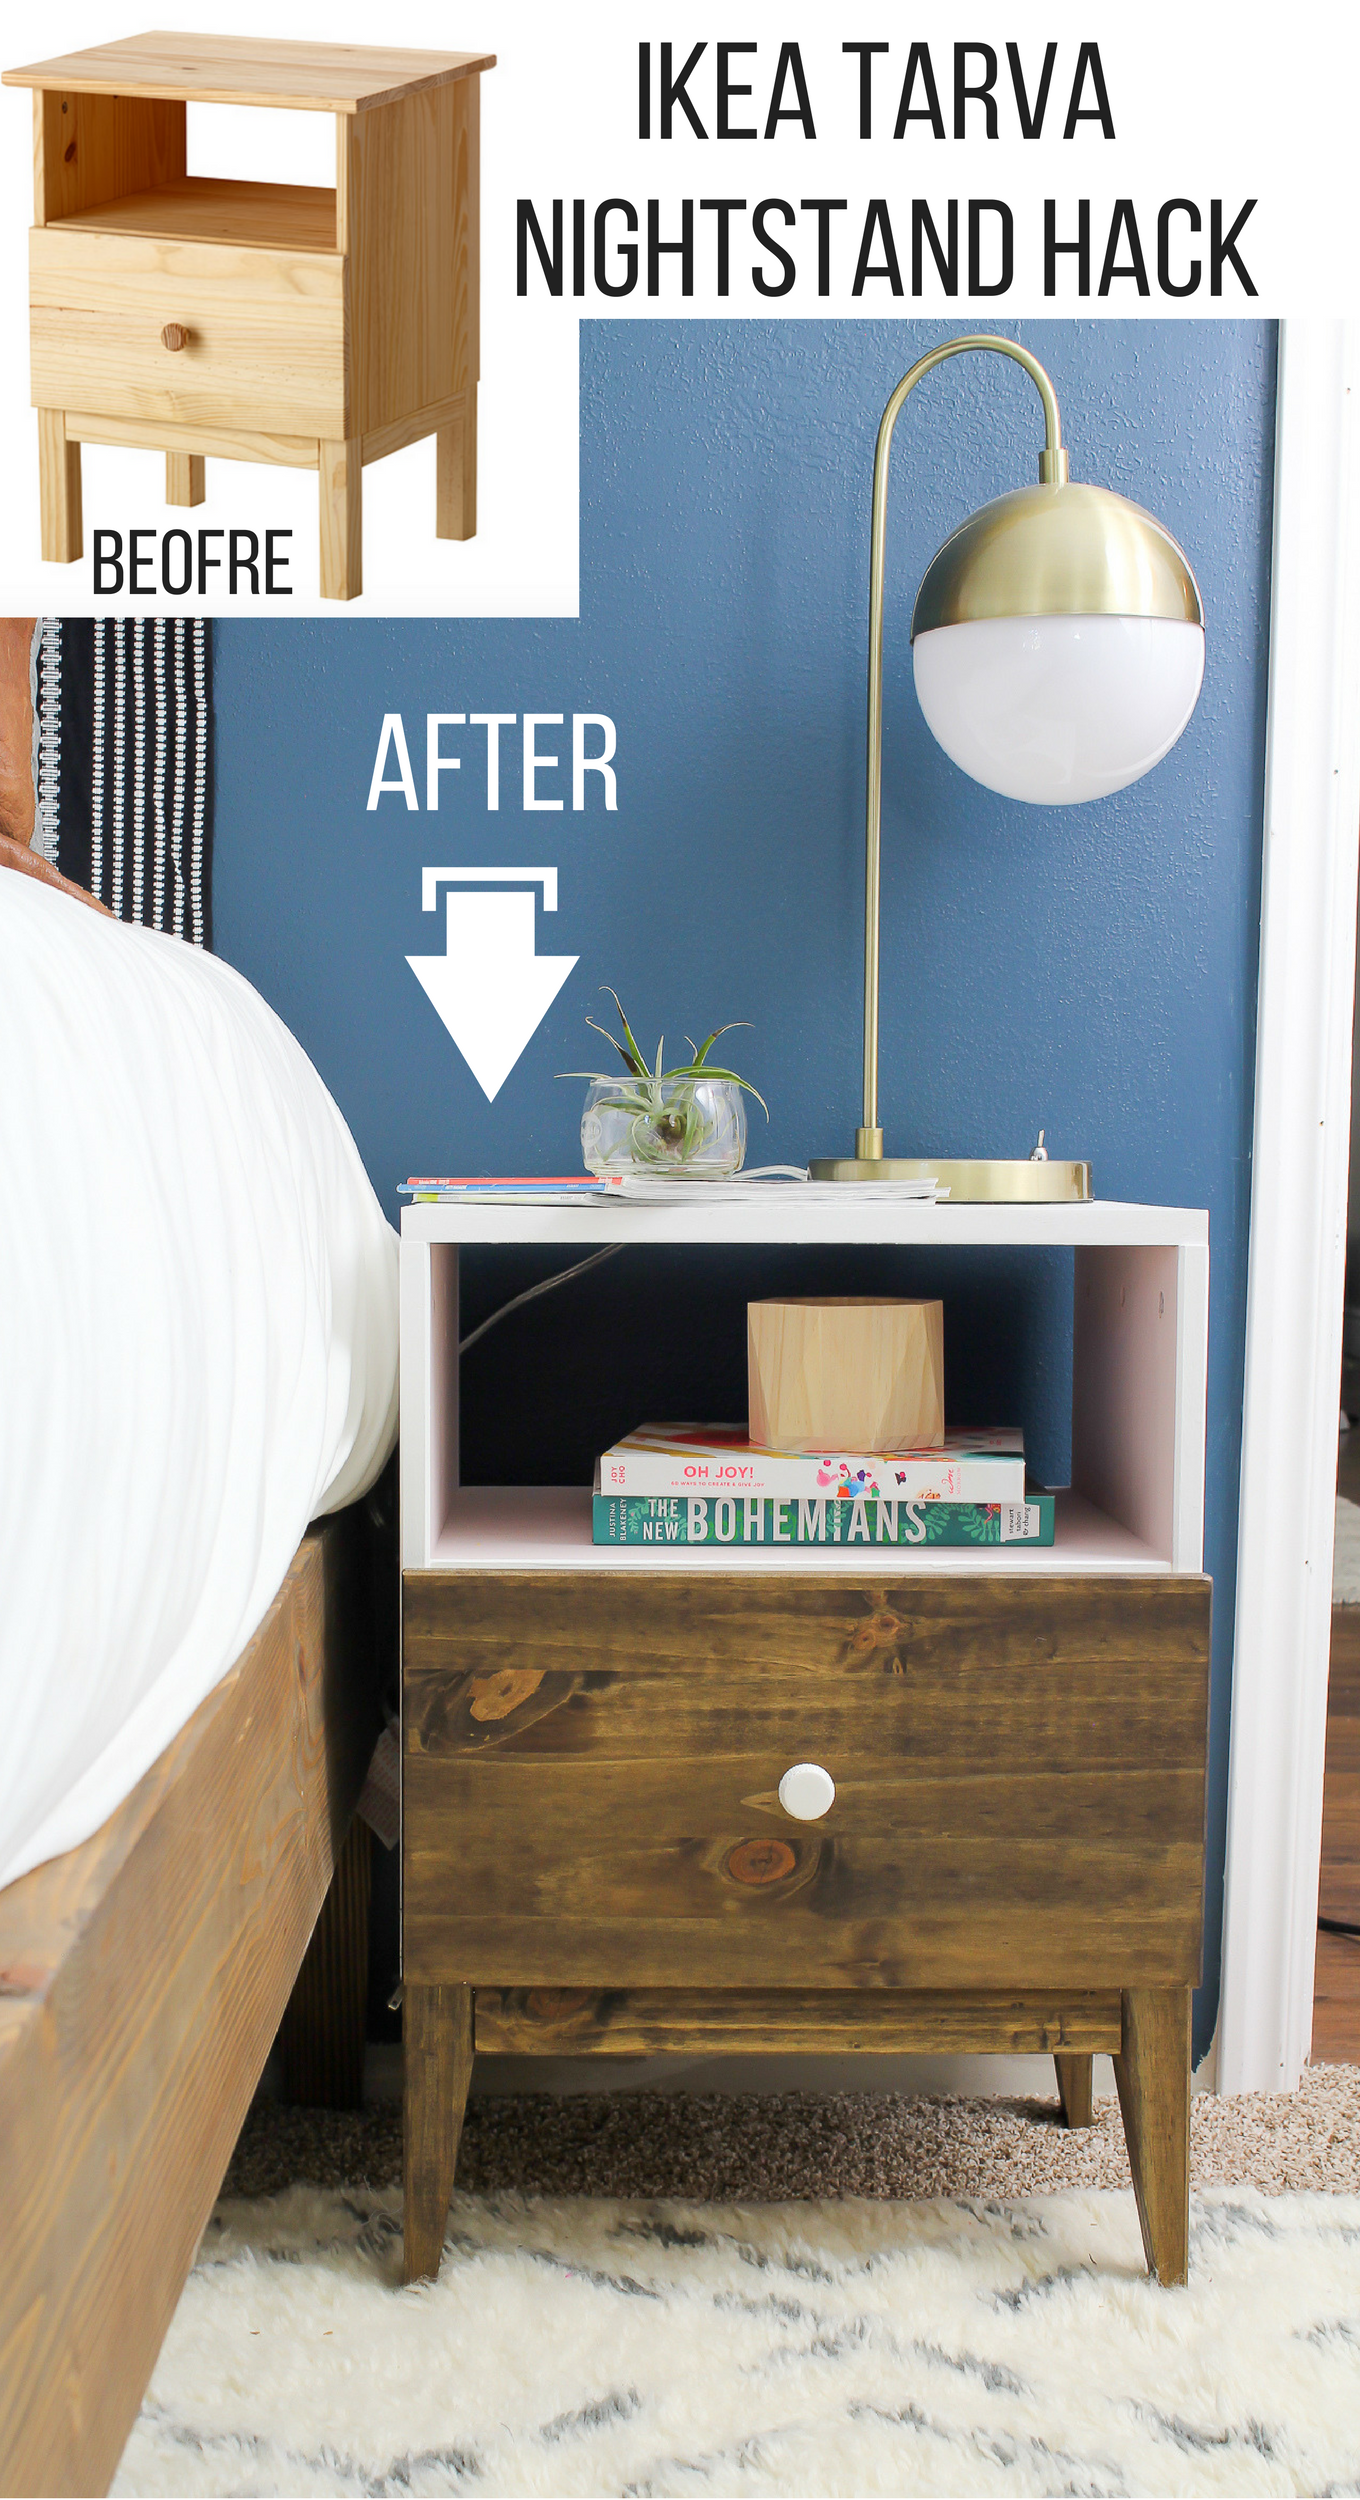
Let me introduce you to my current favorite piece(s) in our house…..the IKEA TARVA nightstand hack!
So… let me give you my disclaimer….this does require a saw, please be smart, don’t cut your fingers off- you have been warned!
Cutting the Legs:
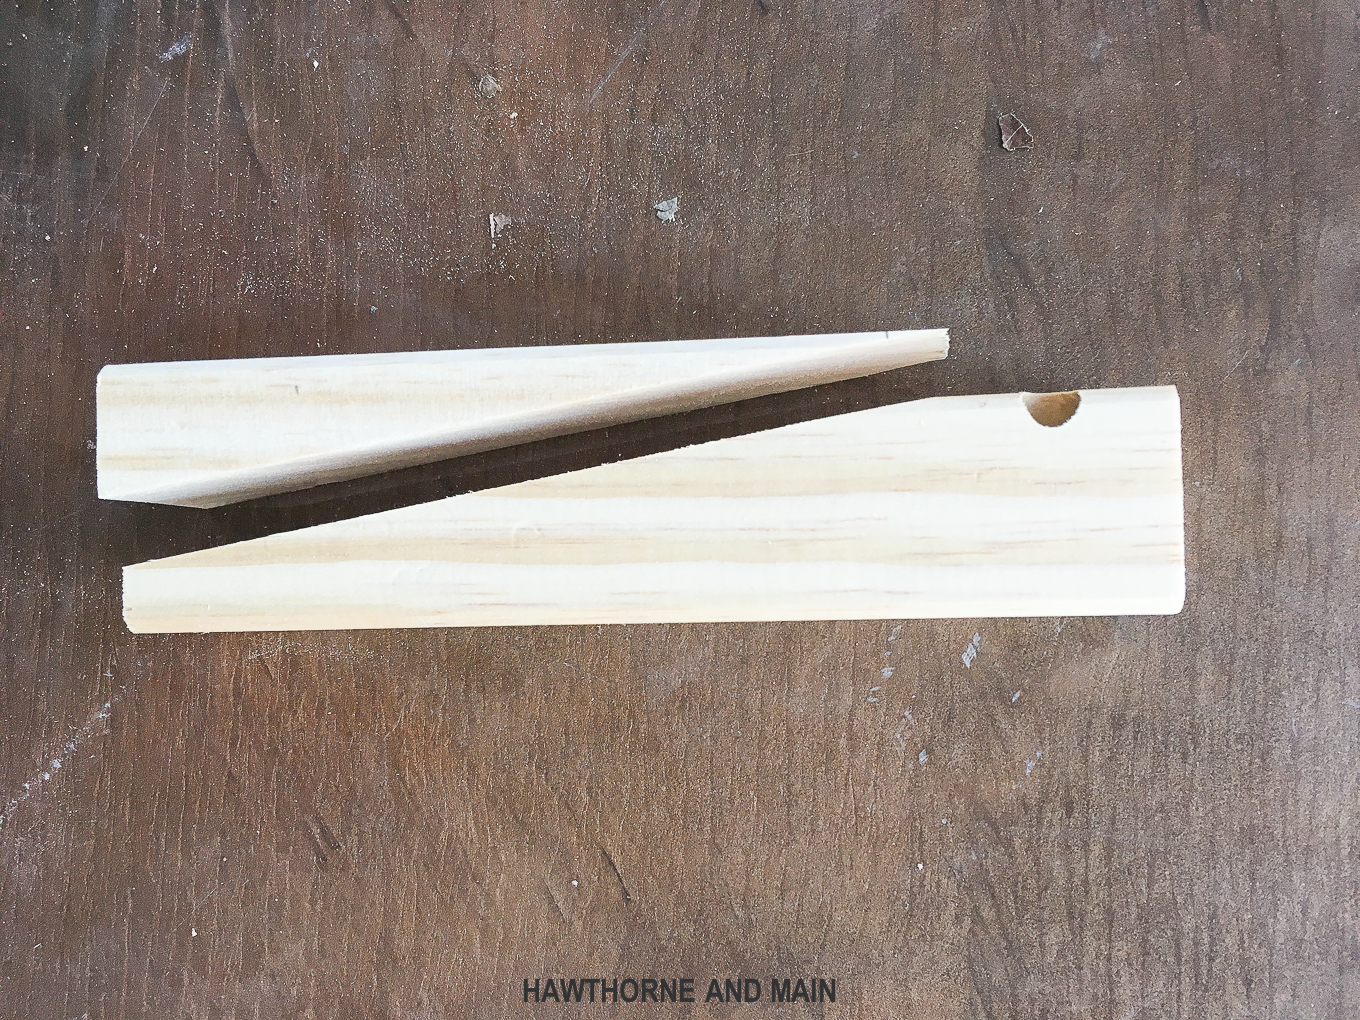
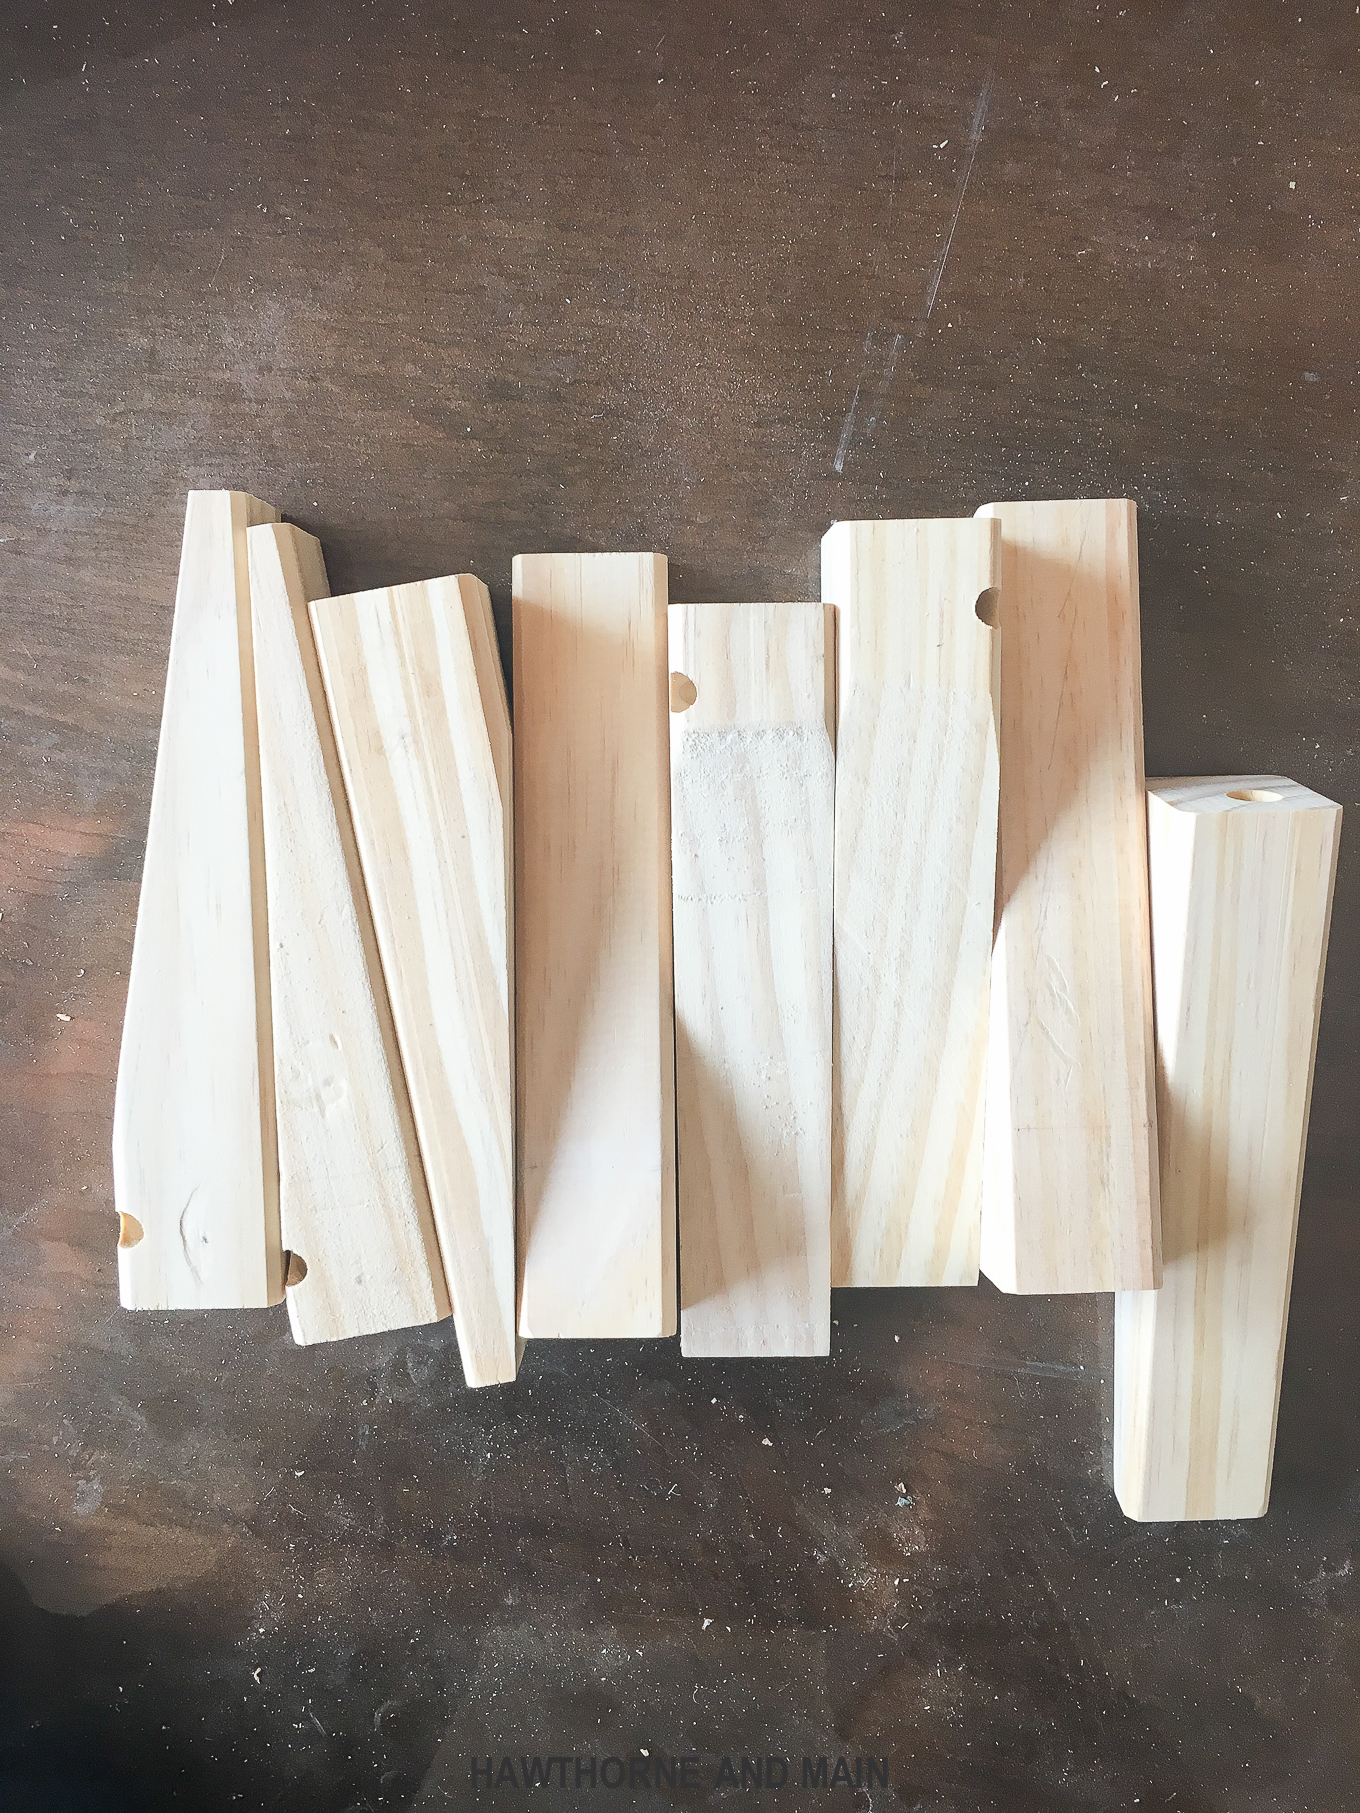
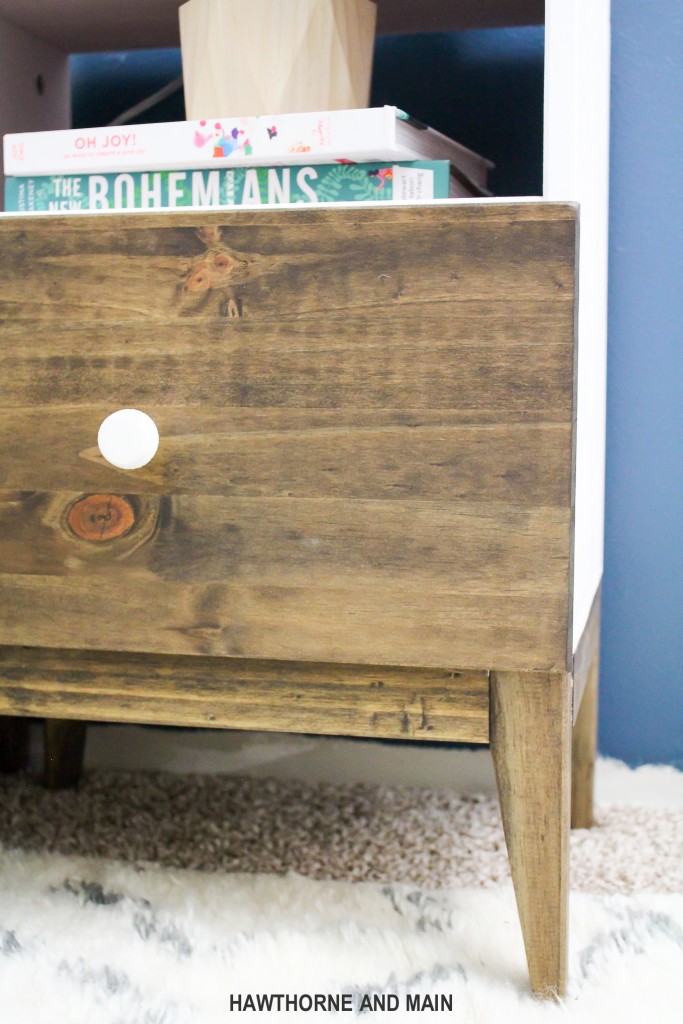
The TARVA comes with square legs. They are sort of blah….but look how amazing they look after you shave a little bit off at an angle…so fabulous!
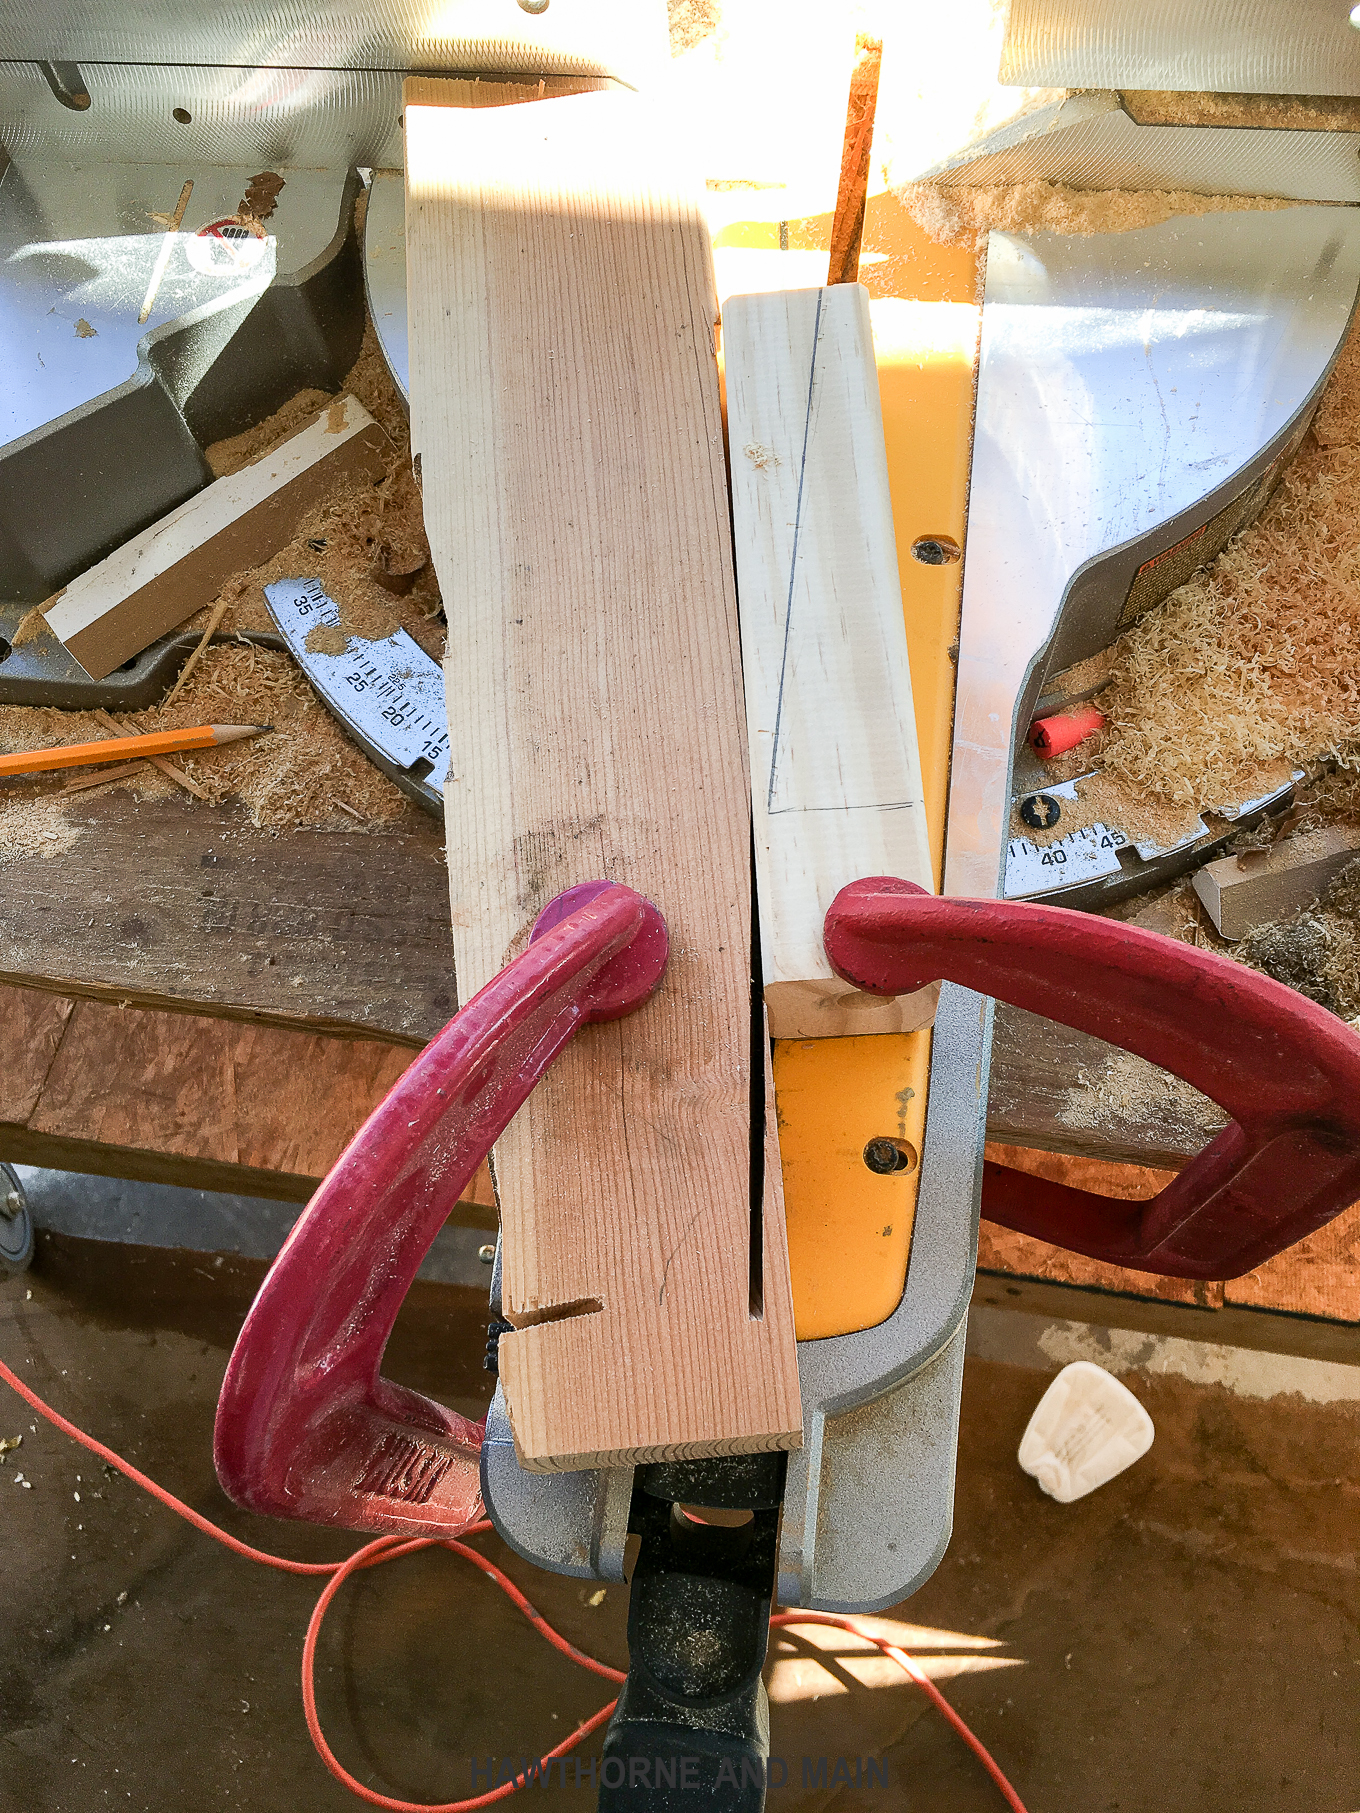
To cut the legs I used my miter saw. You certainly could use any other type of saw that you have or feel comfortable using. I debated about using the table saw but ended up going with the miter saw.
If you look at the nightstand you can see that there is a piece of trim that goes around the bottom, by the legs. This trim piece is 1.75 inches tall. I started out and measured down on each of the legs 1.75 inches. I knew that I wanted the top of the legs to be square to match the trim piece of the nightstand.
For the bottom of the legs I measured about 1 inch in. You can totally change the width to whatever looks good to you. Then I drew a straight line to connect the dots if you will. This is the angle that I used for all the legs. Once one leg was cut, I used it as a template for the others.
To be open and honest….the first two legs that I cut were a little funky…..so all I did was use those for the back legs on one of the nightstands…you cannot even see them…yay!
[ Check out this – IKEA RAST HACK]
After I cut the first trial and error legs……ahem… I was confident, and the rest turned out fabulous. I would recommend practicing on some 2×2 so you don’t have to worry about messing up your legs.
PRO TIP:
The legs on the nightstands are not all the same! Or I should say…..don’t cut them all the same. There are holes pre-drilled on each of the legs. These holes are so you can secure it to the nightstand. When you go to cut out the legs make sure you are cutting on the right side of each leg…. you will essentially end up with two facing one direction and two facing the other direction. To ensure I was cutting the right angles on the right legs, I placed them on the upside down assembled nightstand to make sure I was cutting on the right side and the right angel. Reminder the old rule, measure twice cut once!
I used two large clamps and secured a guide piece on the left, this was just to help secure the legs while I cut them, again I didn’t want to loose a finger! Then I put the leg right up against the guide piece, and clamped it. This way I didn’t have to sacrifice any fingers for this project! Safety first.
I ran the blade over the leg piece, without turning it on, until I had the perfect placement. Then I clamped it down….really tight.
I actually ended up making an outline mark, with a pencil, on the saw so I would know each time exactly where to put the leg pieces.
You might also notice one other difference on my IKEA TARVA nightstand hack…
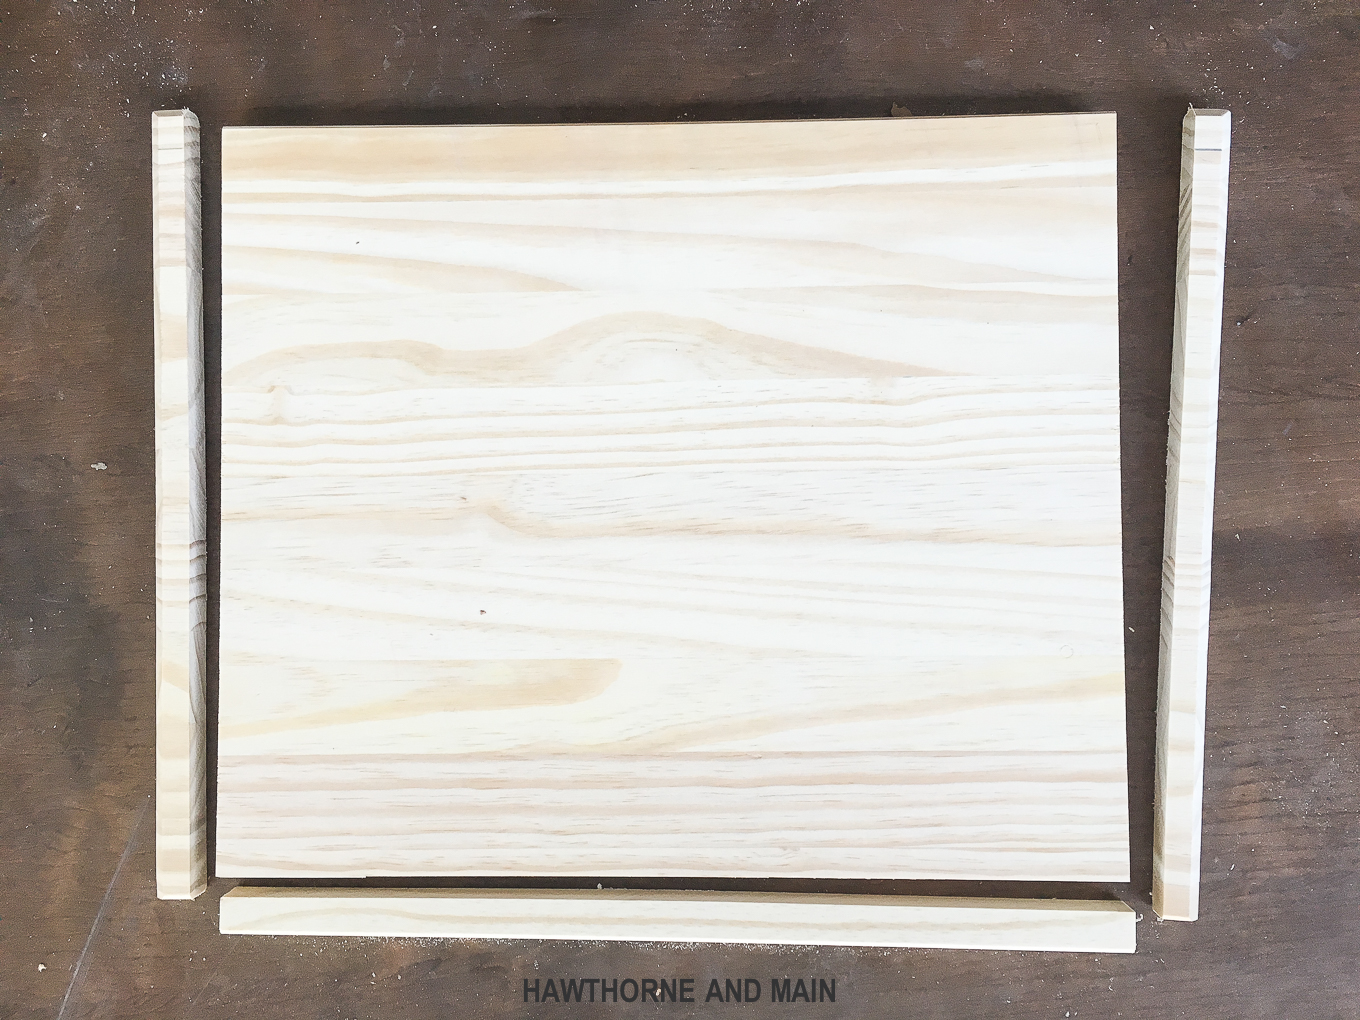
The original came with a top that had about a half inch overhang on the front and both sides. I really like clean straight lines, so I cut off the edges.
Cutting the Top:
I used the wood dowels that came with the nightstand and actually put the top onto the nightstand. Then I took a pencil and drew a line along the bottom of the top piece, where the sides and front meet the top piece.
Then I took it out and used my saw to cut off the edges. I sanded all the legs and the tops before painting and staining.
Paint and Stain:
I really like the two tone look…but for this piece I went with a three tone look…I don’t know why, but I love how it turned out! I painted the top and sides with some white wall paint that I had left over from another project. The sheen of the paint is satin. It has a little bit of a glossy look but very minimal. I painted the inside of the cubby with this RustOleum Blush Pink Chalk paint. The rest was stained with this RustOleum Dark Walnut stain and then I used some Polycrylic to to seal the whole deal!
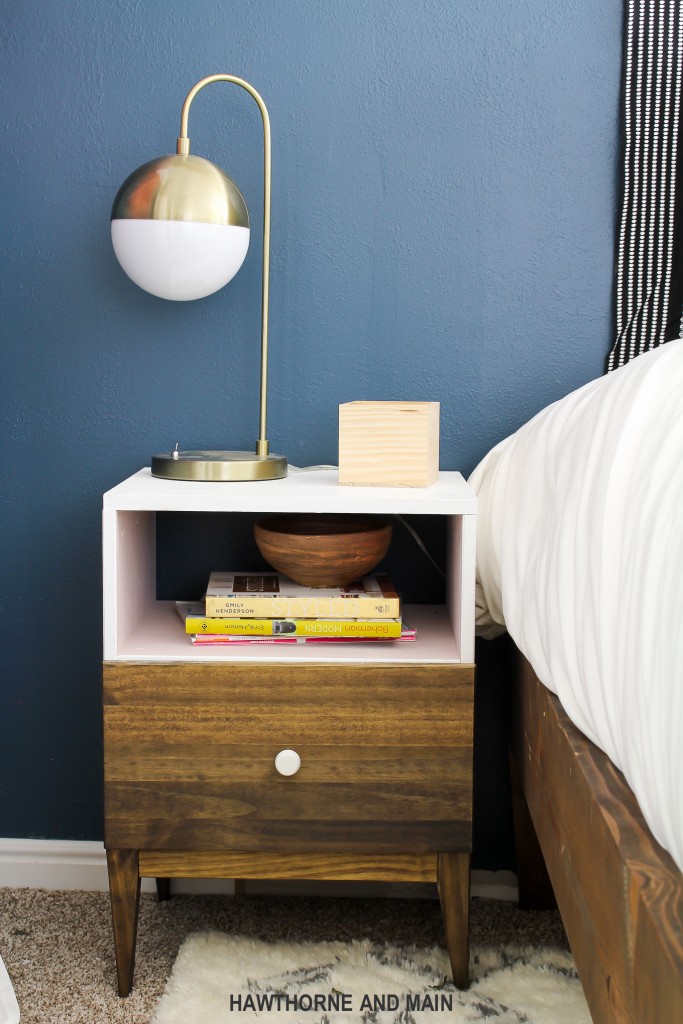
This project was so fun. I love the modern feel that these nightstands have!
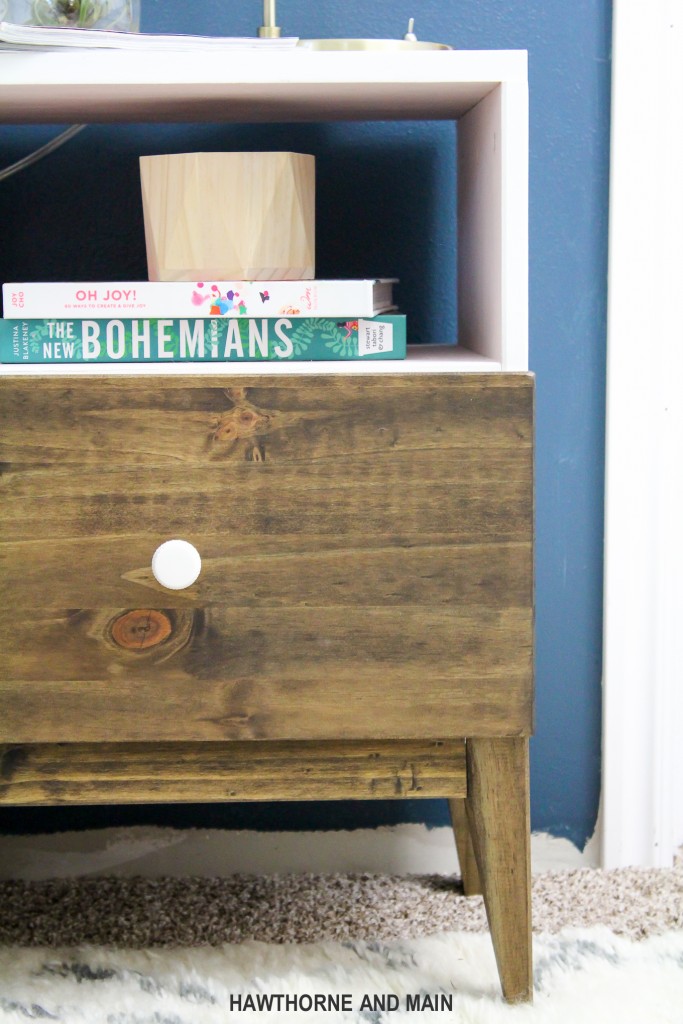






I love this hack 🙂 I miss living close to an Ikea, there’s always so much possibility with their product. I love them!
This is a great idea. I loved that you managed to put the wonky ones at the back!
Can you give the stain and paint colors or links? It looks like they should be there at the end where you say “this paint” but there are no links (or at least they’re not showing for me!) thanks!
Awesome hack! I have to add to my list of- to do projects. I love the table lamps, where can I buy one?
flight of stairs is defined as two or more steps linked together by common risers and treads. This means that even if your staircase is not continuous (i.e., it has landings or turns), it can still be considered a single flight if all the steps are connected structurally.
How Much Does a Cubic Yard of Sand Weigh?
1 cubic yard weighs approx. 2,400 lbs or 1.2 tons.
Sand is a common material used in construction, landscaping, and various other applications. Whether you’re planning a DIY project or working in the construction industry, understanding the weight of sand is essential for estimating costs, transportation requirements, and determining load capacities.
Concrete leveling costs $3 to $6 (CAD 4 and CAD 8) per square foot. Although concrete leveling and mudjacking are the cheaper options, your decision should not be made only on cost. Other factors, such as the area to be leveled, must be taken into consideration.
This is an amazing and informative article that covers so much ground.