Happy Monday! I hope you had a great weekend. Last week you might remember when I gave you a sneak peek at April’s Home Depot DIH workshop. Today I am excited to share with you all the details on what they will be making this month.
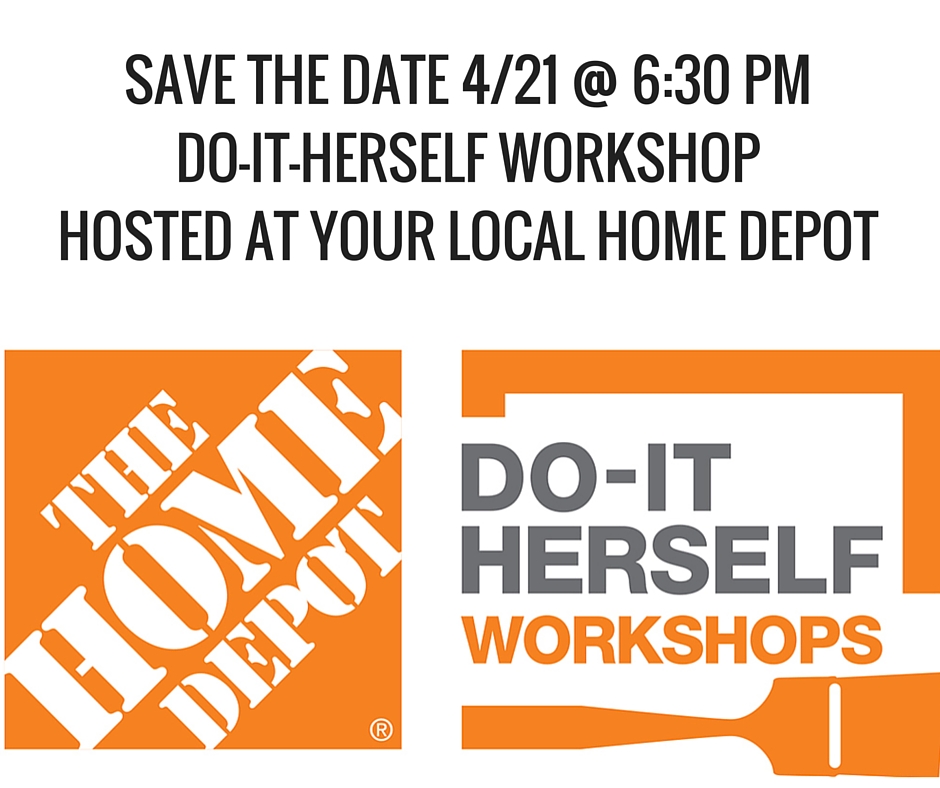
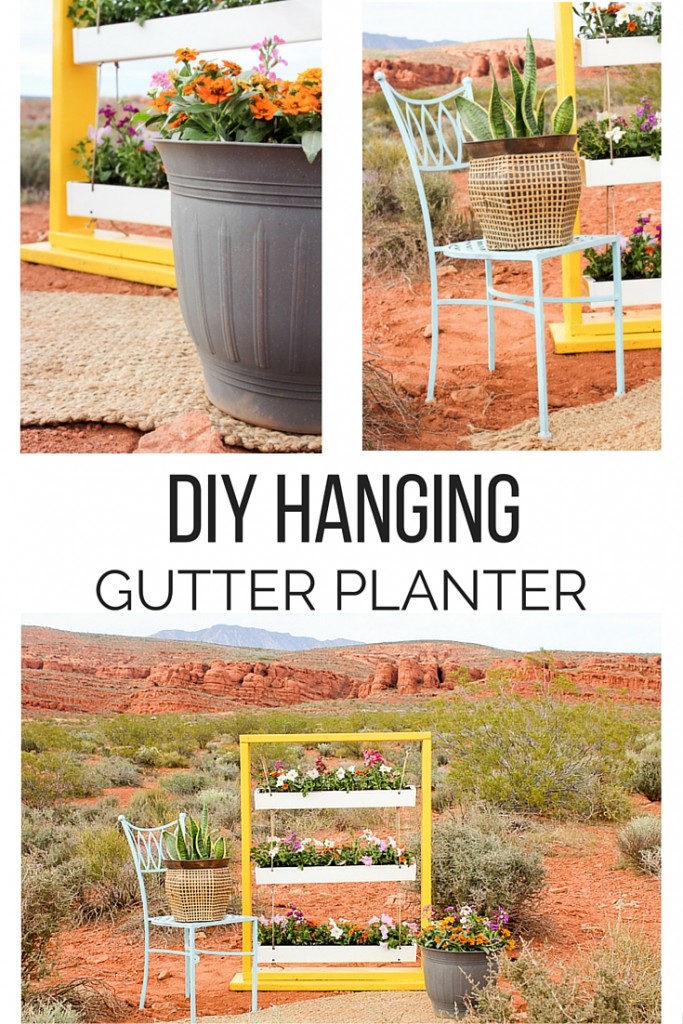
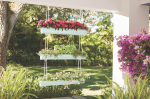
Mark your calendar for April 21st at 6:30 so you can come have fun at The Home Depot’s FREE DO-IT-HERSELF workshop and learn how make this awesome hanging planter. Grab a couple friends to have a fun night out.
Click here to register for a store in your area.
This post is in partnership with The Home Depot, a store I literally visit on a daily basis….(DIY issues) All opinions of products that help make my DIY life easier are my own. To read more see my disclosure policy.
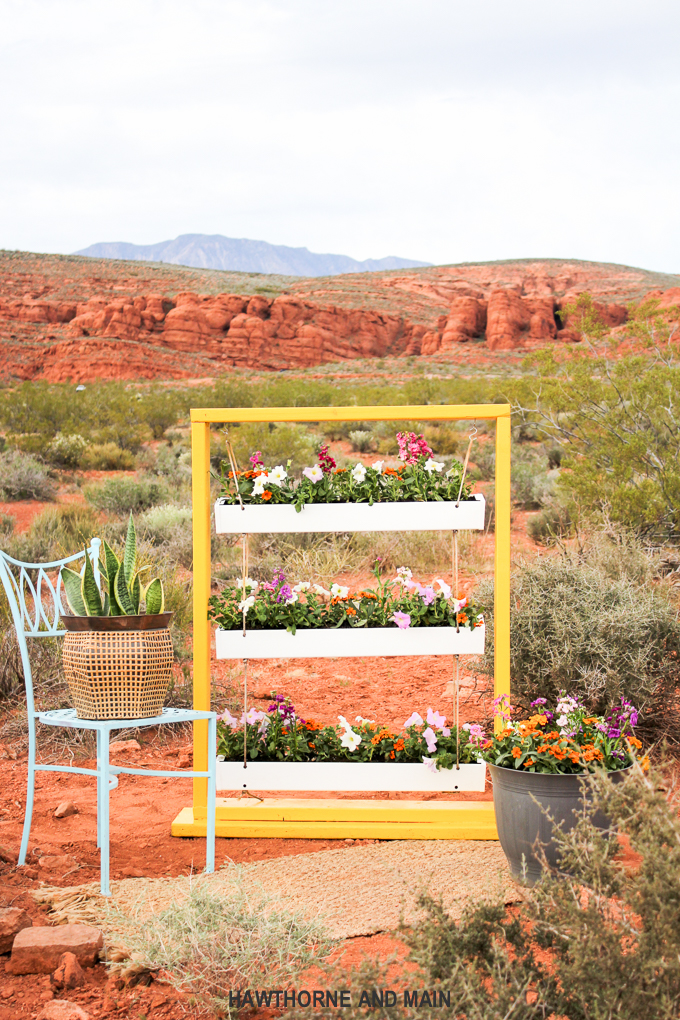
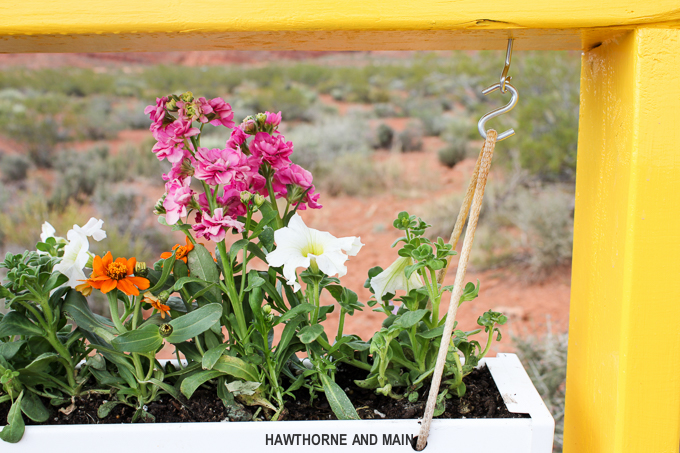
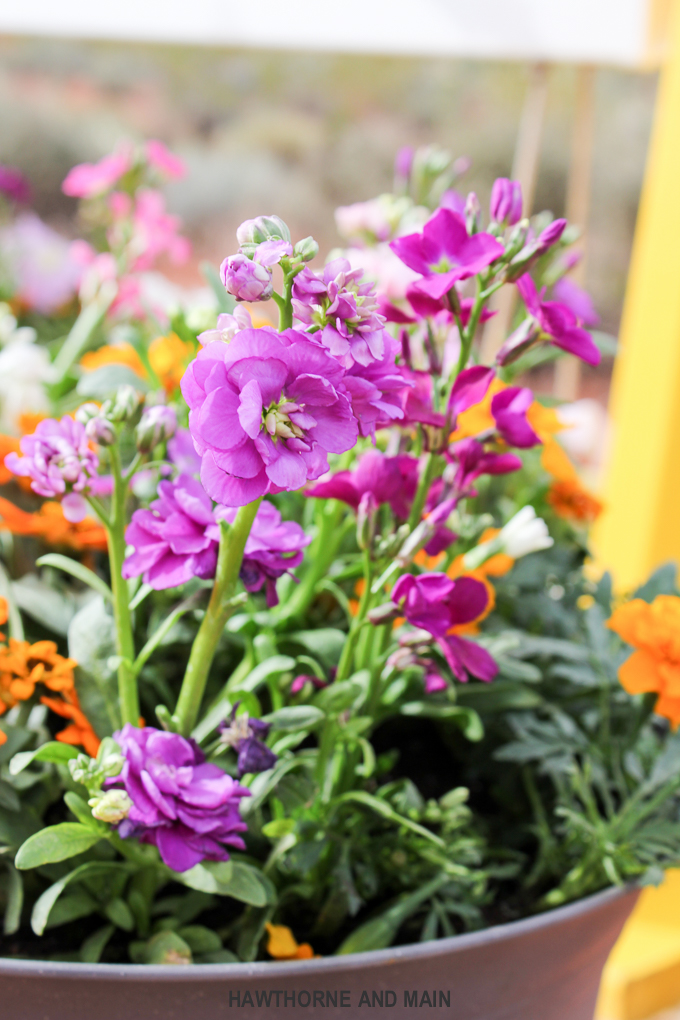
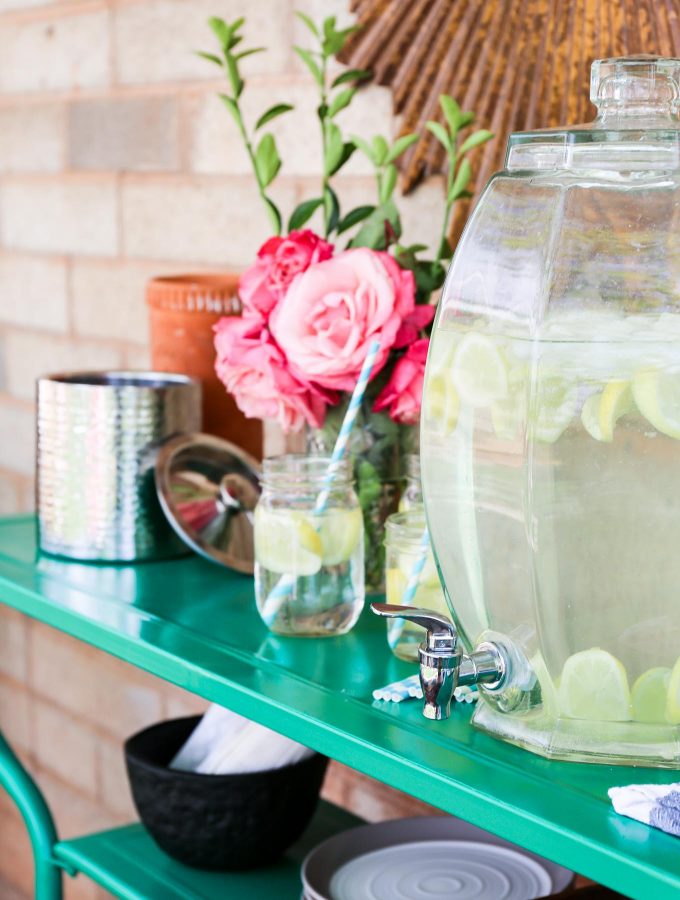
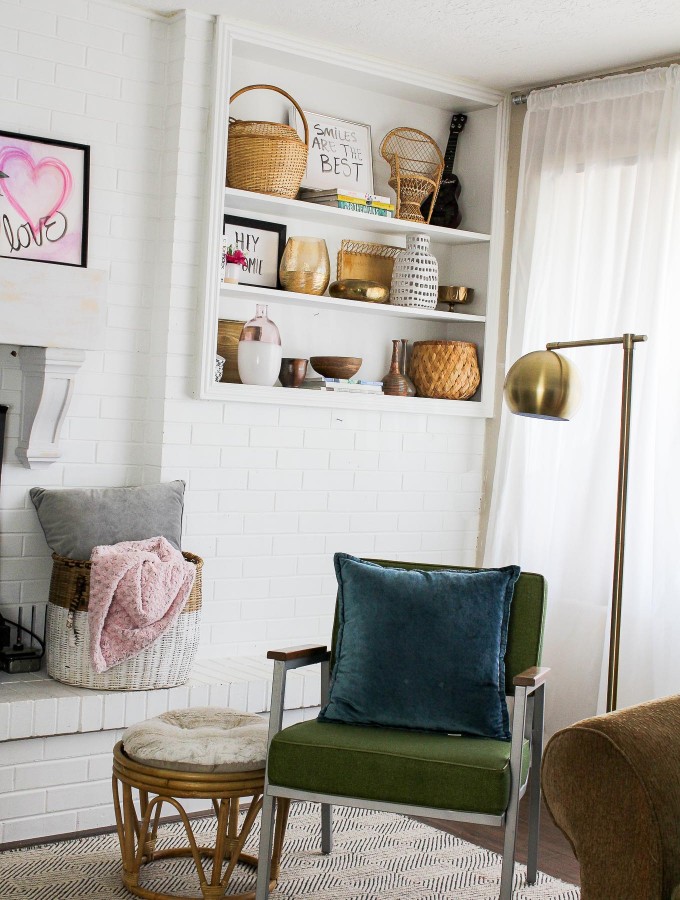
I love flowers, they are an instant way to freshen up a space, even an outdoor space. The issue at our house is that I don’t really have a good spot to hang a planter.
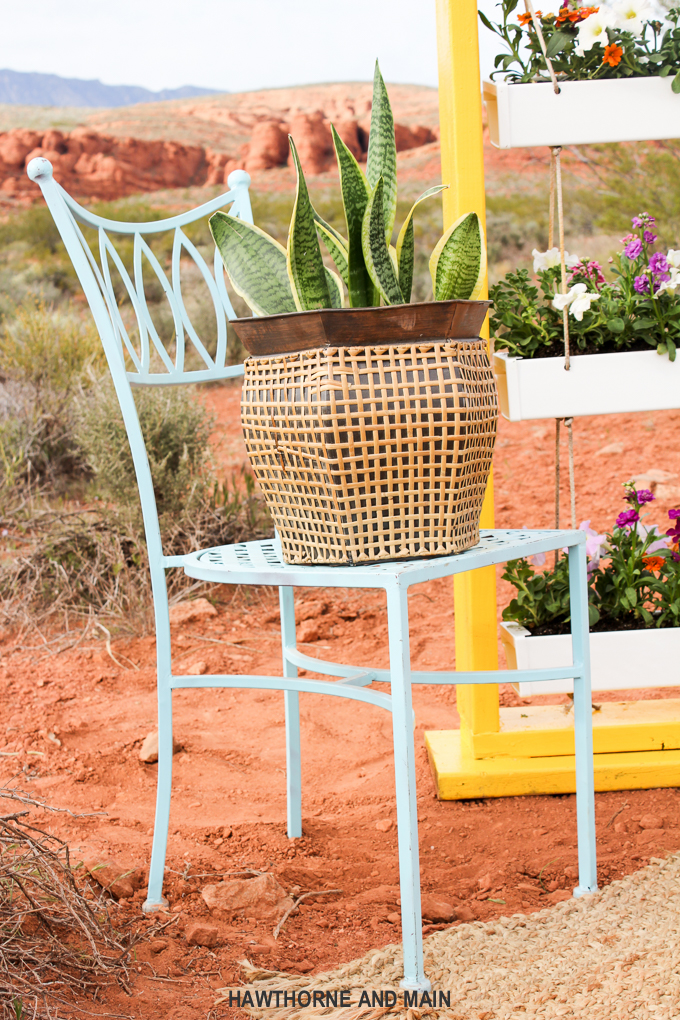
I wanted to come up with a way that I could still have flowers with my limited outdoor space. The yellow plant stand has been perfect for our small outdoor space.
But first, lets look at the supplies and how to build to Hanging Gutter Planter, then I will show you how to make the planter stand.
HANGING GUTTER PLANTER SUPPLIES:
- 1- 10 ft White Traditional Vinyl Gutter
- 3 sets- White Vinyl K-Style End Cap set (2 pk)
- 20 feet- 1/4inch White Braided Nylon and Polyester Rope (cut in store)
- 1 pk- 1/4inch x 2 inch Zinc-Plated Rope S-Hook
- 2- 3 3/4inch Steel Screw-In Plant Hook
- 3/8inch drill bit
- Drill
- Jigsaw/ hack saw
- Scissors
HANGING GUTTER PLANTER TUTORIAL:
Cut the 10 ft gutter in half using a hack saw or jig saw. Now cut the gutter again into four equal 30 inch lengths. *You only need three of them for this project.
Once the gutter pieces are cut you can paint them and customize. Be sure to use a paint that will adhere to plastic and is suitable for outdoor use. You will want to make sure you paint them before moving on to the next steps.
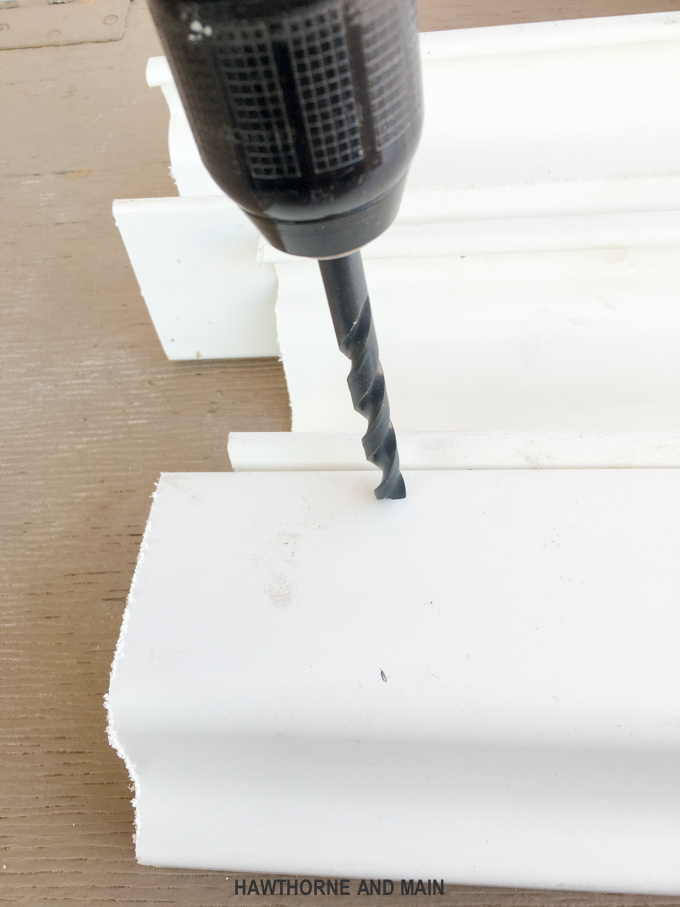
After the gutter pieces are painted, grab your drill!
Now it’s time to make the holes for the rope to thread through. The bottom of each gutter will have four holes. The front and back of each gutter piece will have 2 holes.
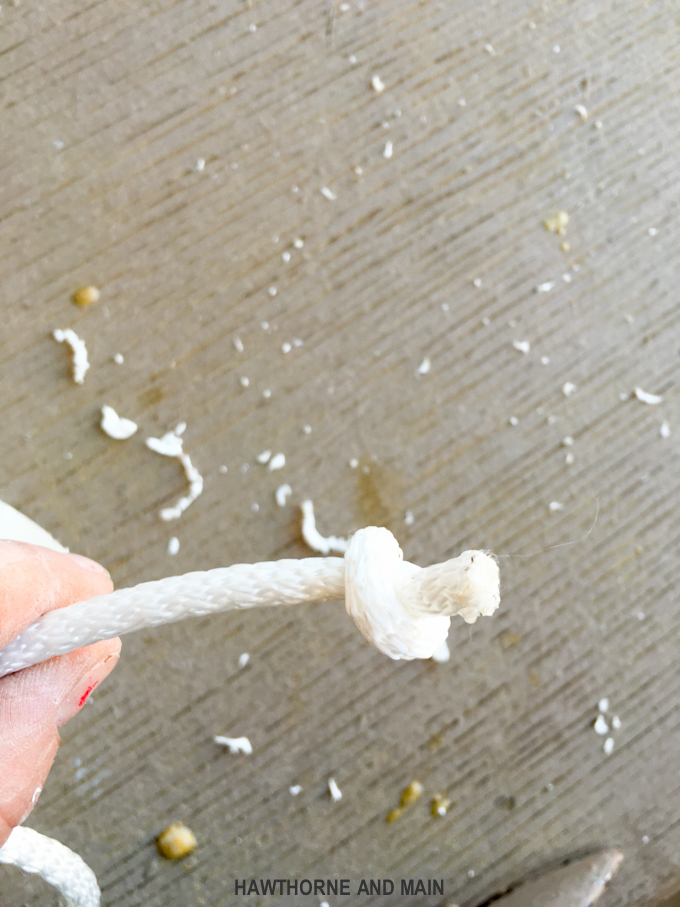
Start by drilling the bottom holes, using your drill and 3/8inch bit. Using a marker, mark your hole marks at 3 inches over and 1/2 inch down (see the image 1 Bottom of Gutter Below)
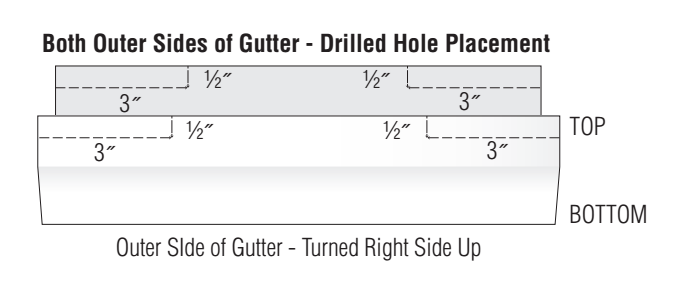
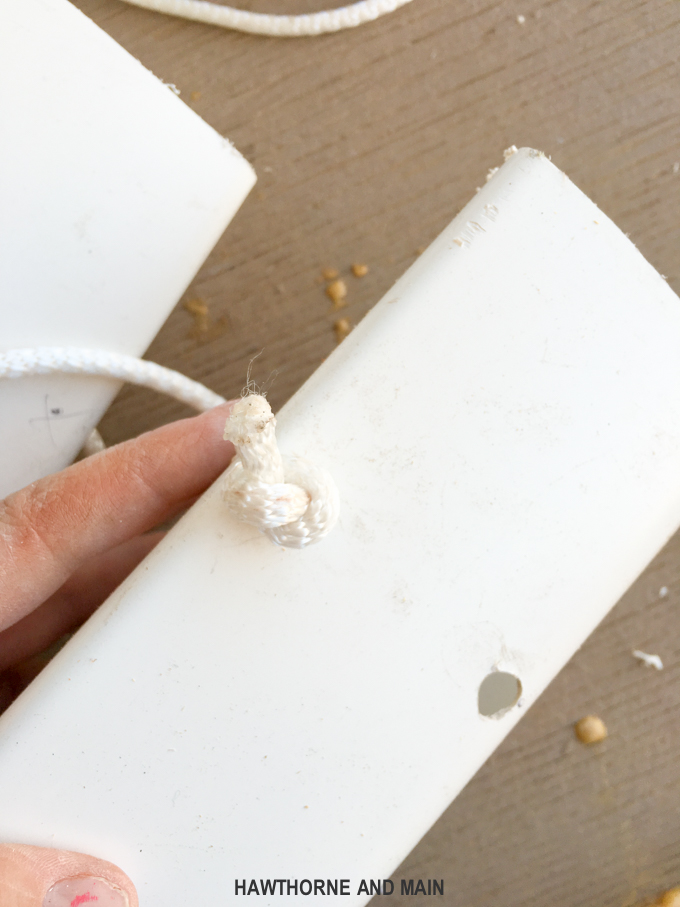
Next, drill the holes on the front and back of the gutter. Again, mark 3 inches over and 1/2 inch down for both the front and back of the gutter (see the image 2 Outer Sides of Gutter)
IMAGE 1 IMAGE 2
After the holes are drilled take your rope and cut it in half, giving you two 10 foot pieces. I found that it was easier to lay all the gutter pieces on the ground to get in assembled, rather than trying to hold it up.
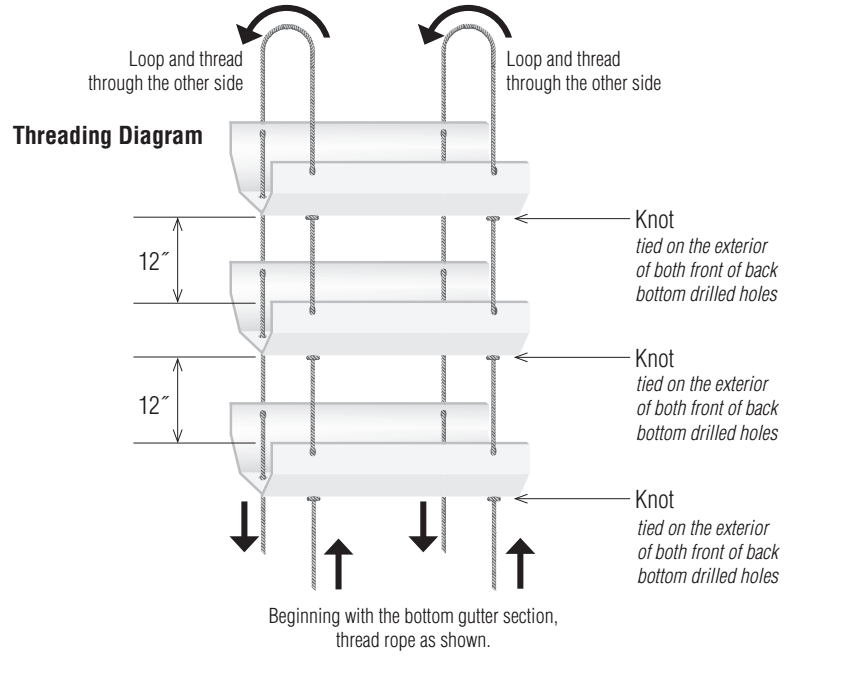
Start at one end of the rope and tie a knot. Thread the rope up though the bottom of one of the gutters and out the top. Tie another knot in the rope about 12 inches up.
PRO TIP:
Depending on how tall your plants will be you may want a little more or a little less space between your gutters. Start with 12″ and work from there.
Once you have threaded the rope through the bottom and out the top of all three gutters, making a knot at the bottom of each gutter, loop the rope around and start threading it through the back of all the gutters. (see image 3 below) Repeat this on the other side of the gutters.
Once the entire planter is assembled, you might have to do some adjusting to get the knots perfect.
Finally, place the end caps on. Now you can hang your beautiful new planter.
If you have limited outdoor space or if you don’t have a place to hang your new planter let me now show you how easy it is to make the plant stand for this hanging planter.
WOOD PLANT STAND SUPPLIES:
- 2x6x16 ft board
- 2×12 (40 inches long)
- Wood Glue
- Drill
- 2 inch Screws
- Outdoor Paint
- Sand Paper
WOOD PLANT STAND TUTORIAL:
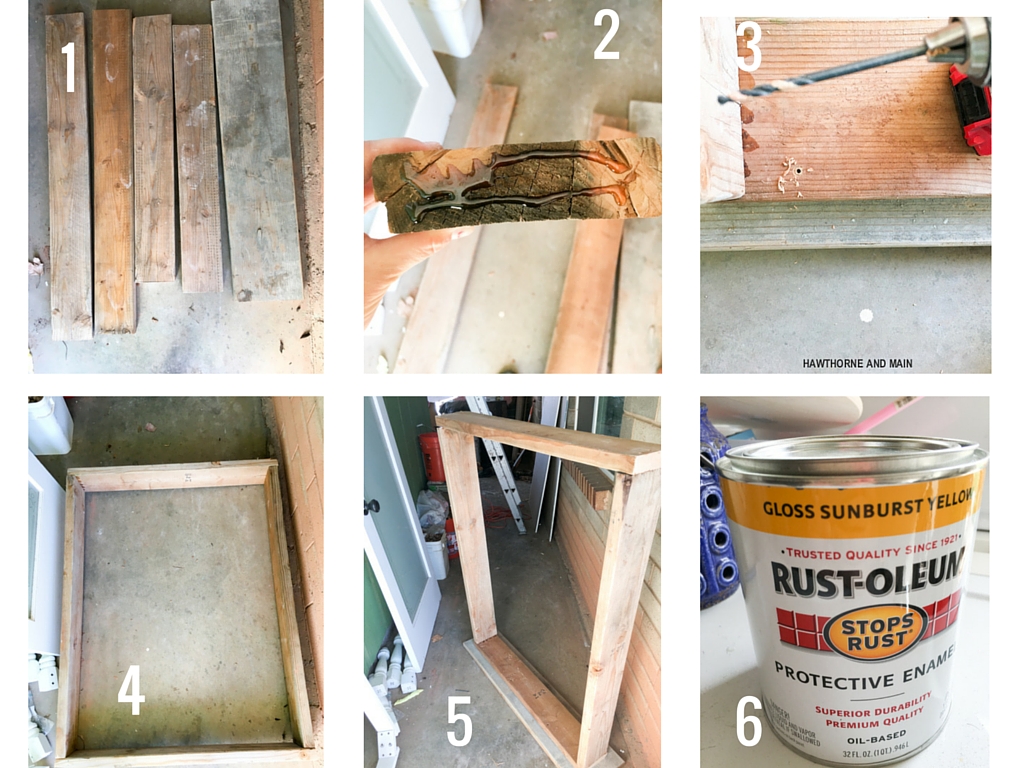
STEP 1: Gather your wood and cut it to length.
Get all the wood pieces cut to length. Cut the 2×6 into 4 lengths, two that are 36″ and two that are 44″. Cut the 2×12 into one 40″ length. Sand all pieces of wood to remove rough spots. This is a great time to use up any scrap wood that you might have laying around from past projects!
STEP 2 & 3 Attaching boards for frame
Using wood glue, glue one of the longer 2×6 side pieces to the shorter 2×6 bottom piece. Keeping the wood square and in place, pre drill the holes and add wood screws.
STEP 4: Continue gluing and screwing until the frame is built.
STEP 5: Add the bottom piece of wood
Once the frame is built, add glue to the bottom of the frame and screw it to the 2×12 piece. This will help keep the planter more secure and upright.
STEP 6: Paint
Paint it up!! This is always the funnest part. I picked up some oil based paint since I knew this would be outside in the weather getting wet. This paint is so pretty and really made the plant stand perfect. I ended up doing two coats.
STEP 7: Add the screw-in plant hook
When the frame is dry, use your drill to pre drill a hole for the screw-in plant hook and use the S-hooks to hang the planter.
Plant your favorite flowers or herbs or what ever plants you want and decorate accordingly. I am seriously loving this planter….and I haven’t killed any of the flowers yet.
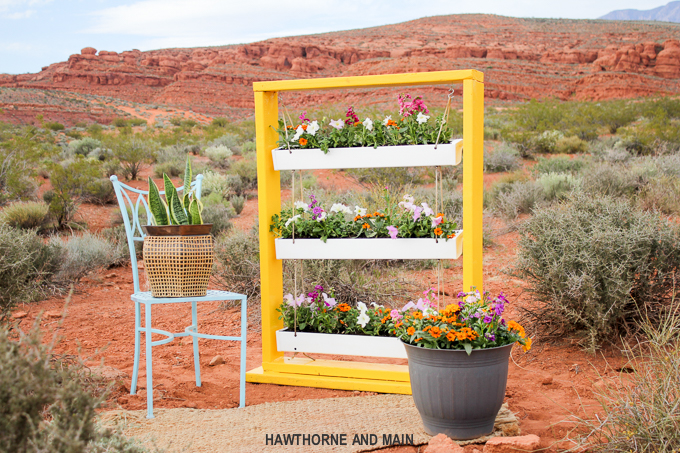

This gutter planter was really so much fun to make! I hope you will save the date on your calendar for April 21st to come and see a demonstration yourself.
Now if you like variety….and who doesn’t….? I have four other versions of the Hanging Gutter Planter to share with you. YAY!
I have joined with some of the most creative ladies out there to give you their own spin on this hanging gutter planter. Be sure to click through to see all of them and get tons more inspiration!
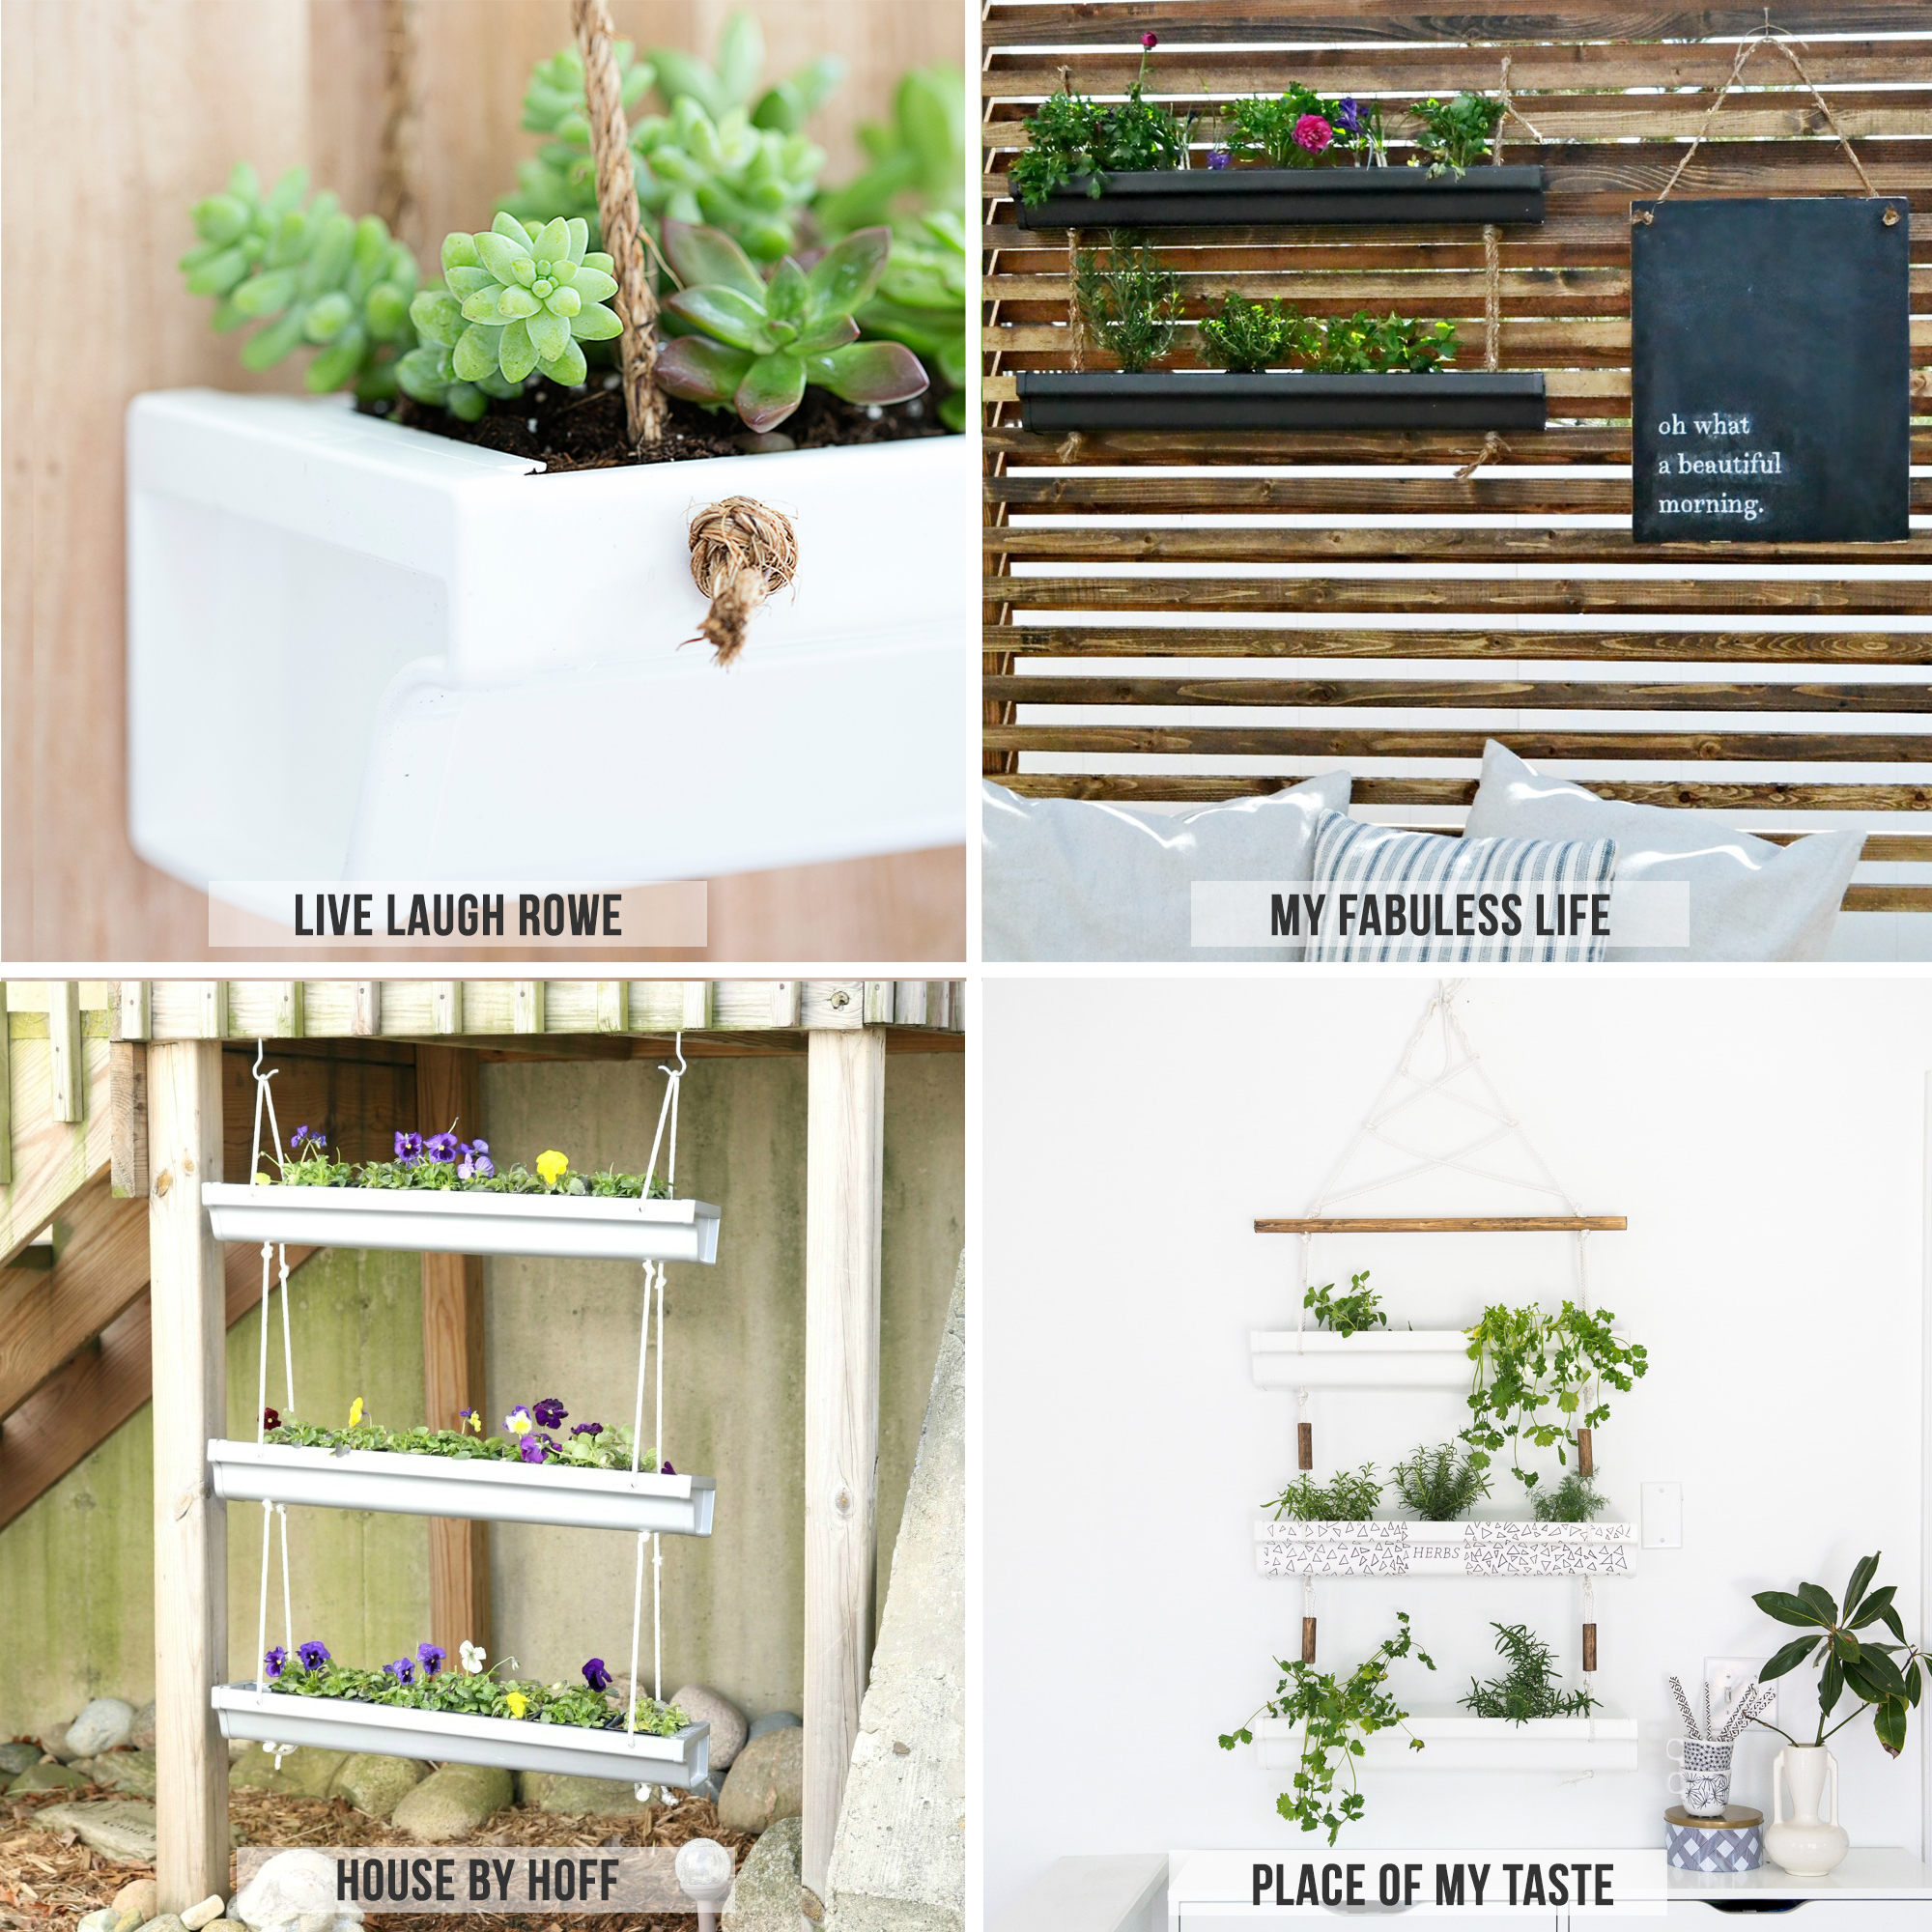
Live Laugh Rowe: My Fabuless Life: House By Hoff: Place of my Taste
And… wait for it... there’s more!!
Check out these Hanging Gutter Planters too.
The Creative Mom| Her Toolbelt| The Contractor Chronicles| A Girl and a Glue Gun| Make It Love It
Domestically Speaking|My Repurposed Life|Restoration Redoux|Designs By Studio C|
Cupcakes and Crinoline|All Things Thrifty|Lou Lou Girls|Reality Daydream|Over The Big Moon
Pretty Providence|The Rustic Life| The Glam Farmhouse| Boxwood Avenue|
Our Vintage Farmhouse| A House and a Dog


This is so neat! I just love how amazing this looks. All those flowers add so much color and life, and since it’s stacked vertically, you can add a lot more flowers if you don’t have a lot of space. The background is amazing, too!
Thanks Celeste. I do love that they are stacked too. It literally takes up hardly any space at all. I haven’t killed the flowers yet so I am happy about that too! Have a great week.
Shonee
Your free-standing hanging gutter planter looks great! That was a really good idea to make a place to suspend your planter!
Thanks Gail! I was at a loss of where to hang this so I had to improvise. I am happy with how it turned out!
Love your version, it is so stunning! (especially against that backdrop…wow)
Thanks! I think we both had the same idea with the stand, yours came out awesome too! Have a great week!
Love the frame for the planter – great idea!
Thanks Cher! I love the frame. The best part is that the flowers are still alive! yay!
I love this idea!! And I can’t get enough of these pictures against the red rocks!
Thanks Jenn! Those red rocks are pretty cool!
Great idea on making it a free stand planter, Shonee! Your backdrop is AMAZING too — the red rocks are breathtaking. HUGS!
Thanks Kelly! It is pretty fun living in place with such pretty mountains. I had to take advantage of them and use them in the shot!
WOW this is just gorgeous!
Thanks Kristin! Hope you get a chance to attend the workshop. This planter was a breeze to make.
Well this is super cute!! I love that you made a stand for the planter, and that yellow is perfect!!
Hey Jenny thanks! The stand has been fun. I love looking out my window and seeing the bight pop of color in my backyard. Hope you have a great week!
I love this!! I’d love it if you shared this on the brand new DIY party!
http://www.pleasuresofthenw.com/diy-party-1/
Hey Helen! Thanks for the invite. I will definitely check it out!
Your planter is really pretty. If I didn’t have a big dog I’d consider making one for my yard. Love the colors you picked.
I know how dogs can destroy all things pretty! Maybe hang it up high 🙂 Thanks for stopping by Theresa!
I really wish I would have made it to this DIH event! Your pics are amazing and beautiful! Thanks for sharing at #HomeMattersParty Hope to see you back!
Many also learn an instrument with lessons outside school.
Wait no less than twenty four hours and then apply another coat which has a 6″ drywall knife and permit to dry. The waiter’s corkscrew will be the old-fashioned opener that resembles a pocket knife with the cork screw and bottle opener. While you could possibly have the right outdoor seating, lighting, and look at for the occasion, however, your porch screen could possibly be stopping you from actually having a fantastic time.
“Excellent blog you have got here.. It’s difficult to find
quality writing like yours these days. I seriously appreciate people like you!
Take care!!”
It is always a nice time reading your blog post. I like the way it is full of insights. Nice work.
Hello
What a post I’ve been looking for, thank you for giving me useful information and please keep posting good information.
I will visit you often. Thank you.
I am also running the site, and its a similar site.
So feel free to check in and explore cause they are helpful and informative.
If you have any questions, please visit my site and read what kind of blogs I am posting. I am sure it will be interesting.
Have a niceday !
https://www.automymo.com