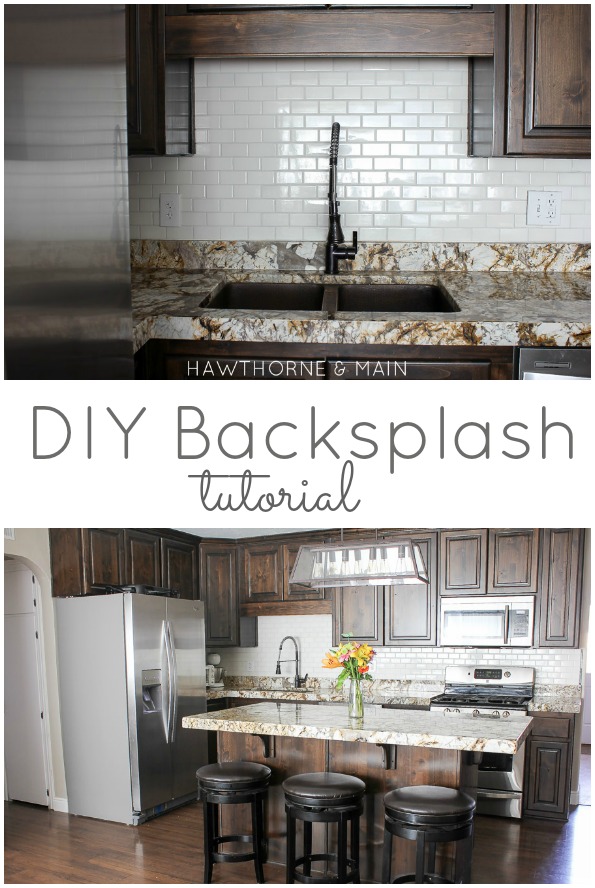
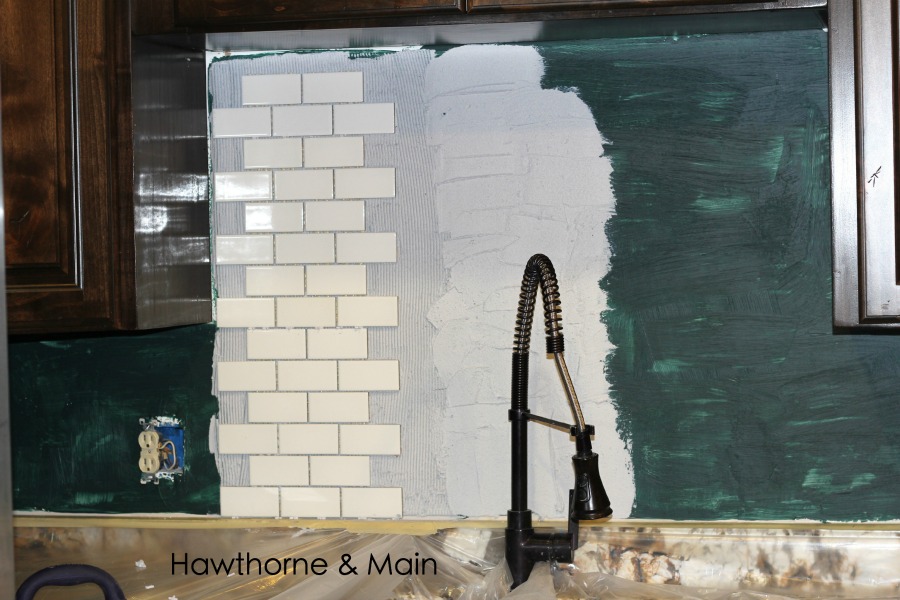
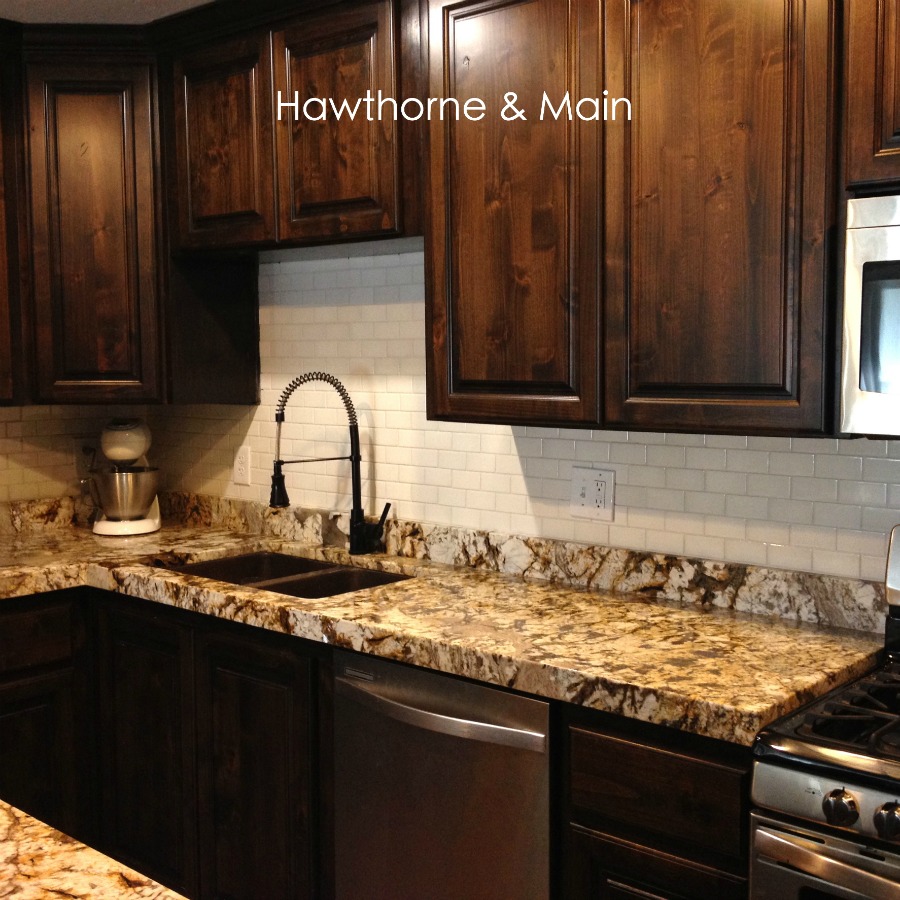
If you follow me on Instagram, or facebook you might remember that I posted a picture similar to the one below, as we were getting ready to do our very first DIY Kitchen Backsplash.
We had decided on a color and a style but were unsure of the size. We ended up going with the smaller subway and I really like the end result.
I was excited to embark on a new adventure in tiling!!
This would be our first tile job and I knew that it would only take one night to get down, easy peasy, right!! Ya right!!
The whole process actually wasn’t too bad minus a couple of snags along the way. There are so many tips and tutorials out there on tiling I will share with you guys our process. Hope it helps!
the Hawthorne and Main blog uses affiliate links, to learn more check out our policies page
It took me a long time to decide on what tile to go with. We have really really busy counter tops, so I knew that I wanted to go with something very simple. I went back and fourth between doing a bright white or an off white tile. I couldn’t decide if I wanted to have a small accent inlay on the backsplash or none. There are so many options out there!
When I went to the tile store it was exciting but a bit overwhelming. Once I finally decided on the style and color the process went well. I ended up choosing a slightly off white color and the smaller subway tile.
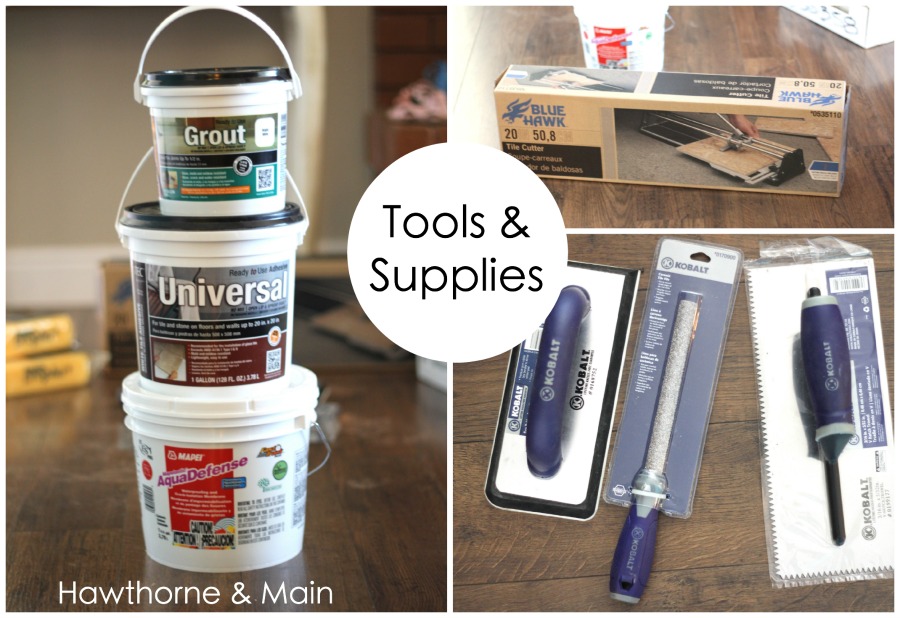
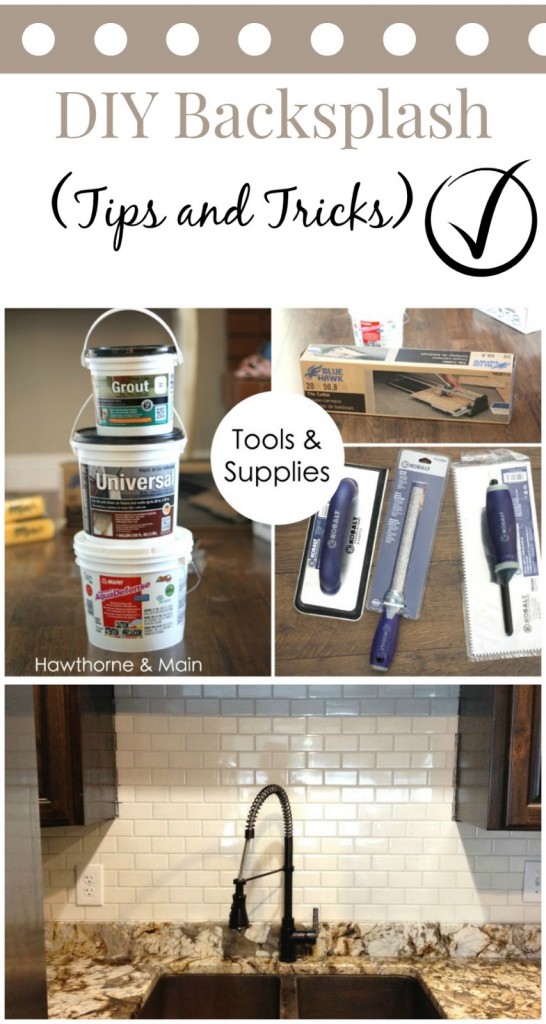
Lets take a look at the supplies we used:
Tile
Grout- you choose the color
Premixed thin set
Aqua Defense (water barrier)
Paintbrush
Tile spacers- they come in different sizes
Tile File
Tile Cutter
Rubber Grout Float
The first thing we did was preparation.
This is honestly my least favorite thing to do. It is not uncommon for me to paint an entire wall in our house without laying down plastic.
I just try to be really careful and not have drips.
I always drip.
I don’t know why I can’t just lay down some plastic…
Luckily all of the walls that I have painted in our home without laying down plastic have wood floors. Drips are easier to clean up.
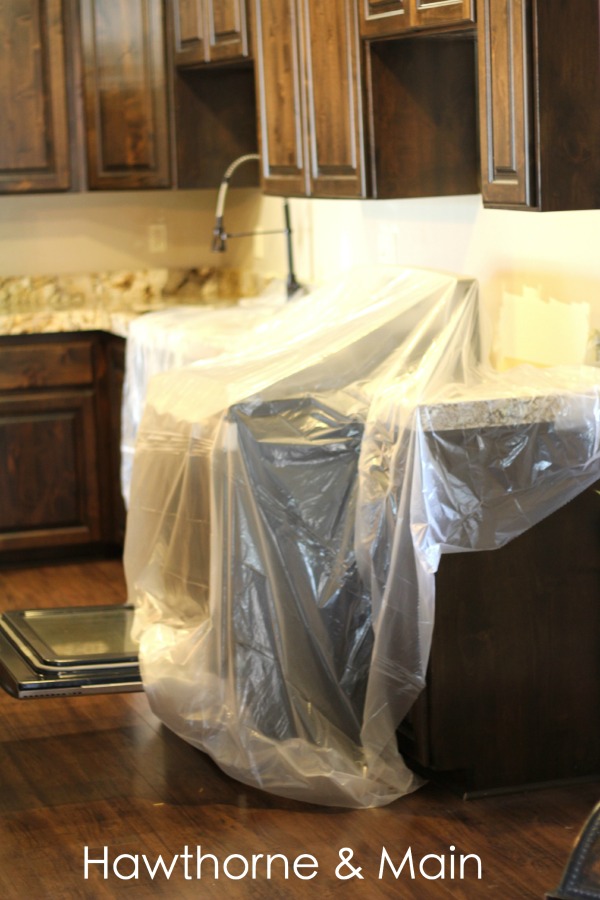
First tip, good prep work.
For our prep work, we completely covered all of the counters surrounding the backsplash wall, including the stove and the sink, all of it.
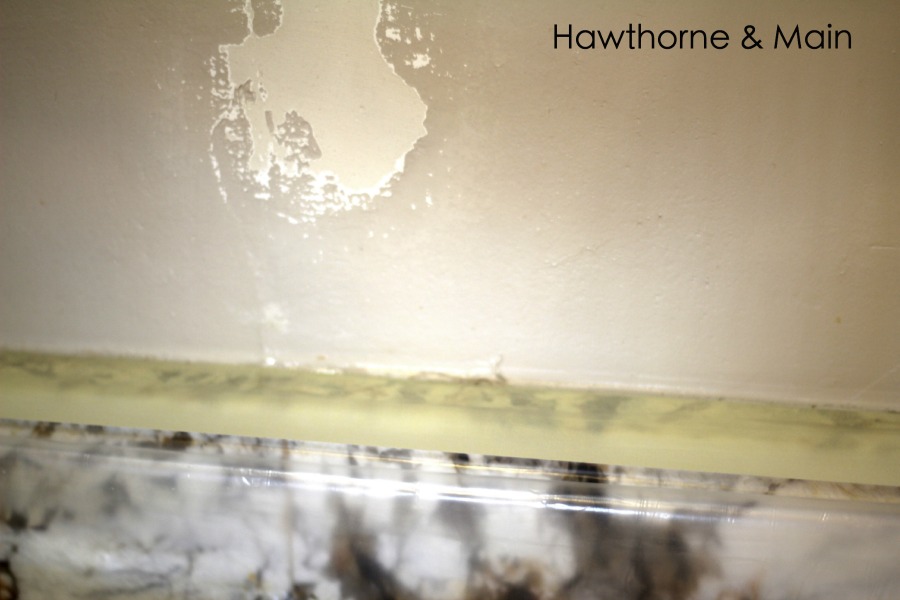
I also ran a piece of masking tape along the top of the existing backsplash. This made all the difference when it came to clean up. I didn’t put the tape all the way back to the wall. The reason I did this is because I knew we were going to be putting the tile up and I didn’t want the tape to get stuck under the tile, does that make sense. I brought it out from the wall about the thickness of the tile, 1/4-1/8 inch.
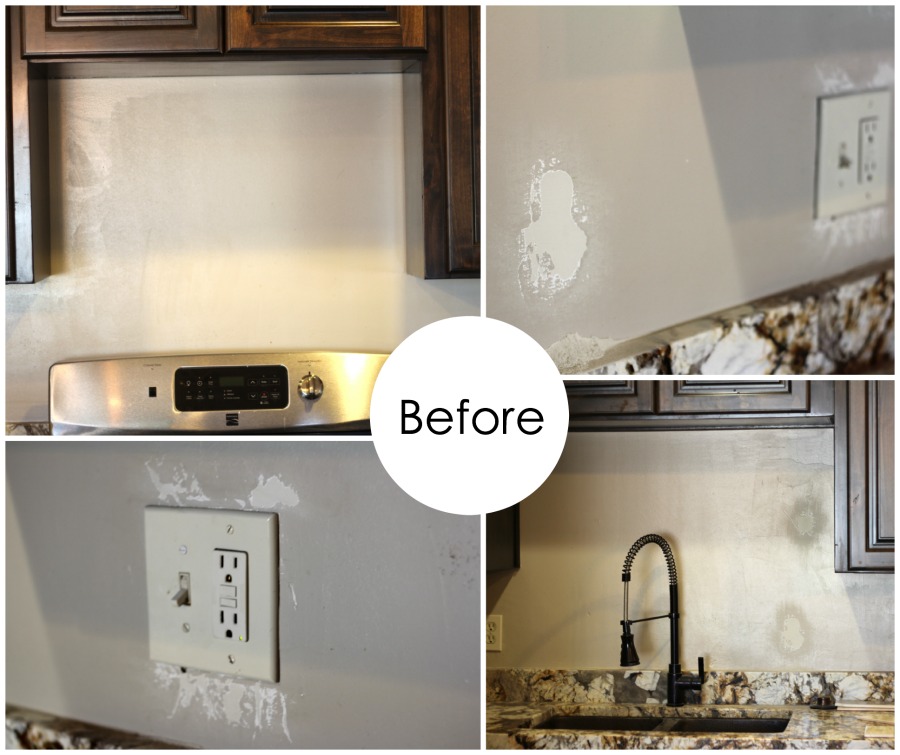
The other prep work that we needed to do was patch the wall and make it smooth.
We had some contractors come in and fill in the window that overlooked the kitchen sink into the bathroom, I know crazy. You can see the before of that over here.
They unfortunately were not the best hired help that I could have gotten……
Needless to say there were a bunch of bumps and dips in the wall. I used sheet rock mud and sand paper to level out and sand it down so that it was finally smooth.
Once all of the prep work was finished it was time to get started.
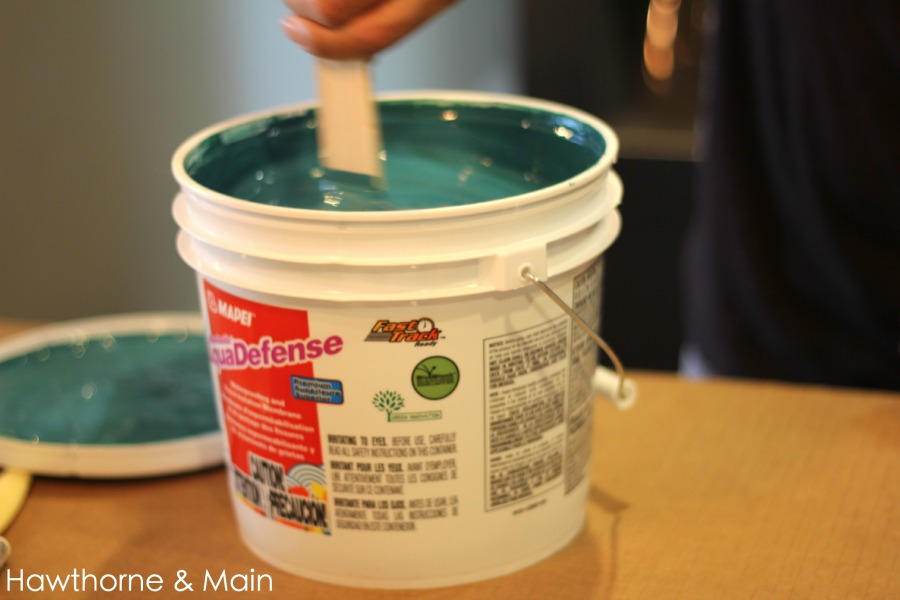
Our house has quite a bit of moisture in it. We decided we didn’t want to have any issues with moisture getting behind the backsplash so we used a moisture barrier. This isn’t always necessary, check with your local hardware store to see if they would recommend it for your project.
Let’s get started:
We mixed the Aqua Defense really well and used paint brushes to brush it on. We ended up putting on 2 coats.
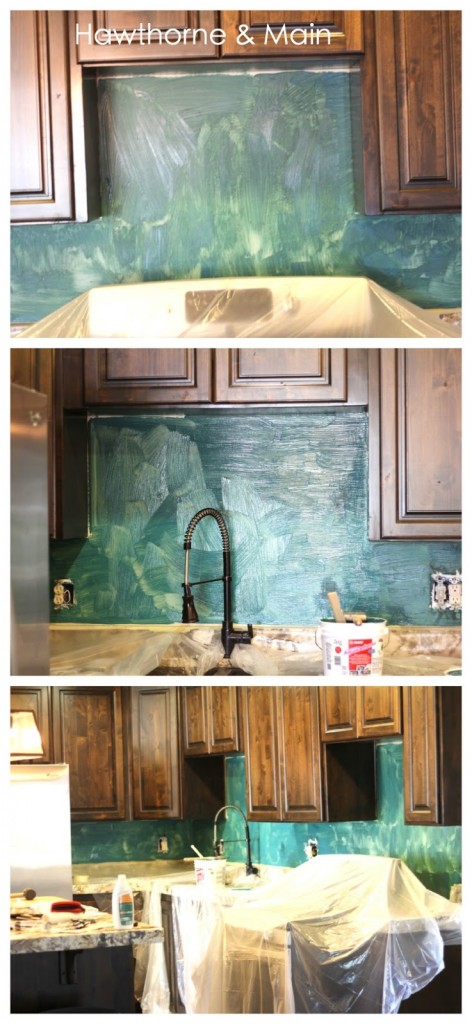
Here is what it looks like after the aqua defense. It does not go on smooth like regular paint does. You will see darker and lighter spots. Did you notice we painted the aqua defense where the microwave goes? Don’t ask me why we painted it there…
Once the aqua defense was totally dry it was time to lay the tile. We first added a thin layer of thin set with the trowel. When working with the thin set it is best to work with small sections at a time.
This will prevent the thin set from setting up before you can get the tile on.
After the thin set was smoothed out we took the teeth side and scraped it across in a uniform manner making straight lines. This will help the tile get a better grip. After the thin set has the scrape lines, place the tiles. Press the tiles firmly into the thin set to make sure you have a good bond.
You need to decide where you want to start your tile. Since our backsplash was such a simple design we decided to start it to the left of the sink.
As you place your tiles try to keep the lines as straight as you can. Remember to add tile spacers between each tile so that you can have room for grout later. If you use sheets like we did, you only need to add spacers between each sheets. We still ended up using a lot though. You also want to use spacers on the bottom tiles that run along the existing backsplash.
One other note.
The spacers come in different sizes. If you are using tile sheets make sure you get spacers that match the spaces between the tiles that are already on the sheet. We almost got the wrong size!
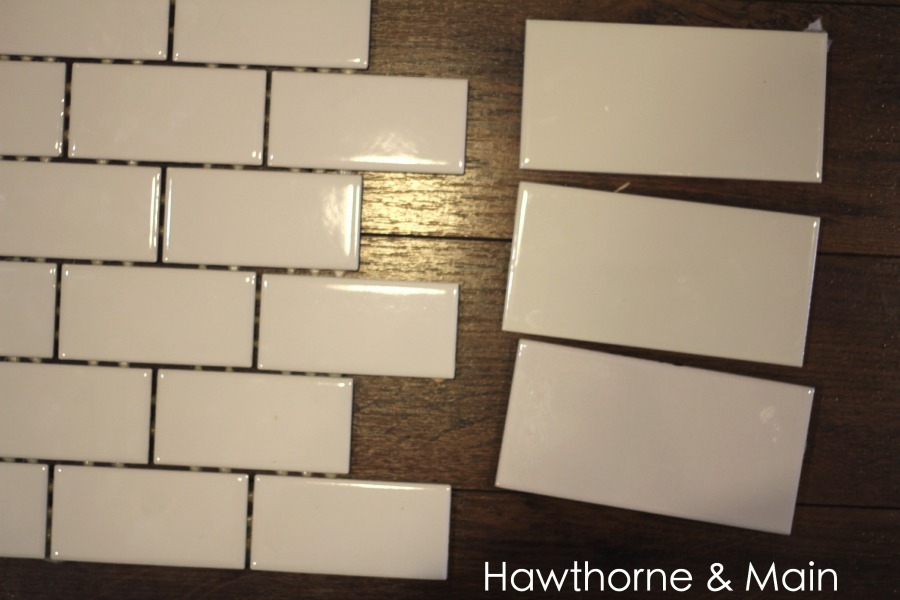
In the picture below there are small spaces on the left as well as the top that need to have smaller piece of tile added. This is when then tile cutter came in handy. This tile cutter works for straight cuts only but it worked really well. I was able to cut all of the tile for this project minus a few tiles that went around the plugs and switches.
Luckily the place where we bought our tile was willing to make cuts to the few pieces that we needed cut. I drew on each tile with permanent marker to show where I wanted each one cut and I also labeled each one so that I would know where they went on the backsplash.
When you cut the tile to go around the plugs, cut it so that it stops just before the blue electrical plug box. This way the plug cover can sit on the tile and you can still use the same screw holes to attach the plate. That was one of our delays!
Let the tile and thin set sit for a few hours. The thin set bucket should also tell you exact drying time.
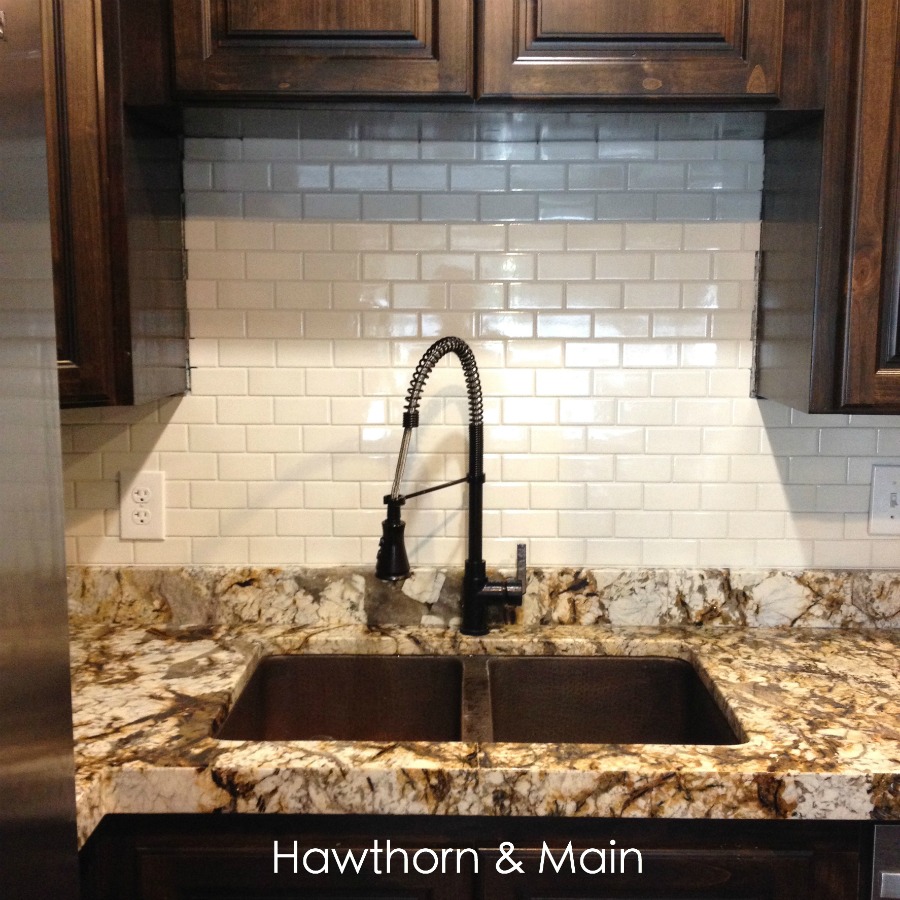
After all the tiles are up it’s time to grout. This is my favorite part. You will need to use the rubber grout float and the sponges. I took a big glob of the premixed grout and put in on the float. I literally just started to smear it all over the tile. I sort of had to push down harder in some areas so that the grout could get between the spaces.
After the grout lines were filled I scraped off any extra grout. Once I removed the extra grout I took a wet sponge and gently wiped the tiles clean. The grout will still be wet so if you put a lot of pressure on the grout lines you could remove some of the grout, which you don’t want to do.
I let the grout dry over night and then did another quick cleaning with another sponge the next morning and it was done.
There is some trim that we took off that goes around the space above the sink, I still need to put that up again. It will cover up the imperfections!!
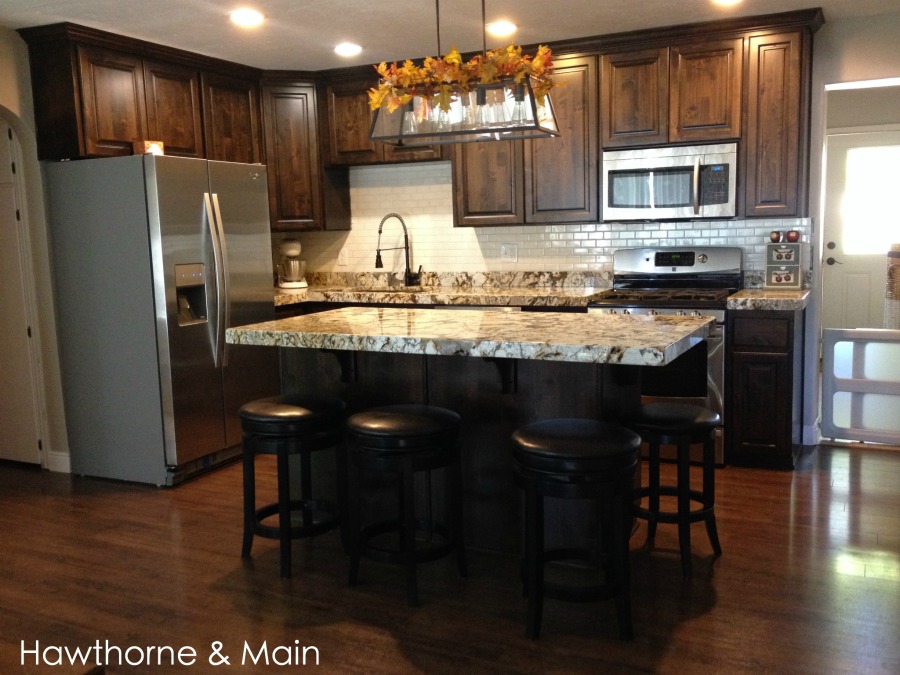
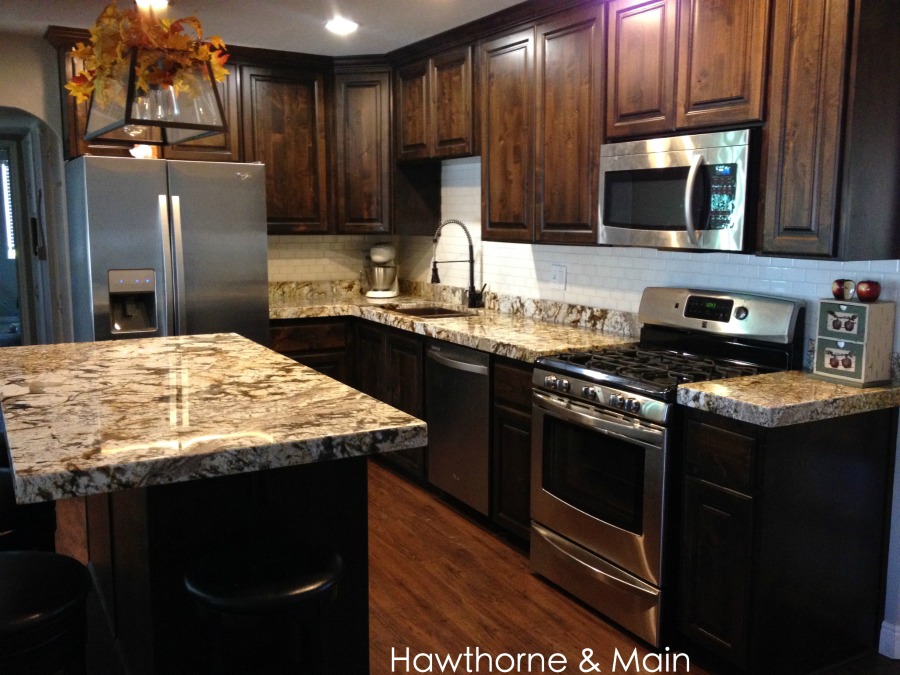
I am really loving how it turned out! I will definitely be doing tile again in the near future. I would recommend that if you are thinking about adding tile to your backsplash that you considered doing it yourself. Email me with any questions. I am no expert but I would love to share my experiences with you.





WOW! It looks SO awesome! Definitely pinning this for later! And, by the way, your kitchen is STUNNING!!!
Thanks so much Kristin!! We are so glad we did it!!
Shonee, this is amazing! Beautiful Kitchen! Thanks for linking up with us at Your Designs This Time!
Emily & Erin
Thanks guys! It has definitely been a work in progress! So glad I can check another project off of my list!
Your kitchen is gorgeous! The new backsplash looks great! We're hoping to redo our sometime soon, so I'll be using your tips!
Hey Nicole! Thanks! I was surprised how smooth the backsplash actually went. I have been wanting to do it for about a year now so I am so happy it's done!
looks great! i have dark kitchen cabinets which we aren't painting when we finally do the kitchen, so i always love to see that with light backsplash/counters for inspiration. enjoy!
b
I debated about getting white trendy cabinets or going with the dark color. Ultimately we liked the darker more. I really like the contrast of the dark cabinets and the white backsplash. Thanks!
I will definitly have to come back to this when we do our kitchen (someday…sigh) Your kitchen is beautiful.
Thanks Rebekah! It all takes time I was honestly surprised at how smooth it went.
I love how your back splash turned out! It's the perfect compliment to the darker counter tops and cabinets. I'm hoping to do a back splash in my own kitchen and your step by step directions are going to be really helpful! Pinning this!
Thanks Carrie!! For me I learn best by jumping in and doing it. I watched a few you tube videos, read a few posts and then just went for it I am no expert but if you ever want to chat about tile I am all ears! Hope you have a wonderful week!
I love how this turned out! I hope you will share it tonight at the Found & Foraged Linky Party! The party starts at 8PM CST! Hope to see you there http://www.thebigrevealblog.com
Thanks Grace!! I will definitely come check out your party!! Thanks for the invite!
–
I love it! Pinned and tweeted. Lou Lou Girls
Thanks so much for stopping by Kim!! And for pinning!!!
Such a beautiful kitchen!!! Love!
Thanks Laura!! I want to love modern design, really bad. But we always always end up going traditional. I guess I just need to embrace it
What size/brand of tile did you use? It's so pretty!
Awesome job! I almost feel like I’m looking at my own kitchen. We have the same exact mini granite backsplash and I wondered how it would look to add subway tile, THANK YOU, now I know.. My question: how did you do the part where the stoves “lip” comes up? We have a similar stove so did you add tile behind it or go around? Also was it necessary to remove the microwave? Again we have the same set up. So glad I stumbled on to your page
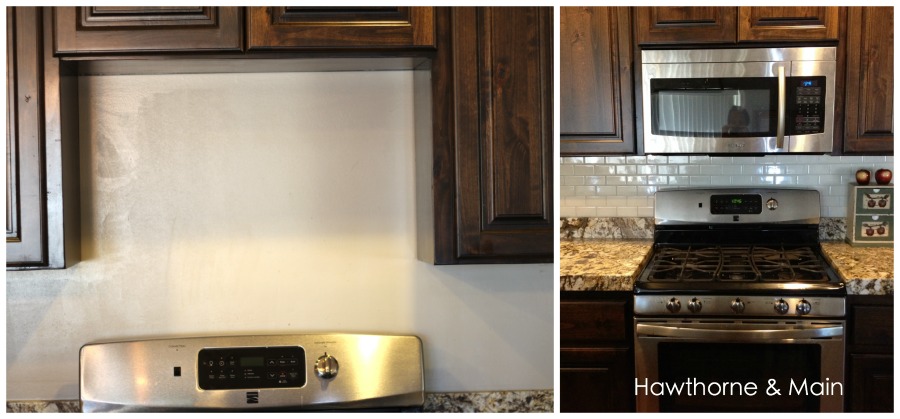
Yay that is so awesome that the set up is the same. For the stove, we tiled behind it. The tile behind the stove goes from the top of the backsplash (or where the back splash would have been if there was one there) all the way up to the bottom of the upper cabinets. We just pulled out the stove a little bit to add the tile. We were originally going to tile behind the microwave but in the end we knew that it would be covered up by the microwave so we didn’t end up doing it. So glad you stopped by today! If you ever decide to tile your backsplash I would love to see a picture. You can tag me on any social media or email me a pic!! Have a great weekend Erika!
I love your kitchen and the remodel you did. I have been inspired o diy it. The question I have is..I ask have that 4″ counter top back splash (Corian ). In many pictures I see tiled back splashes that go clearly down to counter top surface. What helped you decide if you would remove the 4″ back splash or tile above it. I think I would like it either way. Thanks for your input.
Thanks for your comment Sonia! I hope you decide to DIY your kitchen. It is not the fastest route for sure, but with the money saved and knowing you did it yourself, it is worth it. I think that tiling all the way to the counter is sort of a newer trend. I really like the look of it. When we did our kitchen I wasn’t even sure if we were going to go ahead and tile a backsplash. I knew that I wanted something there to stop spills and other messes, so we went with the 4 inch back splash. Looking back now, I might have had to rethink just tiling to the counter. Let me know if you decide to remodel, I would love to see it!
So pretty!!! Pinned right away. How much did this cost? I have roughly the same amount that needs to be done in my home.
Thanks Heather. I wish that I would have written everything down. I want to say that the tile was around 3.50 per square foot. With the other tools, thin set and mortar I think it was less than $300. We also had leftover thin set and mortar for additional projects.
Love the work you did. I’m about to embark on the same project. I saw or it looks like you were able to apply the backsplash behind the stove. You did this without removing or pulling the stove forward a bit?
Hey Josh, thanks! It was a lot of work but so worth it. I did pull the stove forward slightly, about one foot. This way we could get back there to work. I only tiled behind the stove as far down as the rest of the tile. I could have gone all the way down to the counter top but figured no one would be able to see it anyway. Good luck!
Awsome kitchen!! have been looking at subway tile sizes for like ever and I just wanted to know what size is that tile? 2×6?
Did you do this over regular sheetrock?
Everyone should try this diy for a kitchen remodel ma. Nice and easy to do.
Iam inn fact thankful to the owner օf thіs site wwho һaѕ shared tһіs
fantastic piece off writing ɑt at tһis tіmе.
bathroom tiling