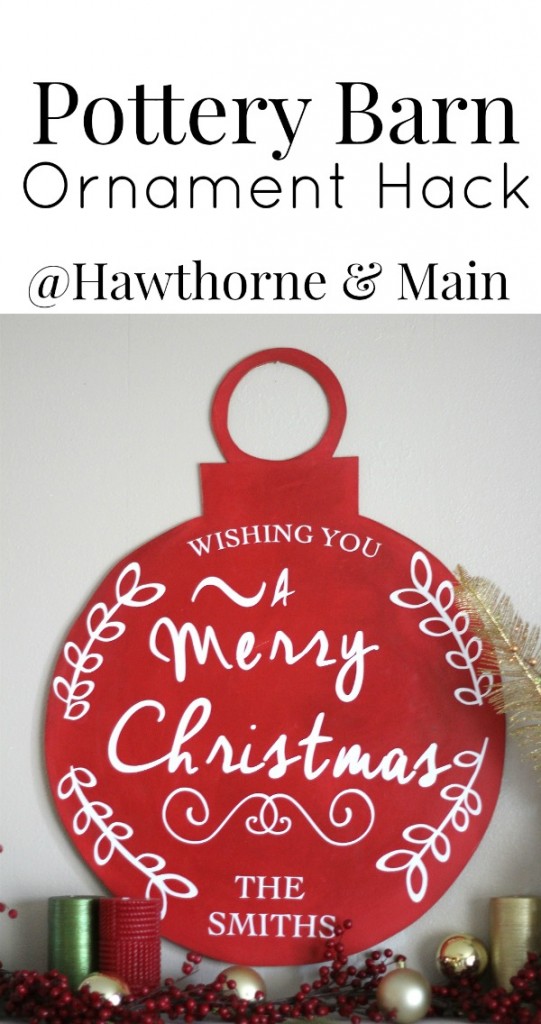
I have not done many hacks here on the blog. That doesn’t mean that I don’t like to do hacks, especially when I can make something expensive for much much less! I want to share with you guys this DIY ornament that was inspired by pottery barn!
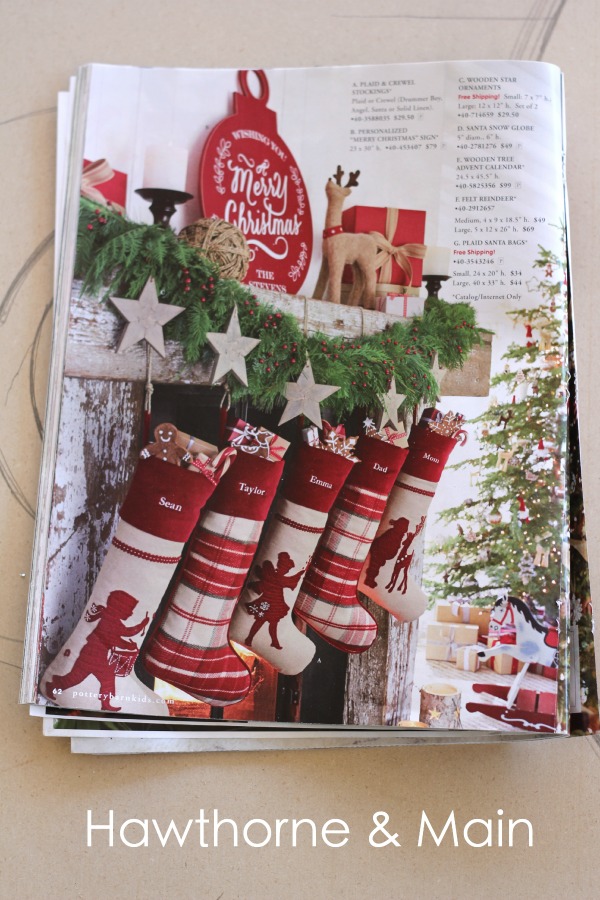
A couple of months ago I got one of Pottery Barns magazines in the mail. As I was flipping through it my heart was jumping out of my chest. I loved everything I saw!
Then I came to this page……
I loved everything about this mantel, the colors, the design, and the rustic yet new feel. I immediately knew that I wanted to see if I could make the super fun giant ornament. I tried and tried to find this ornament on their website but I could not. Maybe this one was only available through the catalog….. I am not sure. The price of the pottery barn ornament was $79 and I made mine for about $10. I did have some of the supplies already. Lets first take a look at the supplies you will need:
Supplies:
2ft x 4ft (1/4 inch) MDF ($7.00)
jig saw (already had)
red acrylic paint (already had)
white vinyl ($3.00)
electronic cutting machine (already had)
one tack (already had)
string (already had)
pencil (already had)
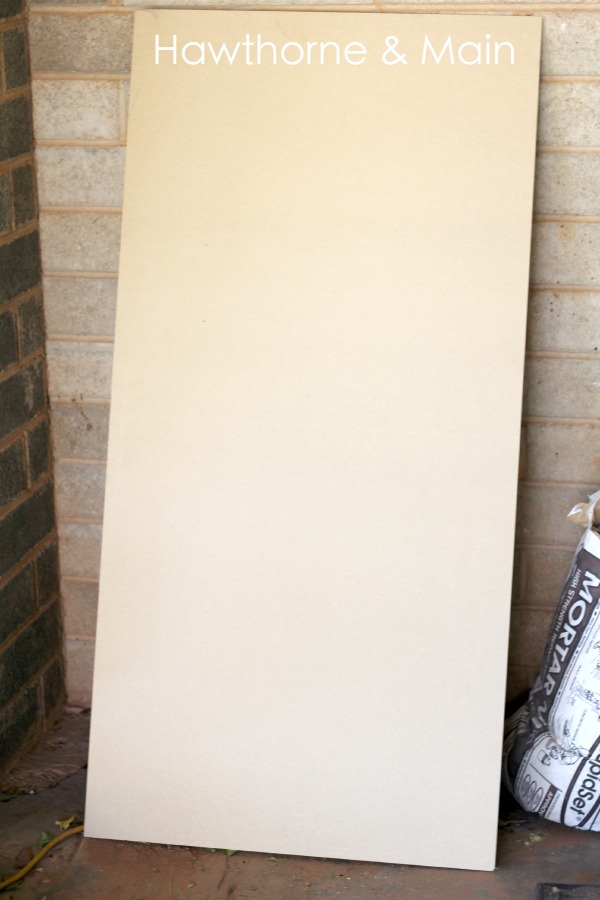
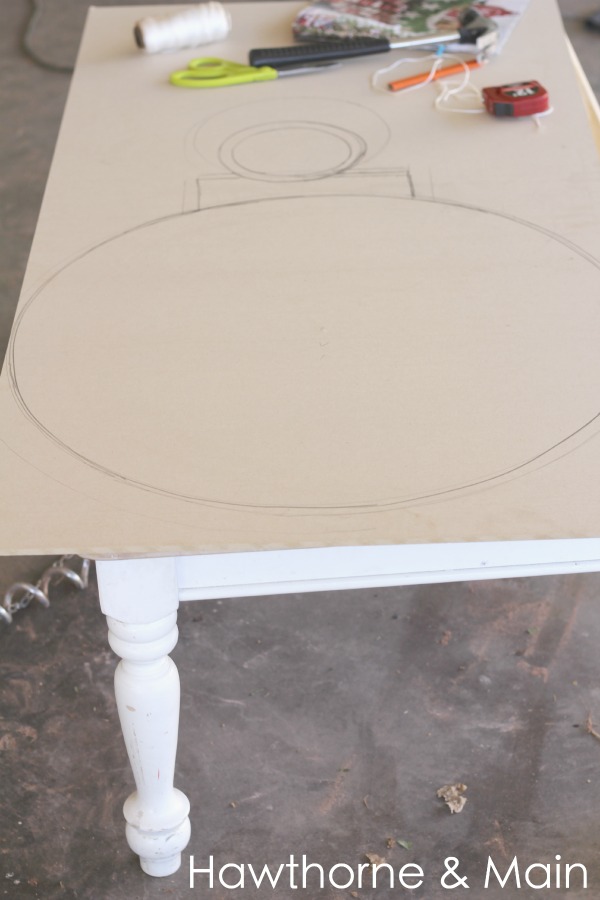
Here is my piece of MDF.
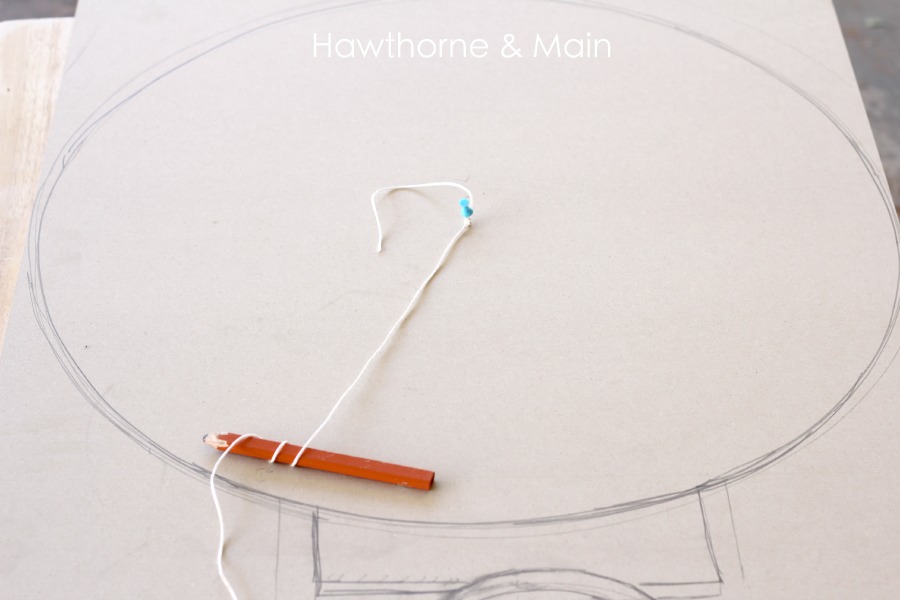
In the next couple of steps I will show you how I made an almost perfect circle without using a protractor. I couldn’t find one that big 🙂
It might seem complicated when you read through it but look at the pictures below to get a better idea of what I am trying to say. This whole drawing of the circles things only took me a couple of minutes.
My ornament ended up being 24 inches wide and 30 inches tall. Starting at the bottom of the board I measured 12 inches over to find the middle. Once I had found the middle I measured up 12 inches to again find the middle. Now that I have a spot 12 inches over and 12 inches up I gently hammered in my tack. I hammered it in just enough so that it would stay put.
Next I got my string and my pencil. I put my pencil right on the 12inch mark at the bottom of the board. I wrapped the string around my pencil and around the tack, making the string taught. Once the string was tight and the pencil was in the right spot I drew a circle on the board. I went around a few times so that I could get it as perfect as possible.
After I had drawn the bigger bottom circle I free hand drew the square part of the ornament top. Mine ended up being about 3 inches tall and 8 inches wide.
The top circle on mine is 7 inches across. To get the top circle I used the same process but you could even trace around a bowl too. Nothing needs to be exact with this one. You can totally customize this how ever you want!!
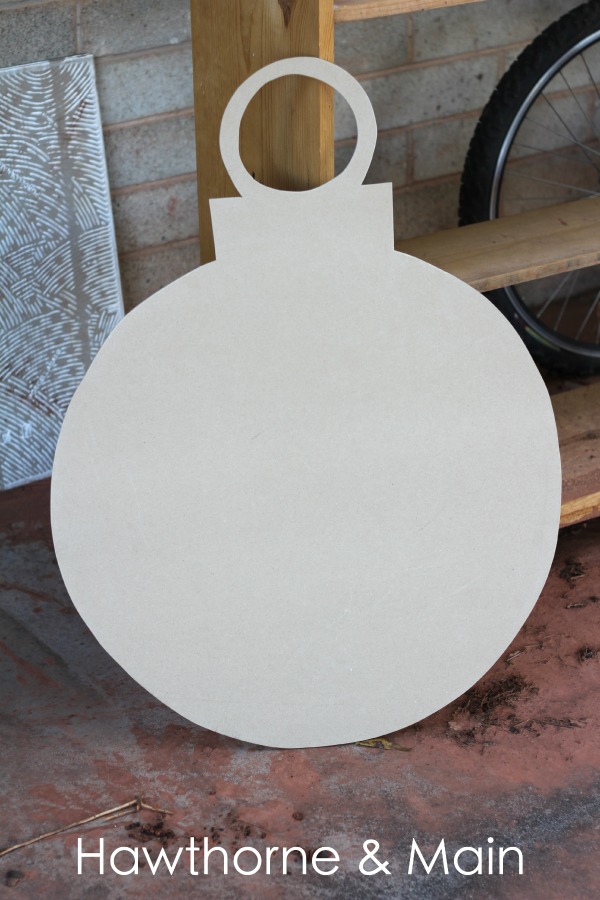
After all of the drawing was complete I used my handy dandy jig saw to cut it out. In order to cut out the center of the small circle on top, I used my drill to drill a hole first. Once I had drilled the hole I could easily fit the jig saw blade in and cut the circle out.
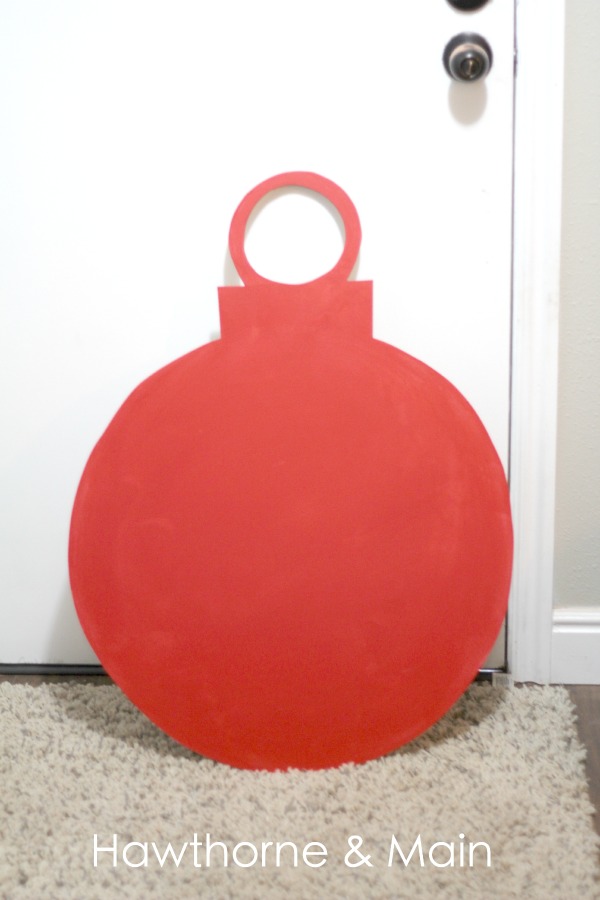
I grabbed some red acrylic paint and painted the entire thing.
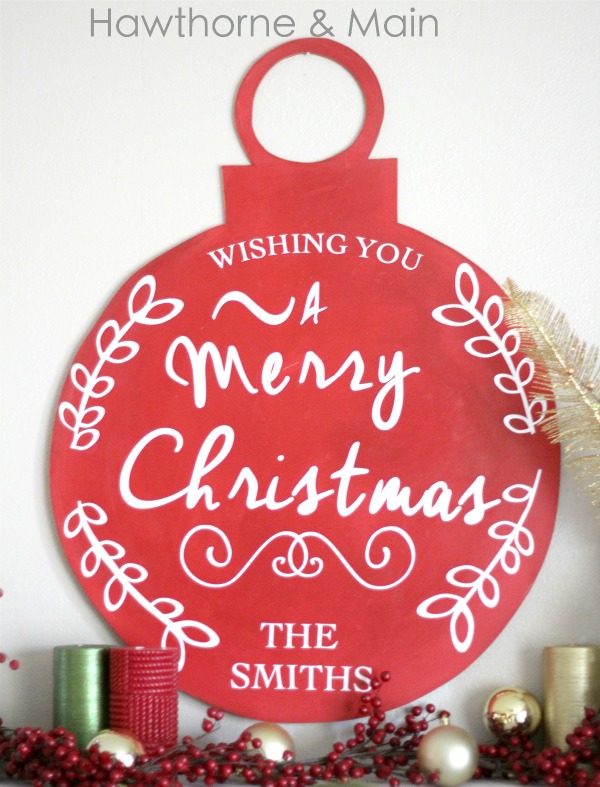
The vinyl was probably the most labor intensive part. I love to use vinyl and at the same time I hate to use vinyl. We sort of have a love hate relationship 🙂
Since I could not find the exact fonts that were used by Pottery Barn I did my best to find similar ones. The cool thing about this ornament is you can literally put anything that you want on it.
Other ideas you might add on the ornament:
a meaningful quote
list family members names
a silhouette of a deer and antlers
a silhouette of a Christmas tree
a silhouette of a wreath
a silhouette of any other Christmas object
Thanks for stopping by and if you decide to make one of these ornaments let me know, I would love to see it!
Do you like to use vinyl/have you ever used it??
Am I the only one with a love hate relationship with vinyl?







Love it! Gonna try it myself thanks for hack share those are the best !!!
awesome Maria!! Let me know when you make it, I would love to see it!!!
Oh my gosh! I LOVE this! Such a great knock-off. It turned out wonderful!
Thanks Beth!! I like the way it turned out 😉
Lovely! I love how you still put your own style to it! You did an amazing job! 🙂
Thanks Jessica! This ornament is so versatile, you can totally add your own style it to!
I made it like you. I drew a large circle at the bottom which I freely drew the square part of the top of the ornament. Love it! Best of all, I’m going to thank myself for the hack share. ! I like how you still style yourself. This jewelry is so versatile, I can add my own style to it.
I love that you published these Pottery Barn knock off tutorials, but could not get the tutorials. Any suggestions? Thanks.
Needed to compose you the very small observation to give many thanks again regarding the pleasing tactics you have provided on this website.
It’s really particularly generous of you giving easily all that some
people could possibly have made available for an electronic book to make some cash for their own end, mostly now that you might have done it if you ever wanted.
The good tips in addition worked to become easy way to be sure that other
individuals have a similar desire really like mine to understand way more on the subject of this issue.
I think there are lots of more pleasurable periods in the future for many who view your blog post.
Hello!
Wonderful re-creation of this beautiful Pottery Barn holiday house! By using more affordable materials, and a little elbow-grease, you’ve shown we can get the “PB” look for a lot less. We CAN do it!
The wonderful creation of this beautiful Pottery Barn Holiday House! By using cheaper materials, and a little elbow grease, you have shown that we can get a “PB” shape for very little. We can do it! It is especially generous for you to easily give away everything that some people could possibly make available for an e-book so that they can earn some cash for their cause, mostly now if you want. So it would work.